Showing posts with label cupcakes. Show all posts

Monday, 13 October 2014

Vanilla and Chocolate Marble Cupcakes

 
Not very seasonal for this Fall/Thanksgiving time of year, but I wanted to share these cupcakes I made a few weeks ago as it was a try at marble cupcakes that I had never made before.
 
I was SUPER excited to also first be using my new 24 cupcake baking pan that I got for my birthday this Summer.  So much easier to make lots of cupcakes, and bake them evenly and quickly.  We had the youth group over for a back-to-school but also housewarming event so I needed cupcakes for that, and then the following day my choir threw me a really nice 'baby day' celebrating together with cake and sunshine so this was my sweet treat that I took along for us to all share... especially as I'm not at choir rehearsals this semester so no snacks to take there each Tuesday!
 
 
I wanted to make cupcakes, and the marble idea just popped in my head!  I've never tried it but have seen it many times and thought it was time for me to try it too.  I had one other idea of cupcake flavour but thought I would wait until Autumn really hit to try that, so I went with basic vanilla and chocolate flavours but to make it more exciting it would be marbled.  I decorated it with a vanilla buttercream and milk chocolate curls. 

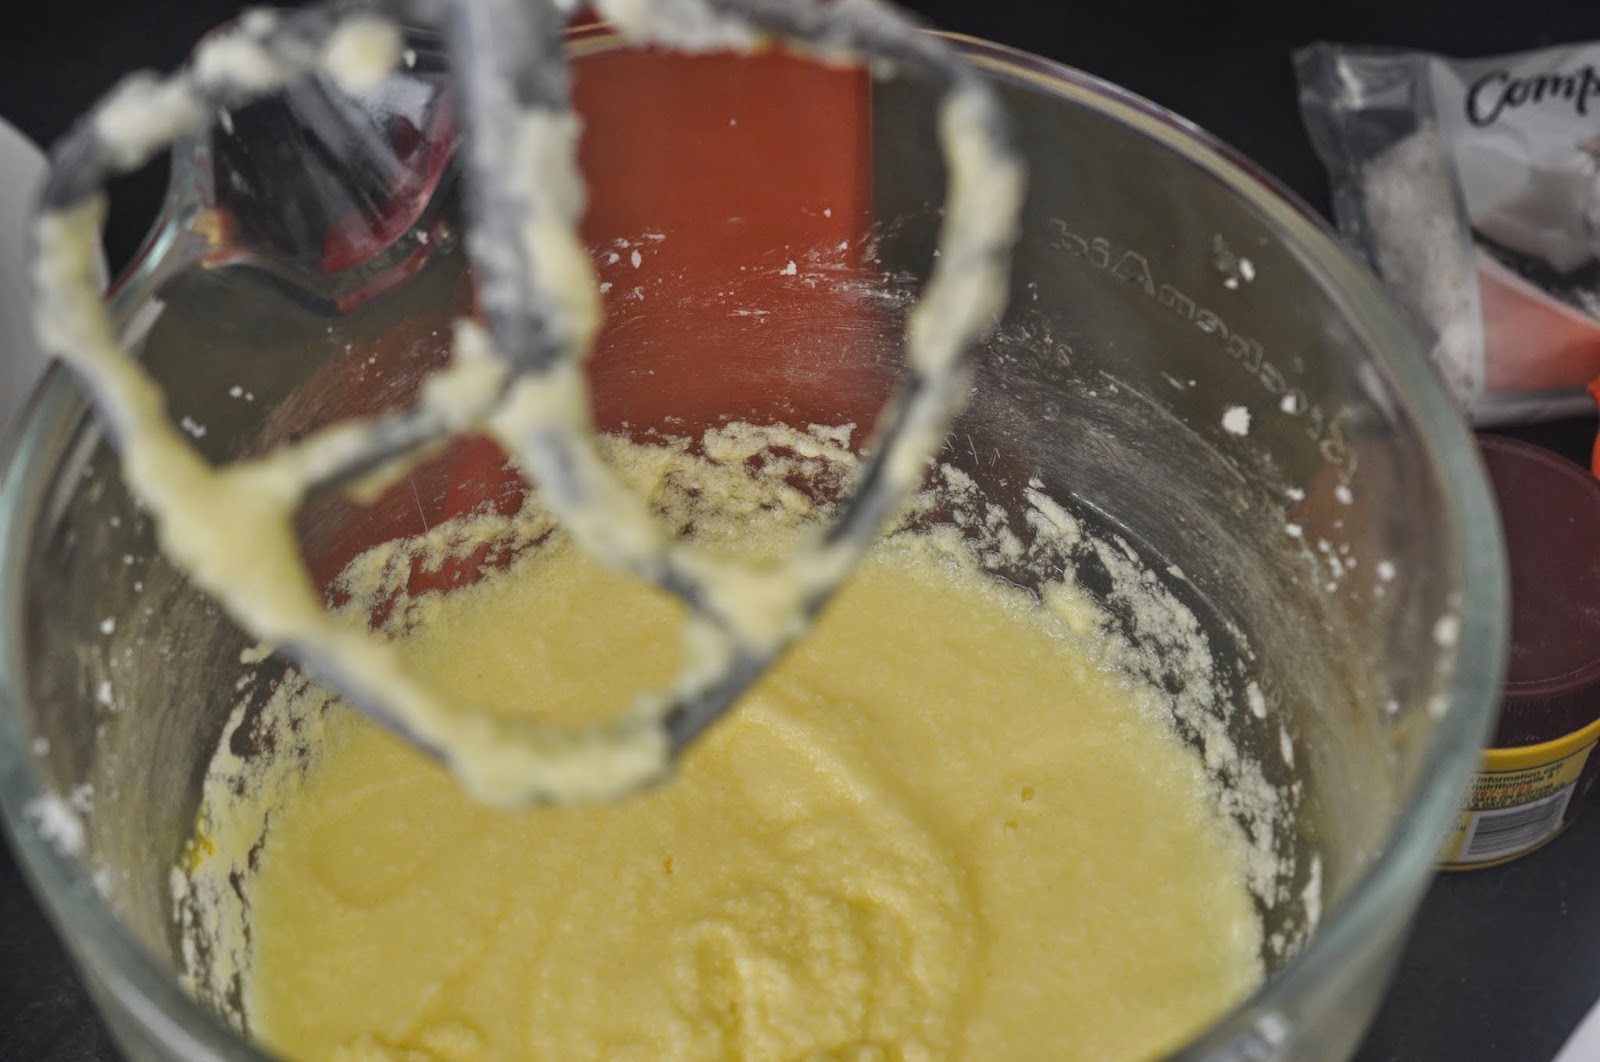
I whipped up two batches of cake batter... Here's the recipe...

Ingredients:

For the vanilla ~
4oz unsalted butter
4oz sugar
2 eggs
4oz self-raising flour
1 tsp vanilla essence

For the chocolate ~
4oz unsalted butter
4oz sugar
2 eggs
4oz self-raising flour (minus 2 tbsp)
2 tbsp cocoa powder

 
Method (for both batches):

1.  Preheat oven to 375°F. 
2.  Cream together the butter and sugar in mixer until light and fluffy.
 
3.  Add eggs one at a time, beating well between each addition.
4.  Add vanilla essence *if on the vanilla cake batch*
5.  Sift in self-raising flour *and if on the chocolate batch, take out 2tbsp flour and replace with cocoa powder)
6.  Mix well until all combined.
7.  When both batches are made, take a small cookie scoop and place one scoop of vanilla cake batter, and one scoop of chocolate cake batter into each cupcake liner.


8.  Using a cake tester/skewer, swirl the two scoops together to achieve the marble effect.


9.  Bake in the oven for 15-20 minutes, until cooked through and spring back to the touch.


10.  Cool on a cooling rack and admire the marbled effect, and how cool and unique each cupcake looks!


11.  Using a 18oz icing sugar, 12oz unsalted butter, 1.5 tsp vanilla essence and 1.5 tbsp milk mixture, make buttercream to frost the cupcakes. 

 
12.  I used a large Wilton closed star tip to pipe the buttercream onto the cupcakes.  I was sad to be covering up the marble design of the cupcakes!
 
 
13.  Using a potato peeler, a few curls of chocolate later and these cupcakes were ready to be eaten!


Thanks Mum for this amazing new cake server you got me for my birthday in August, it's my new favourite!  I love it :-)


So next time I make cupcakes, I'll try the more Autumn-y recipe I had in mind, so watch this space for more baking soon!


Thursday, 28 August 2014

Never Have I Ever...

... baked with COCONUT!! 

Usually all of my blog posts are me raving about foods, and tastes and flavours that I love - but not this time!!!  It was time to bake something that I wouldn't even be tasting.  All for my sister-in-law's 25th birthday :-D


Not a fan of anything that tastes, smells or even resembles coconut - this was a big adventure.  I've never used it in any recipes but luckily I found a recipe that used both lemon rind and shredded, sweetened coconut in it, and we all know I really do love lemon!

I used the same real raspberry buttercream as in these cupcakes back in May... some issues with too-soft butter and consistency, I think from the fruit, led to some (... by some I mean a lot) of frustration but the buttercream still worked out and tasted good, even if the piping was not favourable in my eyes!

I baked a double batch of these cupcakes, taken from a Canadian Living recipe (using only the cake part not the frosting) - with a dozen being the coconut ones, and a dozen without the coconut to be a delicious lemon flavour to accompany the raspberry frosting!  I'll write out the recipe for 12, the original with both lemon and coconut and leave it up to you whether to include the coconut or not - each to your own :-P

Ingredients:

1/2 cup butter, softened
1 cup granulated sugar
2 eggs
1 1/2 cups all-purpose flour
1/2 cup shredded, sweetened coconut
4 tsp lemon rind (for me this was the rind of one large lemon)
1 tsp baking powder
1/4 tsp salt
1/2 cup milk


Method:

1.  Preheat oven to 350°F and line cupcake tray with liners.


2.  In a mixing bowl, beat the butter with the sugar until light and fluffy.


3.  Add the eggs one at a time, beating after each addition.


4.  In a separate bowl, whisk together the flour, lemon rind, baking powder, salt and coconut.


*** N.B. When I did my double batch, I actually added in the coconut after everything so that I could use half the batter as only lemon, so that's why the picture of the coconut is into the wet mixture - not the dry ***


5.  Stir the dry mixture into the butter mixture, alternately with the milk in between - making 3 additions of dry ingredients and 2 of milk.


6.  Using a cookie scoop, spoon into the cupcake liners and bake in the centre of the pre-heated oven for 20-25 minutes.  The top should be lightly browned, springy to the touch and a cake tester should come out clean.

I noticed that without the coconut the cooking time was 18 minutes for me, but in the second batch that had the coconut inside as well - it was quite a bit longer, at around 24 minutes. 

7.  Remove from the cupcake pan and let them cool completely before frosting on a wire rack.


8.  In the meantime you can make your desired frosting - try the real raspberry buttercream I used to complement both the coconut and the lemon flavours :-)  Click here for the recipe!

So, even with meltage of butter causing a meltdown - the cupcakes were piped, and coconut ones were "labelled" with white pearls as decoration (I did NOT want to bite into a coconut cupcake by accident!) and taken to the birthday celebration!


The cupcakes were shared with lots of family, and then friends at the start of this week too!  They lasted quite well, and the coconut was appreciated by fans of the strange flavour!!


If you're a coconut fan like them, do give the recipe a try, or if, like me, do NOT like it - try the same recipe with only the lemon rind for the flavouring, that part was well worth it too!!  Enjoy this Summer treat :-D


Wednesday, 11 June 2014

Summer Grillin' - Cupcake Style!

 
Summer is here and it is most definitely BBQ season!.. More than it usually is in our house anyway!
 
We celebrated our friend's 30th birthday the other day with lots of delicious bbq food and a great evening, topped with a donut tower birthday cake (what a great birthday when it lands on National Donut Day!), cake and then also more cupcakes from me!  Perfect!
 
I went with the BBQ theme seeing as that's what we were going for, and it is the season after all! 


Using the same recipe for Coca-Cola Cupcakes as my New Home Cupcakes over a year ago, I thought it was time to use this recipe again, especially as the birthday boy is a fellow coke lover.  They're a little different to regular "cupcakes", with a super dense cake part, and a delicious glaze - with no swirl of buttercream.  This meant I wanted cupcake toppers that were flat, 2D rather than 3D ones so it would lay flat on the surface of the cupcake glaze.
 
So I got to work creating the BBQ themed fondant cupcake toppers.  First up were the burgers.  These were my first idea, and the one I definitely knew how it should look.  I coloured small amounts of fondant a brown colour for the burger, and then a yellow-brown colour for the bun, and used a sharp end of a cake decorating tool to make little "sesame seed" indents.
 
 
Next was the ketchup and mustard!  A little out of scale compared to the burger, but who wouldn't rather have a big burger!?
 
 
Then the choice was between making a '30' cupcake with some birthday decorations, or doing a third BBQ topper.  I went for a third design on the same theme, tying it all together with some corn!  Green and yellow fondant coloured and then cut out with various parts of cookie cutters to get the shapes and sizes I wanted.  The green part came from a maple leaf cutter, and the corn part from the little finger on a high-five hand cookie cutter.  Just using what I had instead of free-styling the cutting!  Then I used the end of a cake decorating tool that looks like a scalloped shell on the end to create the texture of corn.


 Fondant cupcake toppers all done - giving them a little chance to dry out/harden slightly through the morning.  This was some seriously early cupcake prep - after not getting back to sleep at 5.30am on a Friday where I wasn't working, I decided the only way to be productive that day was to just accept that sleep was done for the day and I might as well start baking!

 
So, with the Coca-Cola cupcakes baked, and cooling, and the glaze deliciously smooth ready to be spread over the cupcakes - see the recipe here - it was time to decorate!


The great thing about decorating with cupcake toppers when they are already made is that, once the cupcakes are baked up, everything is ready to go!  Assembly is nice and easy, and in fact, it made the early baking wake up worth it!

As the recipe is already on an old post, all that is left to share are some close ups of the cupcakes, and more photos!


Which is your favourite design of the 3?  I think I still love my original idea of the burger, but I also am really pleased with how the corn turned out!


Perhaps you'll give them a bake this weekend for Father's Day, or for a BBQ Birthday coming up this Summer!  Have fun with fondant cupcake topper prep - and then enjoy how easy everything is to put it together once you're done baking :)   I'd love to see your BBQ cupcakes if you try them!!
 
Happy BBQ Season!!