Sunday 29 December 2013

Christmas Cakes 2013

Happy Christmas everybody!  I hope you all had a really wonderful Christmas week celebrating with family, friends, enjoying delicious food and a having a really great time!
 
We have had a really fantastic Christmas in Canada (for me this was an in-law Christmas as we were in England last year with my family) - with an actual white Christmas happening, but with that came the Toronto ice storm, and a LOT of power outages.  Jonathan's family were without power right through until Boxing Day evening, but we were one of the lucky ones who were all powered up the whole time (just losing internet and cable for a day!).  So Christmas went a little differently than it had been planned but it was still great!!
 
 
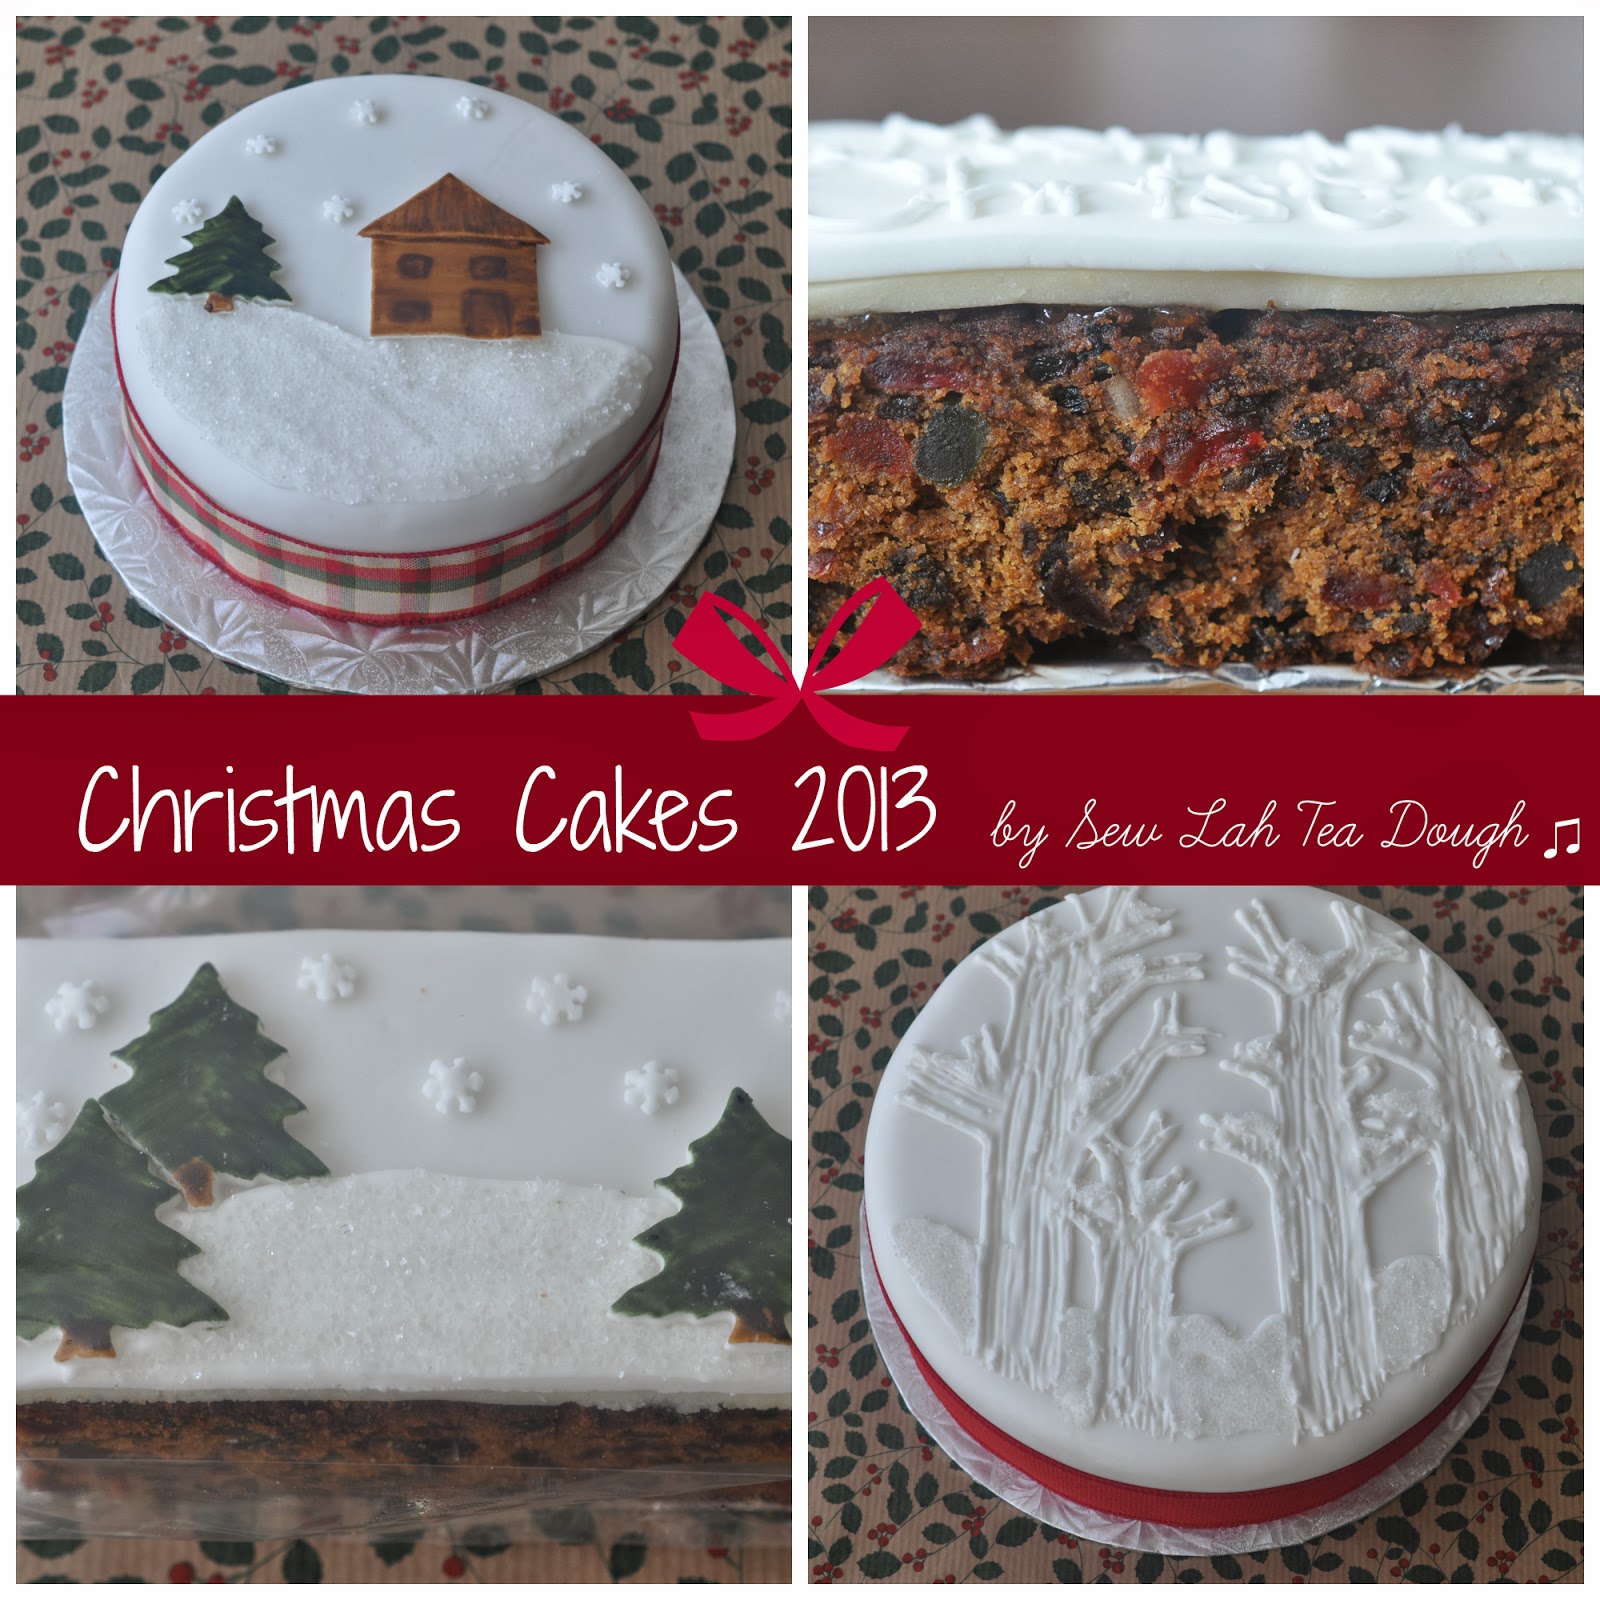
I'm so happy to be finally sharing my Christmas Cakes of 2013 with you!  They have been a long time in the making but now they've all been decorated, and given as gifts to my Canadian family (giving them a little taste of the traditional English fruitcake that I grew up with!)... so I can finally show everybody them without giving anything away!
 
Last year, I made my 'Winter Scene Christmas Cakes', using the same fruit cake recipe but piped all in white.  Read all about their travel adventures from Toronto to England here
 
The year before that (cakes made before my blogging times!) I made them for Canadian family too, so it seems, as we alternate our Christmases, we do so with our Christmas Cakes as well! 

These fruit cakes are long term projects!  Some people begin theirs right after Summer ends, with the back to school marking the beginning of Christmas Cake season... My Mum does hers in the October half-term from school, (around mid-October) even though her kids are long grown up with no half-terms sadly so I aim for sometime around then as well.  This year, on Halloween I had a day off from teaching thanks to students who chose to trick or treat rather than have piano lessons - I'm actually totally okay with this as it gives me a full day to get Christmassy!
 
Earlier that week, around the 28th October I bought the mixed fruit and soaked it in sherry.  This 'traditional' fruitcake actually means that everybody has a different tradition with regard to the cake.  Do you soak your fruit in sherry?  Brandy?  Do you make a light fruit cake, or like me a dark fruit cake?  Are you a fondant icing decorator, or a pure royal icing snowy look only!?  SO many different ways to do it...
 
Here's my way for 2013!
 
Halloween turned into Christmas for me.  I got right to baking using the fruit I had soaked all week.  This year I made one 9" round cake for us (because I'm crazy and there's only two of us yet I made the largest one for us hahaha, got to do some sharing I guess!)... one 6" round for Jonathan's parents and sister, and then I made a large traybake which was split into 7 rectangles.  2 larger ones for cousins, and 5 smaller ones (3 for Jonathan's Grandmothers and Great Aunt, 1 for a friend and 1 for the choir's silent auction earlier in the month).
 
I 'fed' the cake 4 times between Halloween and decorating day on 23rd December!  'Feeding' the cake meant a tablespoon of sherry dribbled over the cakes leaving it to soak through and keep it moist and able to mature throughout the early Winter months!

Here are the cakes all cooked, fed, and ready on their cake boards for decorating day :)
 
 
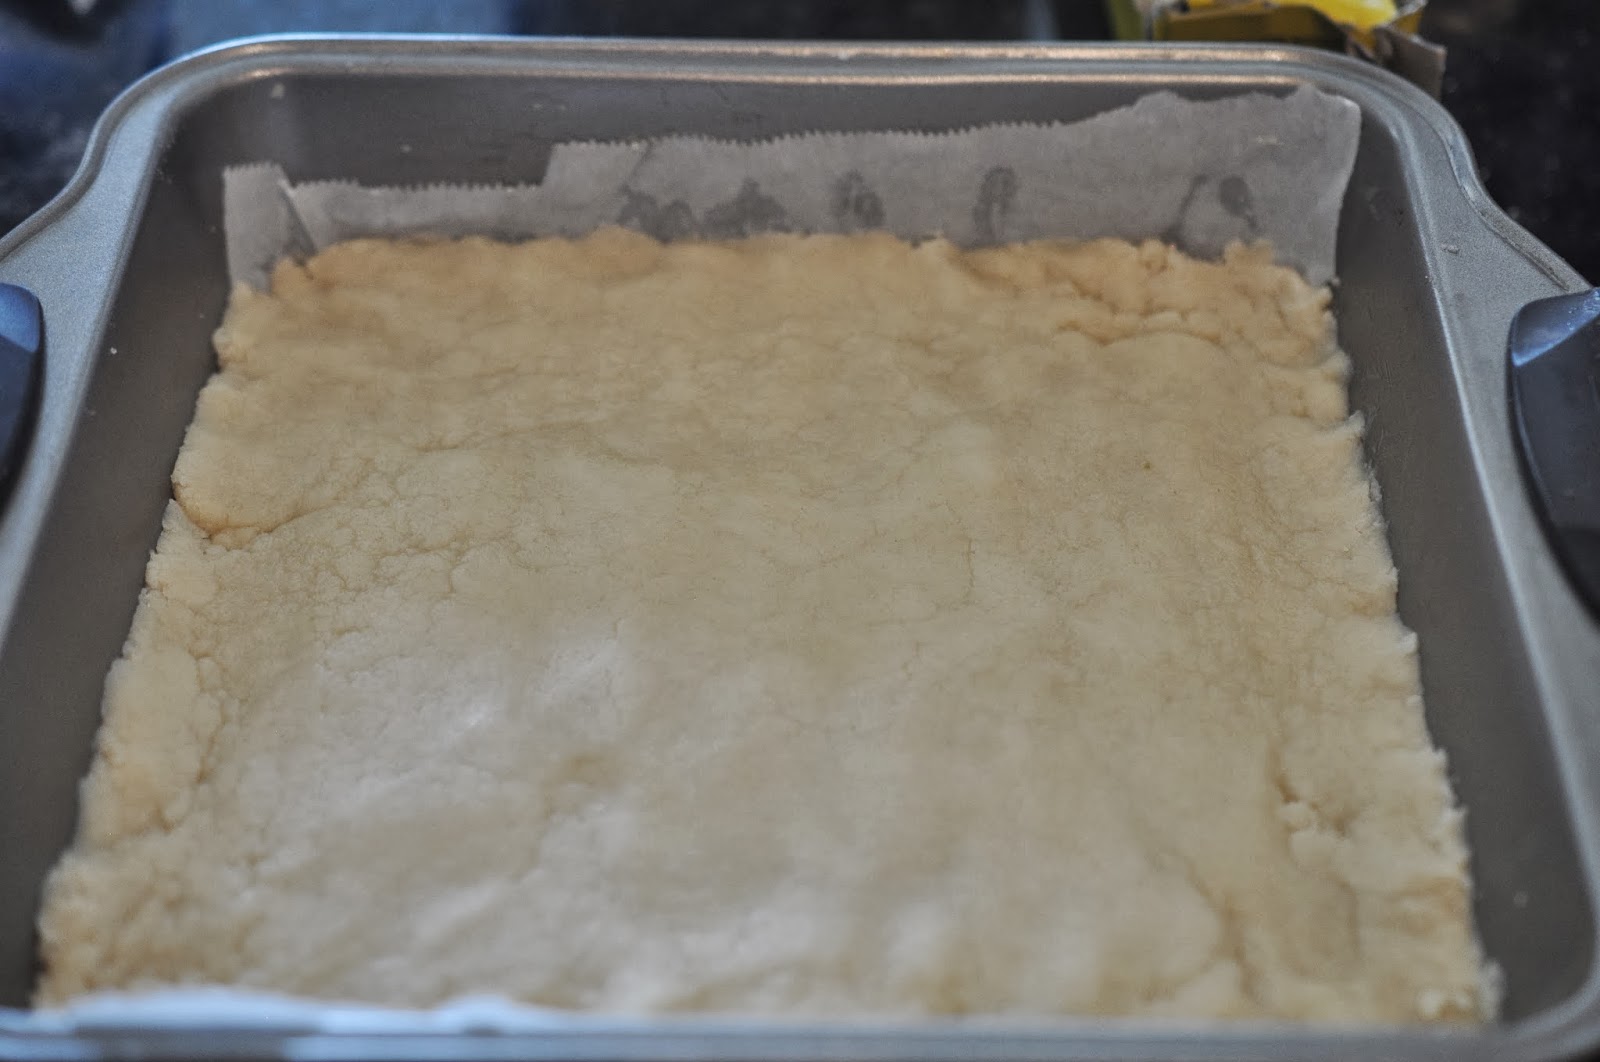
I use Ikea's marzipan for my cakes, it's a nice taste and pretty good for rolling out and spreading over the cake.

To stick the marzipan to the cake I use an apricot glaze - 2 parts water to 1 part apricot jam, brought to a boil before simmering the jam and water until it starts to thicken.  Take it off the heat and strain it through a sieve and spread onto cake before coating with the marzipan.


All marzipanned up and drying out a bit before fondant time!  No need for the apricot glaze on this, the fondant sticks to the marzipan really well, I just use a light spread of water on top before adding the fondant.
 
I chose to completely cover the round cakes but for the rectangles I did just the tops so you could still see the fruit cake down the sides.

 
So, marzipan and fondant done - they were all ready for some decorations.  I've been so crazy busy with everything I hadn't really had time to think or plan my cake decorations very much so it was a teeny bit stressful as I kind of winged it ...
 
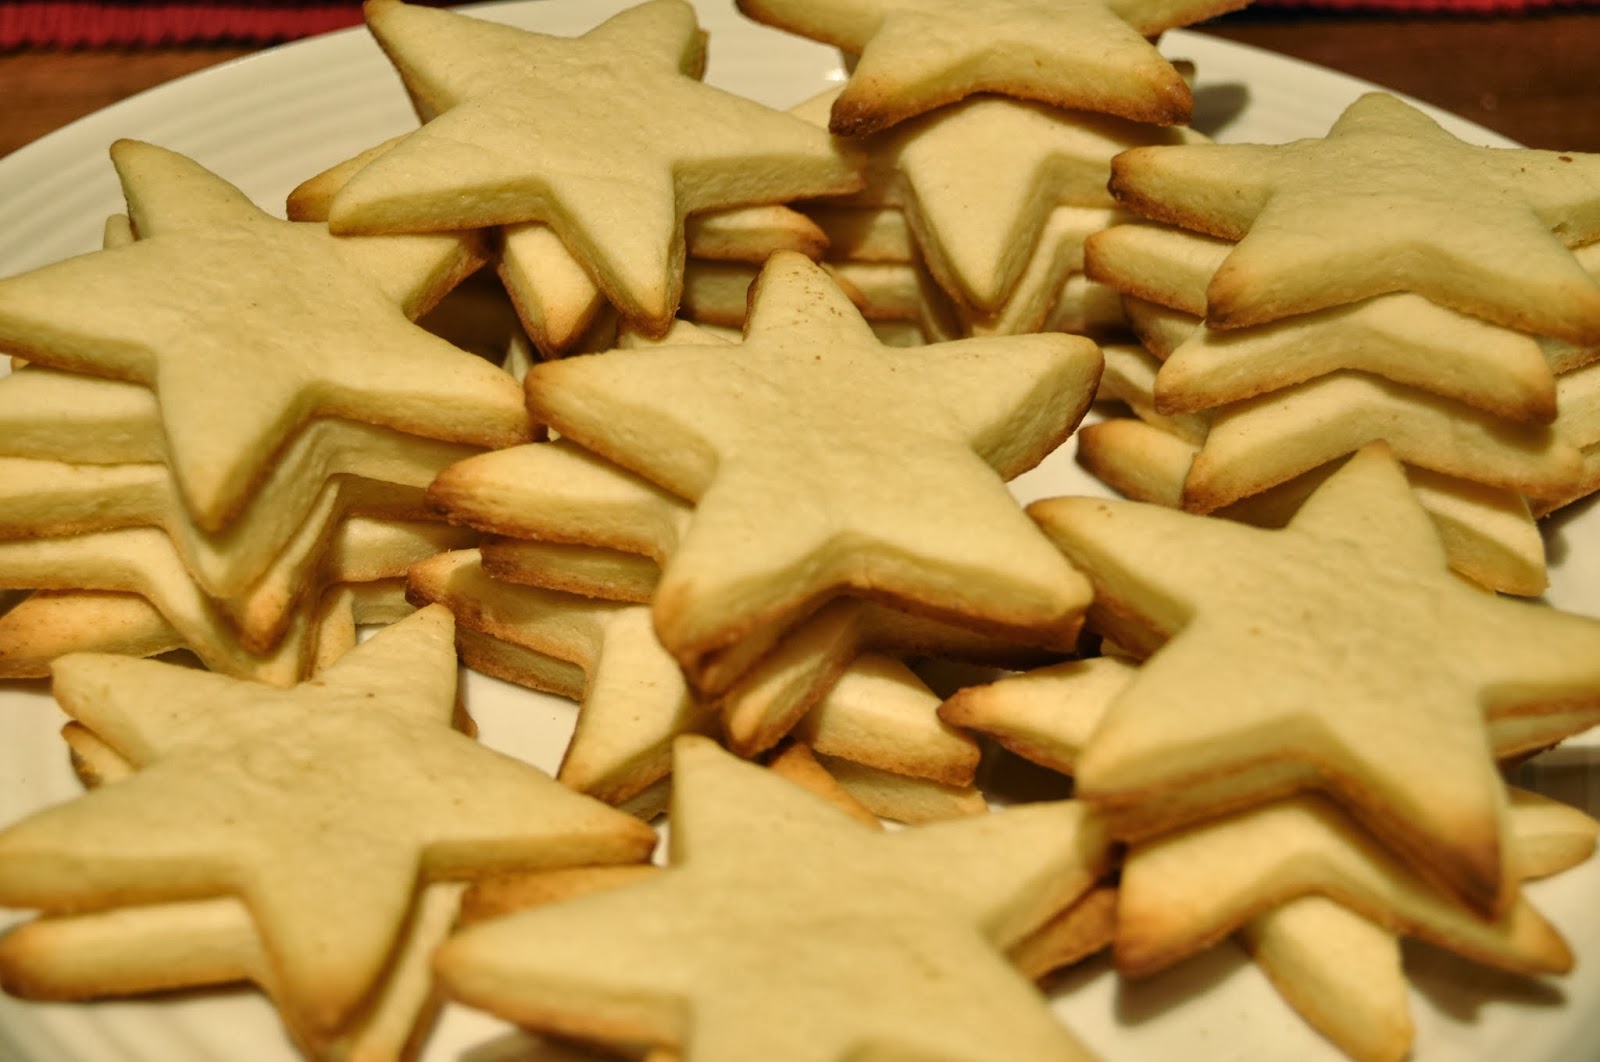
... Some thoughts and drawing later, and after getting out all of my Christmas cookie cutters out, then inspiration hit!
 
I used mini cookie cutters to cut out fondant pieces ~ angels painted yellow (using food colouring mixed with a splash of vodka), pine trees painted green with brown trunks, a little snowflake painted blue and then a house that I cut freehand and painted brown, with a second layer of food colouring painted to create a darker colour for the windows and door.
 
 
After leaving these to dry for a while I got to work on the royal icing piped decorations.
 
 
For Jonathan's musical cousins I placed 3 angels on one of the larger rectangles and piped music notes on around the outside.


For a different set of cousins I used 3 of the trees, and added snowflake sprinkles in the sky, and piped and spread a royal icing lake topped with coarse sugar to give the sparkles of the ice on the lake.  Perfect for the 4 hockey player kids in their family!


For the grandmothers etc, each getting a slightly smaller rectangle I used the snowflake and piped 'Merry Christmas' on each one.  Just something simple!
 
 
Small cakes done, it was time to tackle the big guys!  I wrapped some festive wired ribbon around the edge before getting to work on the actual decorating part (my most favourite bit!).
 
I loved the sparkles on the lake that I did for the forest/lake look cake so I went with that idea, adding another tree, some snowflakes in the sky and a house atop some snow covered hills.


I think this was my favourite of all the designs I painted on fondant and it actually was the first one I got to taste as well at our post-poned Christmas morning with Jonathan's parents and sister due to the power outage, it only happened yesterday!!
 
So the only one left to show you is ours!!  I loved the white on white icing I did for all the cakes last year (click here to see them!) and so I went with that idea again for ours.  Inspiration taken from the inch thick ice that sat on all of the trees in Toronto I piped big trunks and branches, and added small bits of icing and sugar to give the frosty look.  I love how it turned out, especially the scraping of the icing I did on the tree trunks to give a more bark-like look.


And there's just one more to show you before I'm done telling you all about them!  Earlier in December I cut off a rectangle of the traybake of fruit cake and used it for the choir silent auction.  I did a simple white on white decoration for this too, with a little holly and ivy in the corner (absolutely one of my favourite symbols to design or draw in the holiday season!)


I used small cellophane treat bags for the small cakes, and cellophane wrap for the round cakes and used a twist tie before adding these little labels.  (I forgot to get Jonathan to sign them before I took a photo oops!)


So labels done, cellophane wrapped and my cakes were READY!


A few more photos of them the next morning, and then it was time to be Father Christmas and deliver them to the family on Christmas Eve and Christmas Day!

I realise this is a pretty photo heavy blog post, and you're probably wondering where's the recipe.  I'm in a dilemma about whether to post it or not!  It's my Mum's recipe but I don't know where she got it from - I've adapted it a bit to be a 'Hannah' version but still it wasn't truly mine... I'd love to know - do you share your traditional family recipes!?

I think I will write it up soon, but for now - it's picture time :)

I'd love to see your Christmas Cakes if you made one (or more!) this year... What traditions surround your cakes?!


Monday 23 December 2013

Pretty in Pink Cookie Wreaths

In the bleak midwinter, frosty wind made moan… Earth stood hard as iron, water like a stone… ♫

It certainly has been a frosty frosty weekend here in Toronto.  The ice storm hit, many many trees have fallen, the streets are a thick layer of ice and a whole lot of homes are without power.  We were one of the lucky ones who (oh please no jinx) still have power.  Our cable and internet is out which is why this post will be late to the blog this weekend, but honestly – no complaints compared to power outages some people might facing all this Christmas week.  We just had the in-laws over who had no power all last night and today to enjoy some warmth, a hot shower, dinner and coffee!  Impromptu Christmas Party at our place!  A lot of fun :-)

Once this post finally gets put online (maybe I’ll be searching for an open Starbucks tomorrow or something!) I’ll be so happy to be sharing my Cookie Wreaths that were a HUGELY EXCITING project for me this week!!!


So, I was asked again by Rethink Breast Cancer (who I made the mini cupcakes and chocolate dipped strawberries for – check this post out) to create something ‘Rethink’ to say Thank You to 4 locations who donate their space to their terrific program for all kinds events.  Not only does Rethink Breast Cancer run a fantastic program here in Toronto (check out their website here and like theirFacebook page for updates here) but also all over Canada.  So I am super SUPER excited to say I have had my baking shipped all over Canada with this exciting project.  My cookie wreaths were sent nearby to Toronto, to Ottawa and then much further afield to Vancouver and also Calgary!  … That is to say, my cookies have now visited Calgary which is a place I personally have never been to!  The most cool.


Thank you SO much Rethink for giving me this opportunity – it was a lot of fun and I’m so happy I got to create these ‘Rethink’ Cookie Wreaths for your company!
 
I wanted to create something visually appealing, without losing out on taste or flavour, and I had to make sure whatever I baked would be able to be mailed across Canada!  My initial idea (when I maybe was just doing 1 item for the Toronto location!) was to do a tree of star cookies… But these wouldn’t ship too well, so I went to my other idea I had initially proposed which was to do a wreath of cookies.  Using 1 shape of cookie cutter (in my case a star) I planned to ice the cookies, and then arrange them with the points of the star off setting one another, and laying them out on a cake board, glueing them down with royal icing and fixing them into a wreath shape. 

To make it all go with the theme of ‘Rethink’ (as this is who the cookie wreaths would be from), I went with the pretty in pink theme again just like the mini cupcakes from their holiday party!  They use a lot of hot pink in their colouring, and their website has other shades of pink too, so I went with 3 pink colours when I iced the cookies – a bright pink, mid-pink and slightly paler pink as well.  Going for an ombre effect as I layered and placed the cookies in a wreath so that everywhere you looked you would see a different shade of pink.


I decided to use a basic sugar cookie recipe that I have used with royal icing decorations before and trusted it to hold it’s shape when it baked.   Check out the end of the post to see the full recipe instructions.  
 
I made these 4 cookie wreaths over 35 hours…

Waking and getting up for a 7.30am making of the dough…

A few errands, emails and a bit of work later I got to actually baking the cookies…
 

Leaving the cookies to cool while I went to teach in the afternoon/evening…

Getting home, having a speedy dinner before making royal icing and pinking up the star cookies…
 

All iced and left to go hard overnight… 
 
 
Waking up the next day and assembling the wreaths…


Final touches of the ribbon and then they were ready to be packaged up…


Delivery of the cookie wreaths to downtown Toronto and they were FINISHED!

145 cookies baked and iced and done :D
 
An amazing experience to be able to create cookie wreaths that would be used as thank you gifts for a wonderful company serving a truly worthwhile purpose.  I was really glad to be a part of that!  And of course, the exciting part for little baker me to have my cookies used, not only as gifts custom ordered (I like the term cookie commission, or cake commission… I am a musician after all!!)… but also to be shipped across CANADA!!!!!!  Made a pretty awesome year end on a high that’s for sure!

Remember, keep reading below to see the recipe!

As we enter this Fourth Advent (at least it would have been exactly the Fourth Sunday if I hadn’t lost internet due to #icestormTO!) I hope you all have a really really great Christmas week.  Stay warm and safe if you’re still feeling the consequences of this weekend’s bad weather.   

Enjoy time with friends, family, good food and lots of fun times.


Merry Christmas!!
 
Hannah


Ingredients: (This recipe should make around 4 dozen cookies if using a 2/2 ½ inch cookie cutter)


¾ cup butter
1 cup sugar
2 eggs
½ teaspoon lemon extract
2 ½ cups all-purpose flour
1 teaspoon baking powder
1 teaspoon salt

Method:

1.         In a large bowl, cream together butter and sugar until light and fluffy.

2.        Beat in the eggs and extract.

3.       Combine the flour, baking powder and salt and gradually add to the butter-sugar mixture and mix well.

4.       Cover and leave in the fridge for at least 2 hours, or until easy to handle and not too sticky/ warm.

Time out for chilling! …

5.        Pre-heat oven to 400°F and grease baking sheets. 

6.        On a lightly floured surface, roll dough to desired thickness.  I did around 1/8 inch thick for my stars so they wouldn’t be so thin and break too easily… I had shipping to think about!

7.       Cut with cookie cutters and place on greased baking sheets.

8.       Bake in pre-heated oven for 7-9 minutes or until they are lightly browned.  I wanted a slight crunch to the bottom edge of the cookie but still a soft chewable texture too.  I cooked until the very edges started to turn brown.

9.       Let the cookies cool on the pan to let them set.  Then transfer them carefully to a cooling rack and leave to cool completely before icing or decorating.


For the royal icing…

Ingredients:

2 egg whites
2 teaspoons lemon juice
3 cups icing sugar
Food colouring if required.
Tiny amounts of water if needed – the actual humidity can effect how dry or wet your icing turns out.  One day this week (a very very cold and dry -10°C day) I made royal icing and it needed 3 teaspoons of water to get the right consistency… another day, a very wet day before the freezing wet day when it was a very damp and 2°C day it only needed ½ teaspoon to get the right consistency using EXACTLY the same ingredients and method… So don’t panic when yours isn’t quite right, add tiny tiny ½ teaspoons of water at a time until desired thickness is reached.


Method:

1.       Beat egg white and lemon juice a little until blended together.  Do not overbeat.

2.       Add icing sugar gradually, checking the consistency as you go.

3.       If needed, add small amounts of water until the correct thickness is reached. 

4.        If you are using a coloured icing, now is the time to add a few drops of the colour you want!

5.       Fill piping bag with chosen tip and get ready to ice or decorate.

I firstly did the outline of my star shape before flooding the inside of the star. 

6.        Leave to dry completely before assembling into wreath shape.

 
Please let me know if you have more questions about the recipe or how or what I did!


Monday 16 December 2013

A Musical Twist on a Seasonal Classic ♫

Only 9 days until Christmas!!!!
 
Who else is counting down the days?  Not only the days to go until Christmas, but also until everything gets finished up, all of the preparations and the planning, work ending for the year and all the busy times, and craziness to be over so that we can really enjoy Christmas!?
 
I have had a really wonderful semester at work with my piano students, and to celebrate the festive season, as well as bake them a little treat to say well done this year I went with a traditional shortbread recipe with a twist.
 
May I introduce my Traditional Shortbread recipe, modified and decorated to be truly musical - attaching a note to say Happy Holidays and great work this year, but don't forget to keep playing your real pianos over the break! ♫
 
 
Some of my students have received their treats already last week, but most of my students are finishing up their final lessons this week so I'll be handing them out right until my last lesson on Friday!  (Hope none of them are reading this!)... As much as I've had a great semester, the last little while has been CRAZY busy with a bunch of different things going on (usually all at the same time), so I'm really looking forward to the time off over Christmas.
 
I had this idea for musical shortbread a while back.  I have just wrapped up 4 and a bit years at one of my musical jobs, and I wanted to leave the families I have worked with a little treat.  So my first idea was little bite-sized shortbread squares they could take on their way out of class and enjoy.  So I went with this idea and made it musical (of course!) with a little ♫ piped in chocolate on each one.  Just a little musical touch.


Then, in thinking about what treats my students would get at the end of the year I thought I could do a similar idea, but bigger, or better...  And so the piano shortbread idea was born.  At first I thought I would just do it a few keys wide, 3 white keys (C-D-E) and 2 black keys piped on top, but then the idea progressed and I got a little crazier in what I was trying out and decided I wanted a full octave cookie!
 
So over the last couple of weeks I have made 155 musical shortbread bite-sized squares for my group music classes, and 27 larger piano shortbreads for my students (and a few leftover for gifts)...  That is a grand total of 9 batches of shortbread been made in our not-huge condo kitchen!  Paula Deen would be proud of how much butter has been used that's for sure!
 
I've been seeing so many amazing cookie recipes recently so I know you've all been busy with holiday baking of all kinds, so who has time for an extra 9 batches of shortbread this late on in the season?!  So don't worry, I'll just put the recipe up for 1 batch so you don't all think I'm too crazy!  This should make 49 1-inch squares if baked in the same sized pan as I did in my first batch.  Much more reasonable right?!
 
Ingredients:
 
1 cup unsalted butter, softened
1/2 cup icing sugar
1/4 cup granulated sugar
1 tsp vanilla essence
2 1/4 cups plain flour (all-purpose)
1/4 cup white rice flour
1/4 tsp salt
 
Method:
 
1.  Grease and line a 8 x 8 inch square pan with parchment paper.  Grease the paper once it is laid out as well.  Pre-heat oven to 375°F/ 190°C.
 
 
2.  Beat the butter well until soft and fluffy.  The more whipped the better!


3.  Add the icing sugar and sugar and cream together with the butter until light and fluffy.  At least another two minutes in the mixer.
 
4.  Add the vanilla essence.
 
5.   Sift both kinds of flour, and salt into the bowl and mix well until blended together.  At this point don't be put off by the fact it is all crumbs!  I was nervous too that it wasn't coming together, however it is a very dry mixture (have you noticed there are no eggs?!) and it will all be okay in the next step!


6.  Pour the dough mixture into the prepared pan (oops this photo is from a different batch, sorry about the different pan!)


7.  Press firmly down on the dough, pressing the crumbs all together - trying to get an even spread across the pan.  Use something flat to press it all down.

 
8.  Prick holes in the shortbread with a fork at 1 inch intervals.  I was okay with this amount of holes for the bitesized pieces, but when I baked the pianos I actually planned the holes to be in line with where I would be cutting out the pianos or where the black keys would be piped for aesthetic effect!


9.  Place shortbread into the pre-heated oven and bake for 25 minutes, or until the edges have turned a golden brown.
 

10.  Leave to cool in the pan, cut into squares. 

 
11.  Leave to cool completely before piping decoration on top.  I used Baker's chocolate melted, and piped with my smallest circle piping tip.


And 155 musical squares later the first project was finished!


Here's a little look at how the piano process went too... Same recipe, just 6 batches more baked in a tray bake pan to make 9 pianos in each.  You can see here how I pricked the holes for the air to escape through in a sneaky way so that it wouldn't be visible when they were baked and decorated!


The day after baking these I piped the black keys onto them using the same baking chocolate.  I scored the lines with a sharp knife to etch out the white key edges and then piped the black keys on top.  I had made a template for these but for the most part I just went with it and kept piping!  

 
Everything dry and before I packaged them up with the notecard attached it was photo time...


Here's the Sneak Peek I shared with my Facebook and Instagram followers earlier this week... A little preview at what was going to be next on the blog!  Are you following me yet?  I love having new followers and new 'Likes' so please, come on over and see me!!

 
A few more close ups to take a look at the shortbread itself!  Decoration aside, the shortbread taste is for sure the best bit!


Do you bake shortbread over the festive season?  I've had a great time baking these batches upon batches of it, and my number one taste-tester husband has REALLY enjoyed it too :-D
 
Looking for more student treat ideas, check out my Hand Five cookies I baked in the Summer at the end of the school year!