Saturday 21 June 2014

Chocolate Chip Buttermilk Scones

Does anybody else always have to buy such a lot of buttermilk and only ever use such a small amount of it in each recipe!?  That's what happened last week when I made the Coca-Cola BBQ Cupcakes which only required 1/2 cup (125ml) buttermilk for the whole batch of cupcakes!  So, let's just say I had most of the carton of buttermilk leftover.  Bring on the following week's baking and of course, practically it just had to be something with buttermilk in! 
 
I had made these chocolate chip buttermilk scones once before (originally found and adapted from Skinny Taste), and thought they would be a great little dessert, snack, or even a great breakfast for the coming week!
 
 
And they're almost all gone so yes, they went down a treat!
 
I doubled the recipe so it made lots (and I made them big!) and used up as much of the buttermilk as possible!... But feel free to halve the recipe in case you don't need so many. 
 
Enjoy :-)
 
 
Ingredients:
1.5 cups cold buttermilk
1/2 cup sugar
4 tsp vanilla extract
2 large eggs
4 cups all purpose flour
2 tbsp baking powder
1 tsp salt
6 tbsp cold unsalted butter (cut into small pieces)
3/4 cup chocolate chips
 
1 large egg white, lightly beaten
1.5 tbsp sugar
 
Method:
 
1.  Preheat the oven to 375°F and spray a baking sheet with cooking spray.
 
2.  Combine buttermilk, sugar, vanilla extract and eggs in a medium bowl and stir with a whisk.
 

3.  Combine flour, baking powder and salt in a large bowl. 
 
 
4.  Add the small cubes of cold butter and work with a pastry blender, or your fingertips until the mixture resembles coarse breadcrumbs.
 

5.  Gently fold in the chocolate chips.  Then add milk mixture and fold until moist.
 
 
6.  Place the dough onto a floured surface and knead lightly with floured hands.
 
 
7.  Pat out the dough to desired thickness and cut out with a round cookie cutter (I used a large round cutter, and also a small one to get various sizes of scones!).  You could also form the dough into a circle and cut the dough into wedges all the way through as the original recipe on Skinny Taste does!
 
 
8.  Brush egg white over the dough and sprinkle evenly with sugar.
 
 
9.  Bake until golden, about 20-25 minutes - depending on the size of your scones.
 
10.  Serve warm, and maybe even slice them open and spread a little butter over, mmmmmm!


After these were baked up they kind of reminded me of giant footballs!  They were rather big and the chocolate chips looked like the old school kind of black and white footballs so I added a couple of candle decorations I had in the cupboard and renamed them (in my head!) 'Soccer Scones'!


A little bittersweet now as England are out of the World Cup (and Canada never even made it!) but oh well.. at the time of baking there was still hope!... Bring on Wimbledon I guess!!
 
 
This may be the final blog post I'll get up on here for a while... There's all kind of busy times ahead, lots of adventures and things going on - I'll update you all soon, and hopefully write a few extra blog posts to make up for a few weeks off but for now - enjoy July and I'll be back soon :-)

Wednesday 11 June 2014

Summer Grillin' - Cupcake Style!

 
Summer is here and it is most definitely BBQ season!.. More than it usually is in our house anyway!
 
We celebrated our friend's 30th birthday the other day with lots of delicious bbq food and a great evening, topped with a donut tower birthday cake (what a great birthday when it lands on National Donut Day!), cake and then also more cupcakes from me!  Perfect!
 
I went with the BBQ theme seeing as that's what we were going for, and it is the season after all! 


Using the same recipe for Coca-Cola Cupcakes as my New Home Cupcakes over a year ago, I thought it was time to use this recipe again, especially as the birthday boy is a fellow coke lover.  They're a little different to regular "cupcakes", with a super dense cake part, and a delicious glaze - with no swirl of buttercream.  This meant I wanted cupcake toppers that were flat, 2D rather than 3D ones so it would lay flat on the surface of the cupcake glaze.
 
So I got to work creating the BBQ themed fondant cupcake toppers.  First up were the burgers.  These were my first idea, and the one I definitely knew how it should look.  I coloured small amounts of fondant a brown colour for the burger, and then a yellow-brown colour for the bun, and used a sharp end of a cake decorating tool to make little "sesame seed" indents.
 
 
Next was the ketchup and mustard!  A little out of scale compared to the burger, but who wouldn't rather have a big burger!?
 
 
Then the choice was between making a '30' cupcake with some birthday decorations, or doing a third BBQ topper.  I went for a third design on the same theme, tying it all together with some corn!  Green and yellow fondant coloured and then cut out with various parts of cookie cutters to get the shapes and sizes I wanted.  The green part came from a maple leaf cutter, and the corn part from the little finger on a high-five hand cookie cutter.  Just using what I had instead of free-styling the cutting!  Then I used the end of a cake decorating tool that looks like a scalloped shell on the end to create the texture of corn.


 Fondant cupcake toppers all done - giving them a little chance to dry out/harden slightly through the morning.  This was some seriously early cupcake prep - after not getting back to sleep at 5.30am on a Friday where I wasn't working, I decided the only way to be productive that day was to just accept that sleep was done for the day and I might as well start baking!

 
So, with the Coca-Cola cupcakes baked, and cooling, and the glaze deliciously smooth ready to be spread over the cupcakes - see the recipe here - it was time to decorate!


The great thing about decorating with cupcake toppers when they are already made is that, once the cupcakes are baked up, everything is ready to go!  Assembly is nice and easy, and in fact, it made the early baking wake up worth it!

As the recipe is already on an old post, all that is left to share are some close ups of the cupcakes, and more photos!


Which is your favourite design of the 3?  I think I still love my original idea of the burger, but I also am really pleased with how the corn turned out!


Perhaps you'll give them a bake this weekend for Father's Day, or for a BBQ Birthday coming up this Summer!  Have fun with fondant cupcake topper prep - and then enjoy how easy everything is to put it together once you're done baking :)   I'd love to see your BBQ cupcakes if you try them!!
 
Happy BBQ Season!!

Wednesday 4 June 2014

♫ So Long, Farewell, Auf Weidersehen, Goodbye! ♫

 
It's a super sad week for me here, as I'm saying goodbye to all of my piano students, many of whom I have taught for 4/5 years now - some since I arrived in Toronto and started teaching here!
 
With all the other excitement happening this year, my time with these students has come to an end - at least for now!  I'll be away from teaching piano for a few months but I'm so pleased with how I chose to celebrate my students and my time with them.
 
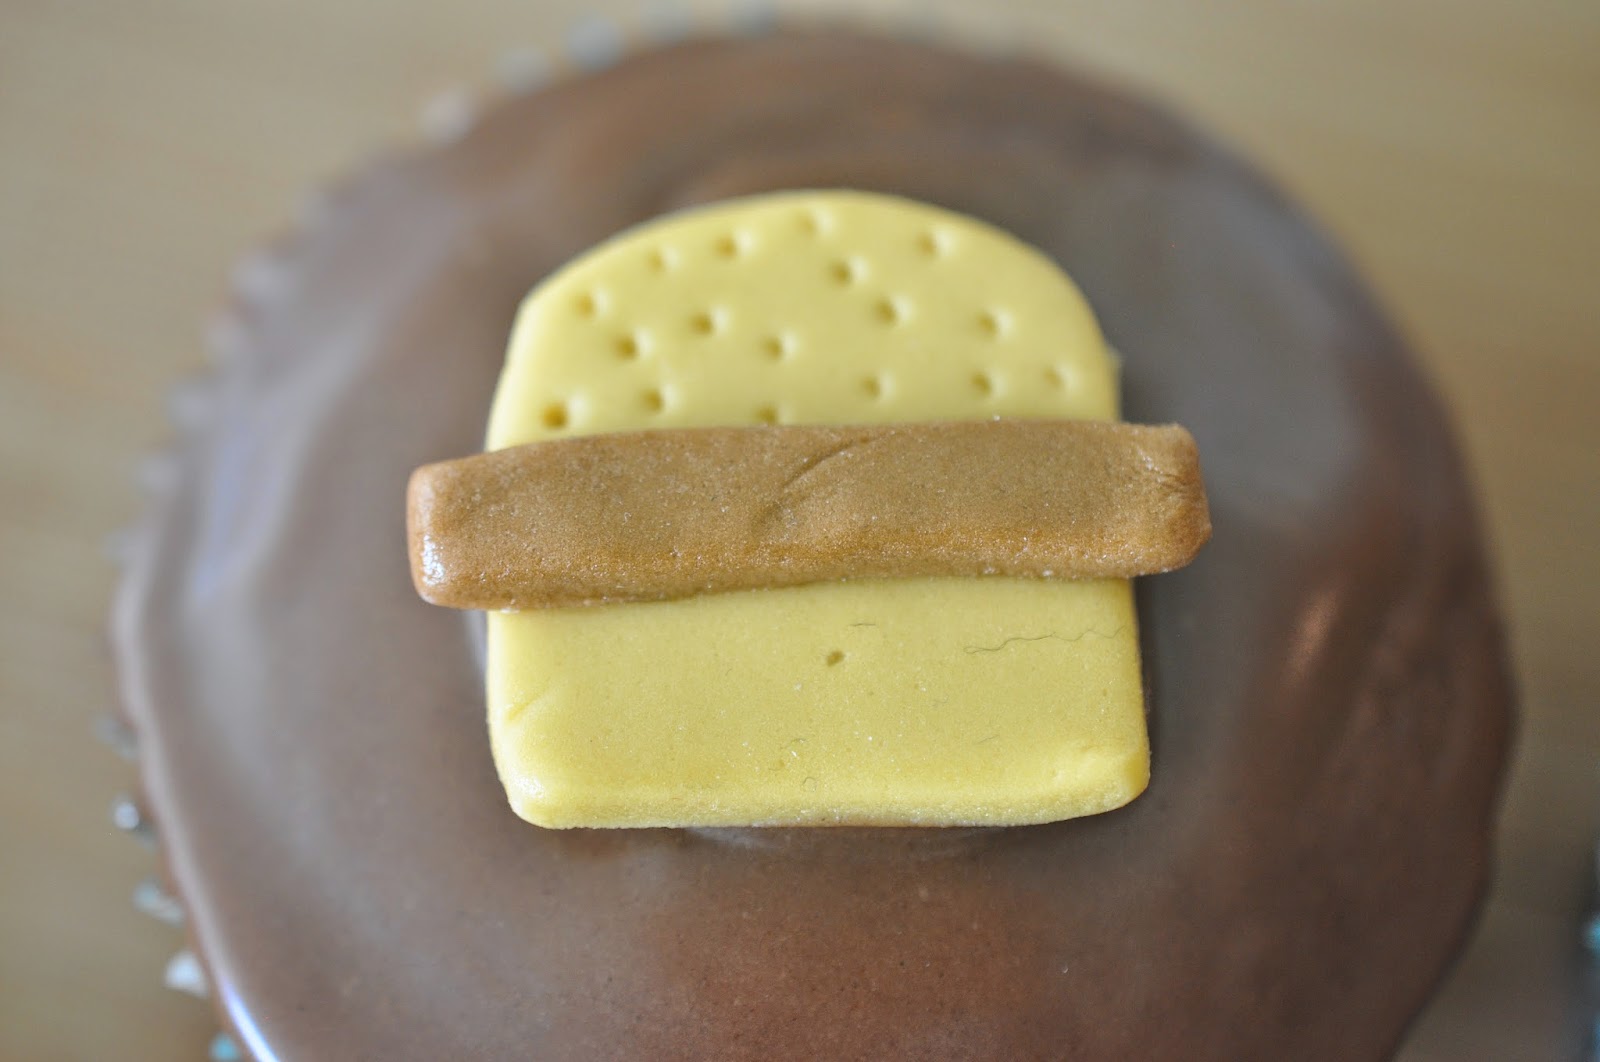
In the past, for Christmas and Summer gifts I have mainly baked their treats!  My favourites have been Musical Shortbread and High Five Cookies :)  But this little project was something baked in the oven, that, for once in my life wasn't a cake!
Having seen DIY Sharpie Mugs for a long long time now on Pinterest, and in other bloggers' projects, it's surprising to me that I've actually never tried it!  So now was the time!
 
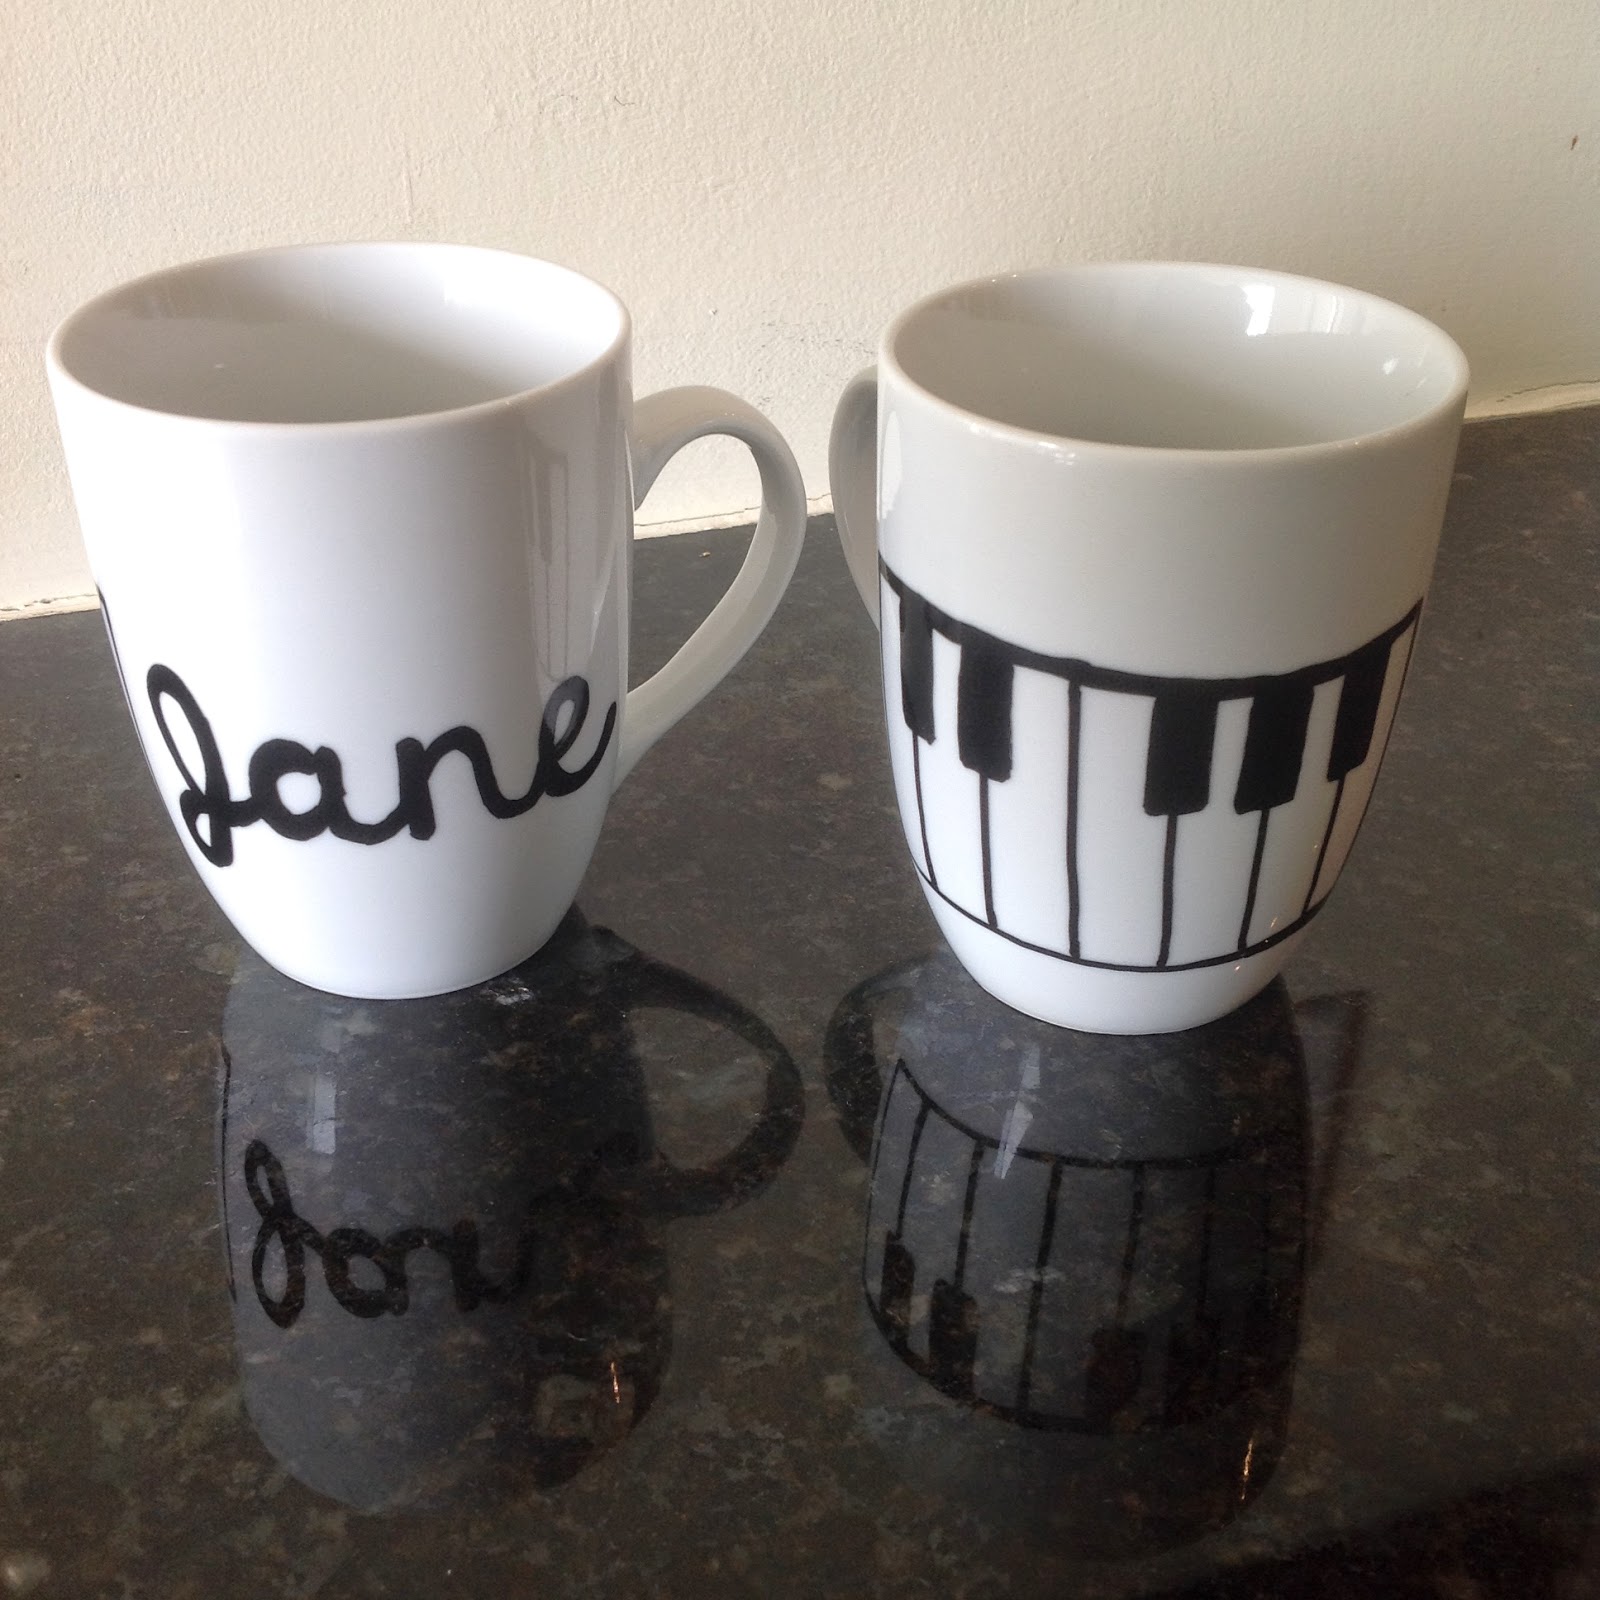
A black and white piano, using a black oil-based Sharpie on a white mug... I liked the idea of a distinct image on the white mug, and then to take it to the next level for my students - to personalise it for each of them.  That was my favourite part, and definitely their favourite part when they opened their gifts!  It worked especially for those students who were siblings because the mugs were individual for each of them :)


I read many posts about the DIY Sharpie projects, and saw how most of them were similar enough, but each had something slightly different they did about them.  I'll tell you how I did it, and how I combined many elements of the "usual" way I found, and chose my own way as I went along as well.
 
What you'll need (weird not to be writing 'Ingredients' here!):
 
Oil-based Sharpie pen in colour of your choice - I purchased a Fine Black pen from Michaels, with 40% off of course!
Plain white mug - I read a lot that the cheaper the better - I got 3 packs of 6 plain white mugs for $10 from Canadian Tire.
 
Before I bought the mugs, I put together a word document with my students' names on in 3 different fonts, some to match personalities, others that fit the style of font with the name itself!  I chose these fonts which I had previously downloaded free: 'Hello Heartache', 'Girls Have Many Secrets' and 'KG When Oceans Rise'.  In the end I only used these as a reference as I copied the font, and used them as a guide on sizing too.
 
Directions (Method?!):
 
1.  Wash the mugs in soapy water, rinse and leave to dry.  Make sure the mugs are completely dry to make you start.


2.  Decide on your image, and using the Oil-Based Sharpie Paint Marker just let it happen!  You could etch out the design with eyeliner (as I found when I researched), or even try a pencil transfer from a printed design, but I used the printed names as a guide for sizing, marked where I wanted to start and finish, and then freestyled the rest. 
 
 
3.  Once the names were done, it was piano time.  I'm lucky - I have drawn an octave of a piano MILLIONS of times in my life!  It was easy to draw freehand, just using a random rectangle (in fact, a pack of stamps!) for the sizing, and then colouring in the black keys by eye.
 
 
4.  The paint pen did appear to dry just as I worked on each mug (I did 4 the first day, 11 the next, and 3 the final day of DIY-ing - I always had to stop and leave for work!).  Then, placing the mugs on a baking sheet - so they are not touching, place in a cool oven and turn the oven on to 450°F.


Careful not to pre-heat the oven before you put the mugs in.  The gradual heating of the oven helps the mugs adjust to the heat, to slowly heat up and to keep everything from cracking.
 
5.  Bake for 30 minutes, then turn off the oven and leave to cool without opening the oven door.
 
*** Whilst my mugs were baking, especially the day there were 11 mugs in there, the smell did get quite toxic!  Luckily, with both the oven fan, and our unit's fan on, and a sunny balcony to go and sit on, it was okay - but do be wary of this if you're in a small space, or are doing a lot of these!  I don't know if it is anything super toxic, but the smell was not great, and I felt like it was not the best to sit inside while it smelt so pungent! ***
 
 
6.  When the mugs have completely cooled (and for me, overnight) - wash in warm, soapy water again and leave to dry.
 
 
7.  Go over any patches of the black design that might have cracked, or be more faded than the rest.  Some of the black piano keys needed a second coat of the paint marker, and some of the thicker parts of the names - but it was super easy to go over a second time.
 
8.  Do a second bake in the oven, again placing them in a cool oven, turning on to 450°F, baking for 30 minutes and then leaving them to cool completely.  When cooled, give them another wash in warm, soapy water.


So there were many different thoughts on whether these mugs could be dishwasher safe or not.  My research on everybody's different blog posts on the project lead me to believe, that yes, if you use the oil-based Sharpie paint markers, and do at least 1 bake in the oven, they are likely to be dishwasher safe.  In my two hand-washings of the mugs there were no problems at all, I just haven't been brave enough to try the dishwasher yet! 

 
I marked up the tags (that had a special note to each of my students telling them I'd miss them a lot!) as Hand Wash Only, just as a precaution, and then stuck one of my Sew Lah Tea Dough stickers on too!
 
A double wrap in tissue paper to keep them safe as I took them to student's houses, and schools, placed in white paper bag, with a strip of piano tape I have had in my craft box forever, and they were ready to go!
 
 
17 DIY mugs made, as of today, 11 given out, and 6 more to go before my time teaching all of these amazing students is over :-(  I am SUPER happy with how much they have all loved the mugs.  Many have finished their lessons to run to their Mum/Dad and show them their new mug with their name on it... YEY!  That's a good feeling!  Hopefully they'll be able to keep them forever, and always enjoy their piano lessons.


Now I have tried this DIY Sharpie project, I cannot wait to do it more!!  New colours, new designs... I already have one in mind for the Summer time, you'll just have to wait and see how that one turns out.
 
 
I'd totally recommend this project for anyone!  The Sharpie pens make it easy to design and draw with, as you're holding a pen - not a paintbrush!  Keep the design simple and it will be totally effective - it's shiny and well glazed and looks professional (at least to my 10 year old students!!).
 
♫ ♫ ♫ ♫ ♫ ♫ ♫ ♫ ♫ ♫ ♫ ♫ ♫ ♫ ♫ ♫ ♫ ♫ ♫ ♫ ♫ ♫ ♫ ♫ ♫ 
 
Good luck to all of my students in their future musical endeavours and piano playing... I am going to miss you all A LOT and hope to always keep in touch!