Thursday 28 August 2014

Never Have I Ever...

... baked with COCONUT!! 

Usually all of my blog posts are me raving about foods, and tastes and flavours that I love - but not this time!!!  It was time to bake something that I wouldn't even be tasting.  All for my sister-in-law's 25th birthday :-D


Not a fan of anything that tastes, smells or even resembles coconut - this was a big adventure.  I've never used it in any recipes but luckily I found a recipe that used both lemon rind and shredded, sweetened coconut in it, and we all know I really do love lemon!

I used the same real raspberry buttercream as in these cupcakes back in May... some issues with too-soft butter and consistency, I think from the fruit, led to some (... by some I mean a lot) of frustration but the buttercream still worked out and tasted good, even if the piping was not favourable in my eyes!

I baked a double batch of these cupcakes, taken from a Canadian Living recipe (using only the cake part not the frosting) - with a dozen being the coconut ones, and a dozen without the coconut to be a delicious lemon flavour to accompany the raspberry frosting!  I'll write out the recipe for 12, the original with both lemon and coconut and leave it up to you whether to include the coconut or not - each to your own :-P

Ingredients:

1/2 cup butter, softened
1 cup granulated sugar
2 eggs
1 1/2 cups all-purpose flour
1/2 cup shredded, sweetened coconut
4 tsp lemon rind (for me this was the rind of one large lemon)
1 tsp baking powder
1/4 tsp salt
1/2 cup milk


Method:

1.  Preheat oven to 350°F and line cupcake tray with liners.


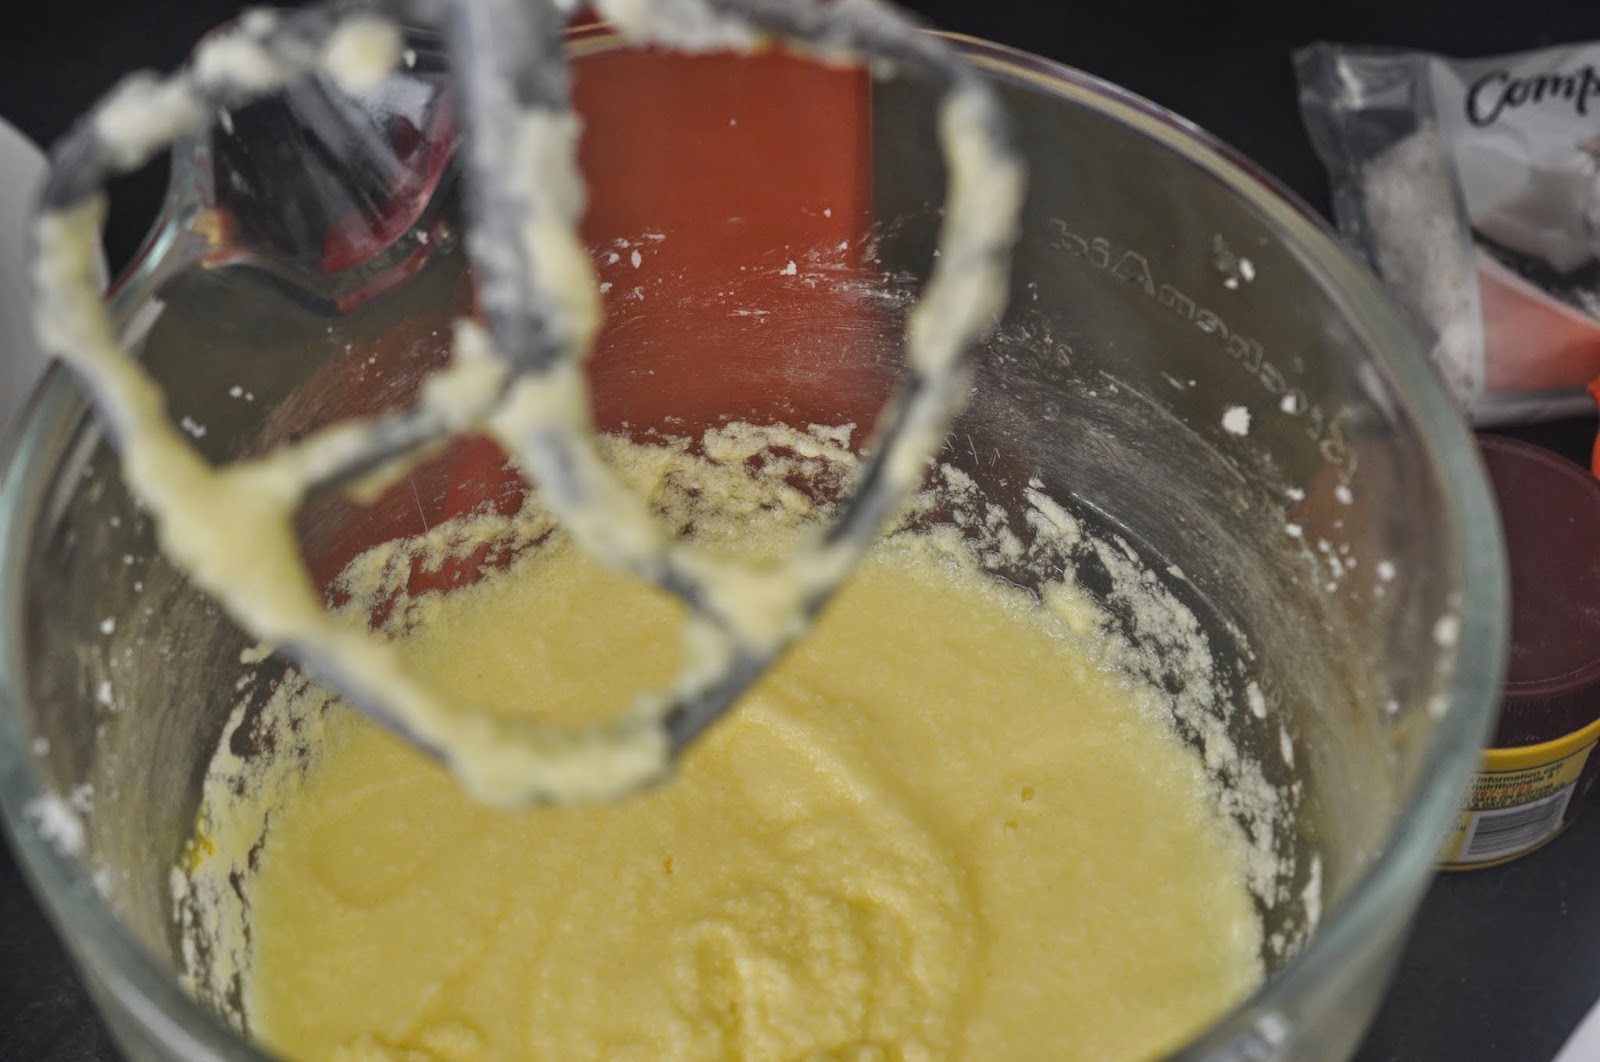
2.  In a mixing bowl, beat the butter with the sugar until light and fluffy.


3.  Add the eggs one at a time, beating after each addition.


4.  In a separate bowl, whisk together the flour, lemon rind, baking powder, salt and coconut.


*** N.B. When I did my double batch, I actually added in the coconut after everything so that I could use half the batter as only lemon, so that's why the picture of the coconut is into the wet mixture - not the dry ***


5.  Stir the dry mixture into the butter mixture, alternately with the milk in between - making 3 additions of dry ingredients and 2 of milk.


6.  Using a cookie scoop, spoon into the cupcake liners and bake in the centre of the pre-heated oven for 20-25 minutes.  The top should be lightly browned, springy to the touch and a cake tester should come out clean.

I noticed that without the coconut the cooking time was 18 minutes for me, but in the second batch that had the coconut inside as well - it was quite a bit longer, at around 24 minutes. 

7.  Remove from the cupcake pan and let them cool completely before frosting on a wire rack.


8.  In the meantime you can make your desired frosting - try the real raspberry buttercream I used to complement both the coconut and the lemon flavours :-)  Click here for the recipe!

So, even with meltage of butter causing a meltdown - the cupcakes were piped, and coconut ones were "labelled" with white pearls as decoration (I did NOT want to bite into a coconut cupcake by accident!) and taken to the birthday celebration!


The cupcakes were shared with lots of family, and then friends at the start of this week too!  They lasted quite well, and the coconut was appreciated by fans of the strange flavour!!


If you're a coconut fan like them, do give the recipe a try, or if, like me, do NOT like it - try the same recipe with only the lemon rind for the flavouring, that part was well worth it too!!  Enjoy this Summer treat :-D


Friday 22 August 2014

Triple Lemon Cake for my Birthday!

Hello there - nice to see you again this year.  As I did last year, I made Hannah a delicious (?) birthday cake again this year, so here is me blogging about what exactly I did.  If you all remember, last year I tried to make a cake based on Hannah's favourite things - specifically Cadbury's chocolate and Tetley's tea.  So this year both those flavours were out, because I will not be a flavour repeater.  Hmmm what does Hannah like... LEMON!

This year's cake was a delicious triple lemon cake based on a recipe by Martha Stewart.  Why triple lemon?  Because it is a lemon sponge, doused in lemon syrup, and covered in a creamy gooey meringuey lemon frosting. YUM!  Let's get down to it.


Ingredients (Serves 12): 
 
1 cup unsalted butter, room temperature, plus more for pans
2 1/2 cups all-purpose flour (spooned and leveled), plus more for pans
2 large eggs plus 3 large egg yolks (save the whites for later!!)
1/2 teaspoon baking powder
1/2 teaspoon baking soda
1 teaspoon salt
1 tablespoon lemon zest
2 cups sugar
1 cup buttermilk
1/4 cup plus 2 tablespoons lemon juice
1 lemon, thinly sliced and seeded (this means very thin! Thinner than I did!)


Directions:

1. Heat oven to 350°F.  Butter and flour two 8-by-2-inch cake pans, tapping out excess flour.  In a medium bowl, whisk together flour, baking powder, baking soda, salt, and lemon zest.

2. In a large bowl, using an electric mixer (trusty Kitchenaid!) beat butter and 1 1/2 cups of sugar until light and fluffy.  With mixer on low, beat in eggs and yolks, one at a time.  Beat in 2 tablespoons of lemon juice.  Alternate adding flour mixture and buttermilk, beginning and ending with flour mixture (I did 3 additions of flour, 2 of buttermilk).  Mix just until combined.

3. Divide batter between pans; smooth tops.  Bake until cakes pull away from sides of pans, 32-35 minutes. (This was really cool and easy to know when it was done, because it did clearly and visibly shrink around the edge a bit where I could see a gap between cake and pan.  Great foolproof plan for novice bakers.)  Let cool in pans 10 minutes.  Run a knife around edges of pans and invert cakes onto a wire rack.

4. While cakes are baking, bring remaining 1/2 cup of sugar and 1/2 cup of water to a boil in a saucepan.  Add lemon slices and simmer for 25 minutes.  Using slotted spoon, transfer lemon slices to a waxed-paper-lined plate.  Stir remaining 1/4 cup of fresh lemon juice into syrup.

5. Using a toothpick, poke holes in warm cakes on rack.  Brush with lemon syrup.  Let cool completely.  Frost cakes (more on this coming!) and top with candied lemon slices.
So this is a triple lemon cake.  That means the frosting needs to be lemony as well, so I took Martha Stewart's whipped frosting and added lemon juice to lem-it-up!
 
Whipped Frosting:
 
3 large egg whites (remember them from before?)
3/4 cup sugar
pinch of salt
1/3 cup water
1/4 teaspoon pure vanilla extract (or in our case 2 tablespoons lemon juice)

 
Directions:

1. In a heatproof bowl set over (not in) a saucepan of simmering water, combine egg whites, sugar, salt, and water. 

2. Cook over medium heat, stirring constantly, until sugar has dissolved, 3-5 minutes. 

3. Transfer to a large bowl.  Using an electric mixer (Kitchenaid again, with whisk attachment), beat on medium-high until glossy, stiff peaks form, about 3 minutes.

4. Reduce speed to low, add vanilla (lemon!), and beat until just combined.  Use immediately.
So there you have it.  Lemon cake, with lemon syrup to make it moist and delicious (even a week later), and lemon whipped frosting on top.  Word to the wise, be sure to whip the frosting until the peaks truly are stiff.  I don't think I went quite far enough with that, so the nice fluffy frosting you see below was a bit less fluffy when Hannah got home from work to eat the cake, and had almost dissolved completely by the next evening.  Magical disappearing frosting!
 

The only other advice I would give would be to slice the lemons with a mandolin, if you have one, so that they candy properly and stack more prettily on top of the cake. I did it as thinly as I could with a knife, and it wasn't quite thin enough.


See you next year!


Tuesday 12 August 2014

Old Faithful - Corn Bread Muffins

I'm a little late to posting this week's blog post this week ... but I'm MORE than surprised that I have never blogged these cornbread muffins before.  They made an appearance on my old original Tumblr site a long time ago (but well, that was a flop and definitely didn't get to 102 posts like this blog has!!) and we've made them countless times.  Which is why I'm surprised they never made it to Sew Lah Tea Dough... But oh well, that's something to post about this week right!? 
 
We had friends over to our new house last week, eating a pulled pork lunch with coleslaw and cornbread and hanging out with our Irish friends, soon to leave Toronto to go to London.  We're going to miss you!!

 
I love cornbread muffins and this recipe, taken from Food Network's Down Home with the Neely's has nothing wrong with it!  We have used it over and over, so whilst I can claim no part in the origins to the recipe this time - I can assure you it has well and truly been tried and tested by us and we will continue to bake them, they are definitely our old faithful cornbread muffins!!  Here's how you can bake them too...
 
Ingredients:
 
1 cup cornmeal
1 cup all-purpose flour (plain flour)
1/2 granulated sugar
1 teaspoon salt
1 cup milk
2 large eggs
1/2 stick butter, melted
1/4 cup honey

Method:

1.  Preheat the oven to 400°F and line a cupcake tray with liners.
2.  In a large bowl, mix the cornmreal, flour, baking powder, sugar and salt.
3.  In another bowl, whisk together the milk, eggs, butter and honey.
4.  Add the wet to the dry ingredients and stir until just mixed.
5.  Pour the batter evenly into each of the cupcake liners and bake for 15 minutes, until golden brown in colour and springy to the touch.
6.  Serve the muffins warm - either fresh from the oven or after a quick few seconds in the microwave.  A little spread of butter melting down the middle never hurt either!
 
So no fondant decorations for these muffins... Not sure how that would taste - so instead here, the theme was Canadian flags and British cupcake liners... Marking our friends departure from Canada and arrival in the UK!  Have an amazing new adventure guys :-D