Thursday 23 October 2014

Thanksgiving Apple Loaf with Maple Syrup Buttercream

A little late to the blog this week, but I haven't been able to write about the Apple Loaf I baked for Thanksgiving, mainly due to being busy with the thing I am most thankful for in the whole world... Our little girl arrived safely on Wednesday 1st October, and we are just the most happy little family and life couldn't be better. 

So now perhaps baking isn't the baby in my life anymore!  But I have successfully baked, and one-handed baking is now a thing I should probably get used to, but it couldn't be more fun :-)

I had a bunch of apples to use and Thanksgiving dinner at my cousin-in-laws so I wanted to find a relatively easy and quick loaf recipe to bake in between feeds and changes that would work for the post-dinner, post-dessert, coffee and cake course of Thanksgiving!

I found this Apple Loaf recipe and thought it looked like just what I was looking for... As usual a few tweaks and it was just perfect!  Very moist, which meant it also kept really well too.  Give it a try this Fall!
 

Ingredients:

175g unsalted butter, softened
175g sugar
3 large eggs
1 tsp vanilla extract
225g plain flour
1 tsp baking powder
1 tsp ground cinnamon
1 tsp pumpkin pie spice
25ml milk
2 medium apples, peeled, cored and grated

 
Method:

1.  Preheat the oven to 170°C/325°F and grease and line a loaf tin with parchment paper.

2.  In a stand mixer, cream the butter and sugar together until light and fluffy.


3.  Add the eggs one at a time, beating after each addition and add the vanilla extract with the last egg.


4.  Sift in the flour, baking powder, cinnamon and pumpkin pie spice and mix together until combined.


5.  Add the milk and stir in.


6.  Add the grated apples and fold through so that they are evenly distributed. 

 
7.  Transfer the batter to the prepared tin and place in the preheated oven for 1 hour - 1 hour 15 minutes, until a skewer or cake tested comes out clean. 


8.  Take out of the oven and leave the cake to cool in the tin for 15 minutes before transferring to a cooling rack.

 
For added deliciousness I took some plain buttercream I had leftover that was in the fridge, and added 2 tablespoons of maple syrup, mixing it together to make a maple buttercream that I didn't decorate the cake with, but put in a bowl ready to be spread on the loaf (kind of like bread and butter) for people to have as much or as little of a wee bit of sweetness with their slice of apple loaf!


It has been the best October so far, and I can't wait to post more baby related crafts, sewing projects and one handed bakes soon :-)

Monday 13 October 2014

Vanilla and Chocolate Marble Cupcakes

 
Not very seasonal for this Fall/Thanksgiving time of year, but I wanted to share these cupcakes I made a few weeks ago as it was a try at marble cupcakes that I had never made before.
 
I was SUPER excited to also first be using my new 24 cupcake baking pan that I got for my birthday this Summer.  So much easier to make lots of cupcakes, and bake them evenly and quickly.  We had the youth group over for a back-to-school but also housewarming event so I needed cupcakes for that, and then the following day my choir threw me a really nice 'baby day' celebrating together with cake and sunshine so this was my sweet treat that I took along for us to all share... especially as I'm not at choir rehearsals this semester so no snacks to take there each Tuesday!
 
 
I wanted to make cupcakes, and the marble idea just popped in my head!  I've never tried it but have seen it many times and thought it was time for me to try it too.  I had one other idea of cupcake flavour but thought I would wait until Autumn really hit to try that, so I went with basic vanilla and chocolate flavours but to make it more exciting it would be marbled.  I decorated it with a vanilla buttercream and milk chocolate curls. 

I whipped up two batches of cake batter... Here's the recipe...

Ingredients:

For the vanilla ~
4oz unsalted butter
4oz sugar
2 eggs
4oz self-raising flour
1 tsp vanilla essence

For the chocolate ~
4oz unsalted butter
4oz sugar
2 eggs
4oz self-raising flour (minus 2 tbsp)
2 tbsp cocoa powder

 
Method (for both batches):

1.  Preheat oven to 375°F. 
2.  Cream together the butter and sugar in mixer until light and fluffy.
 
3.  Add eggs one at a time, beating well between each addition.
4.  Add vanilla essence *if on the vanilla cake batch*
5.  Sift in self-raising flour *and if on the chocolate batch, take out 2tbsp flour and replace with cocoa powder)
6.  Mix well until all combined.
7.  When both batches are made, take a small cookie scoop and place one scoop of vanilla cake batter, and one scoop of chocolate cake batter into each cupcake liner.


8.  Using a cake tester/skewer, swirl the two scoops together to achieve the marble effect.


9.  Bake in the oven for 15-20 minutes, until cooked through and spring back to the touch.


10.  Cool on a cooling rack and admire the marbled effect, and how cool and unique each cupcake looks!


11.  Using a 18oz icing sugar, 12oz unsalted butter, 1.5 tsp vanilla essence and 1.5 tbsp milk mixture, make buttercream to frost the cupcakes. 

 
12.  I used a large Wilton closed star tip to pipe the buttercream onto the cupcakes.  I was sad to be covering up the marble design of the cupcakes!
 
 
13.  Using a potato peeler, a few curls of chocolate later and these cupcakes were ready to be eaten!


Thanks Mum for this amazing new cake server you got me for my birthday in August, it's my new favourite!  I love it :-)


So next time I make cupcakes, I'll try the more Autumn-y recipe I had in mind, so watch this space for more baking soon!


Monday 6 October 2014

DIY Baby Burp Cloths

 
Not a baking post!  Who knew!?  ... Baking for me has that has to happen that weekend, or for that particular event feeling as well as being a consumable that obviously makes it delicious enough to want to do immediately!  But then all my ideas for sewing projects and things I want to craft and make get put on a list in my head and wait until everything else is done which means I often don't get around to it!
 
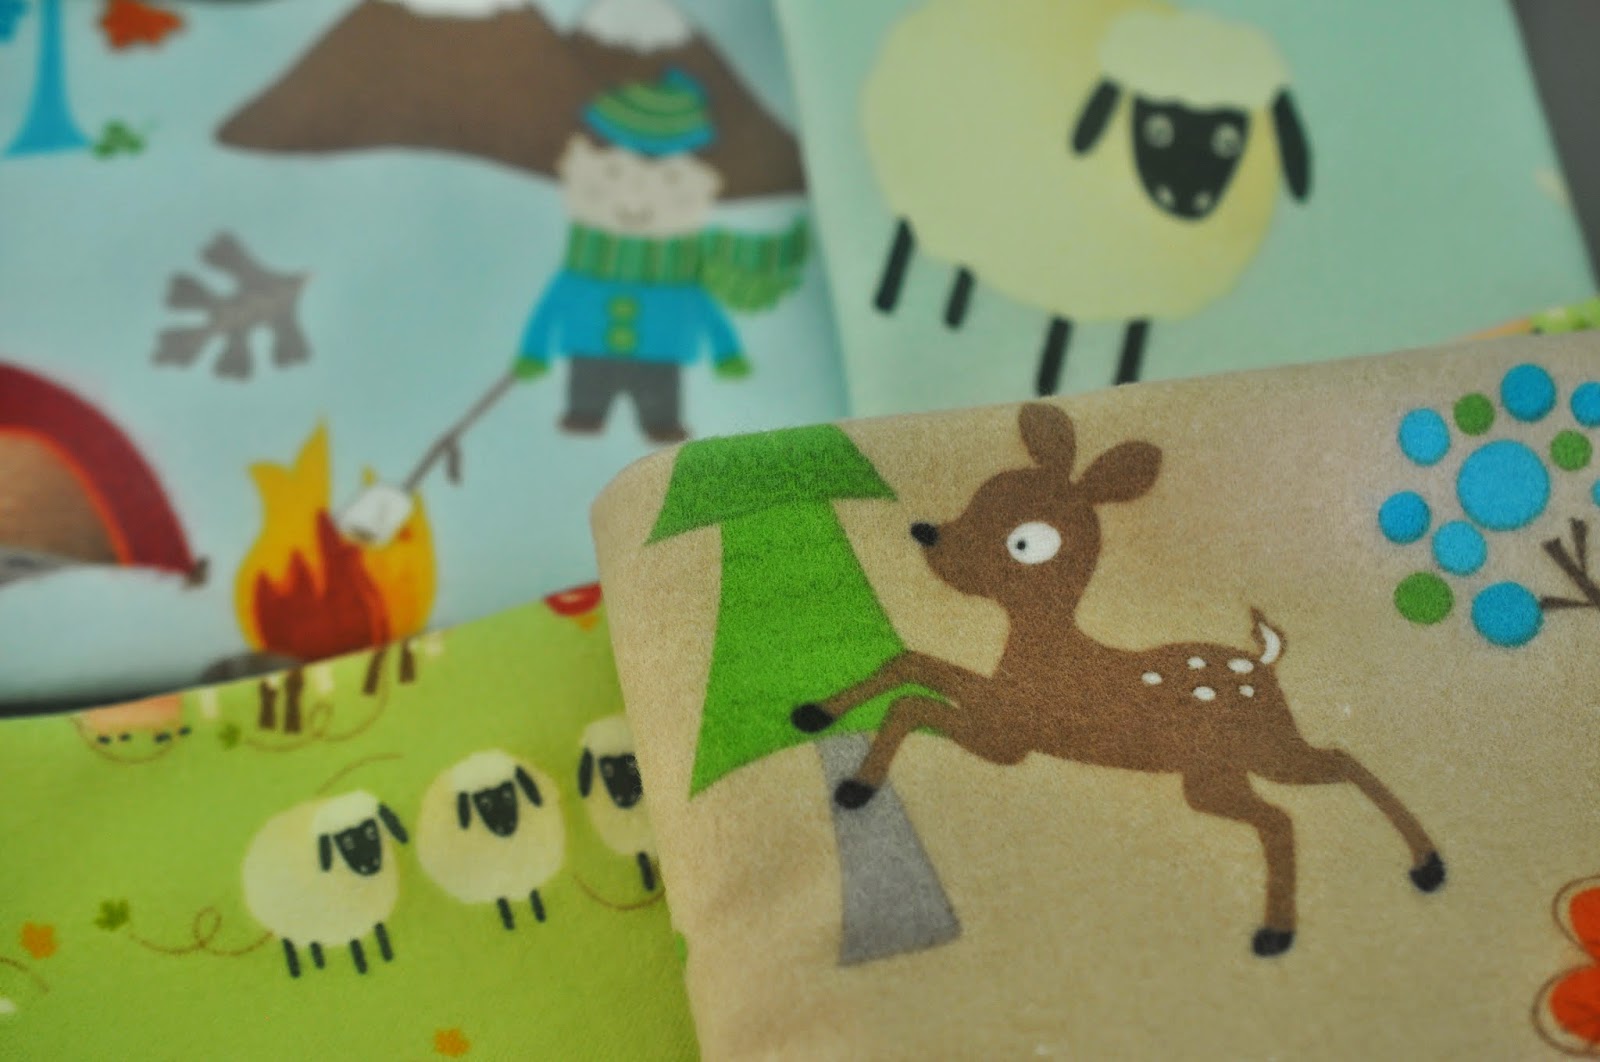
BUT this week, with a bunch of important and necessary to-do list things checked off the list, I finally got around to getting out my sewing machine and getting to work on these nice and easy baby burp cloths I had been wanting to make since I found this variety of super cute flannel fabric at Fabricland a good few months ago!
 
Expecting an Autumn baby, the colours and the designs are perfect for our soon to arrive little one (or perhaps...already arrived by the time this post goes live!?) and burp cloths were something we didn't have yet.
 
It was a nice and easy project to start with... We don't know the gender yet, so sewing clothes will have to wait until he or she is born, so I thought I'd start simply.  I bought some soft white flannel to back the cloths with, contrasting against the fun flannel prints I had found in the 'quarters' section. 
 
If I'd been in the States, I'd have been able to do this for even cheaper!  So at trip to JoAnns might be necessary soon for more baby related projects :-)
 
So with pre-washing fabrics done, I was ready to start... These cloths could be made with any design of fabric, to any size you desire - and don't have to be flannel like mine were, but I personally LOVE flannel so chose to do both the front and back in that, but I might also try something with more of a terry cloth backing to it as well perhaps.  But, I'll share the way I made mine, with my dimensions and the way it worked out!
 
1.  Select your fabric to make the cloths and pre-wash and iron before starting to cut and sew.

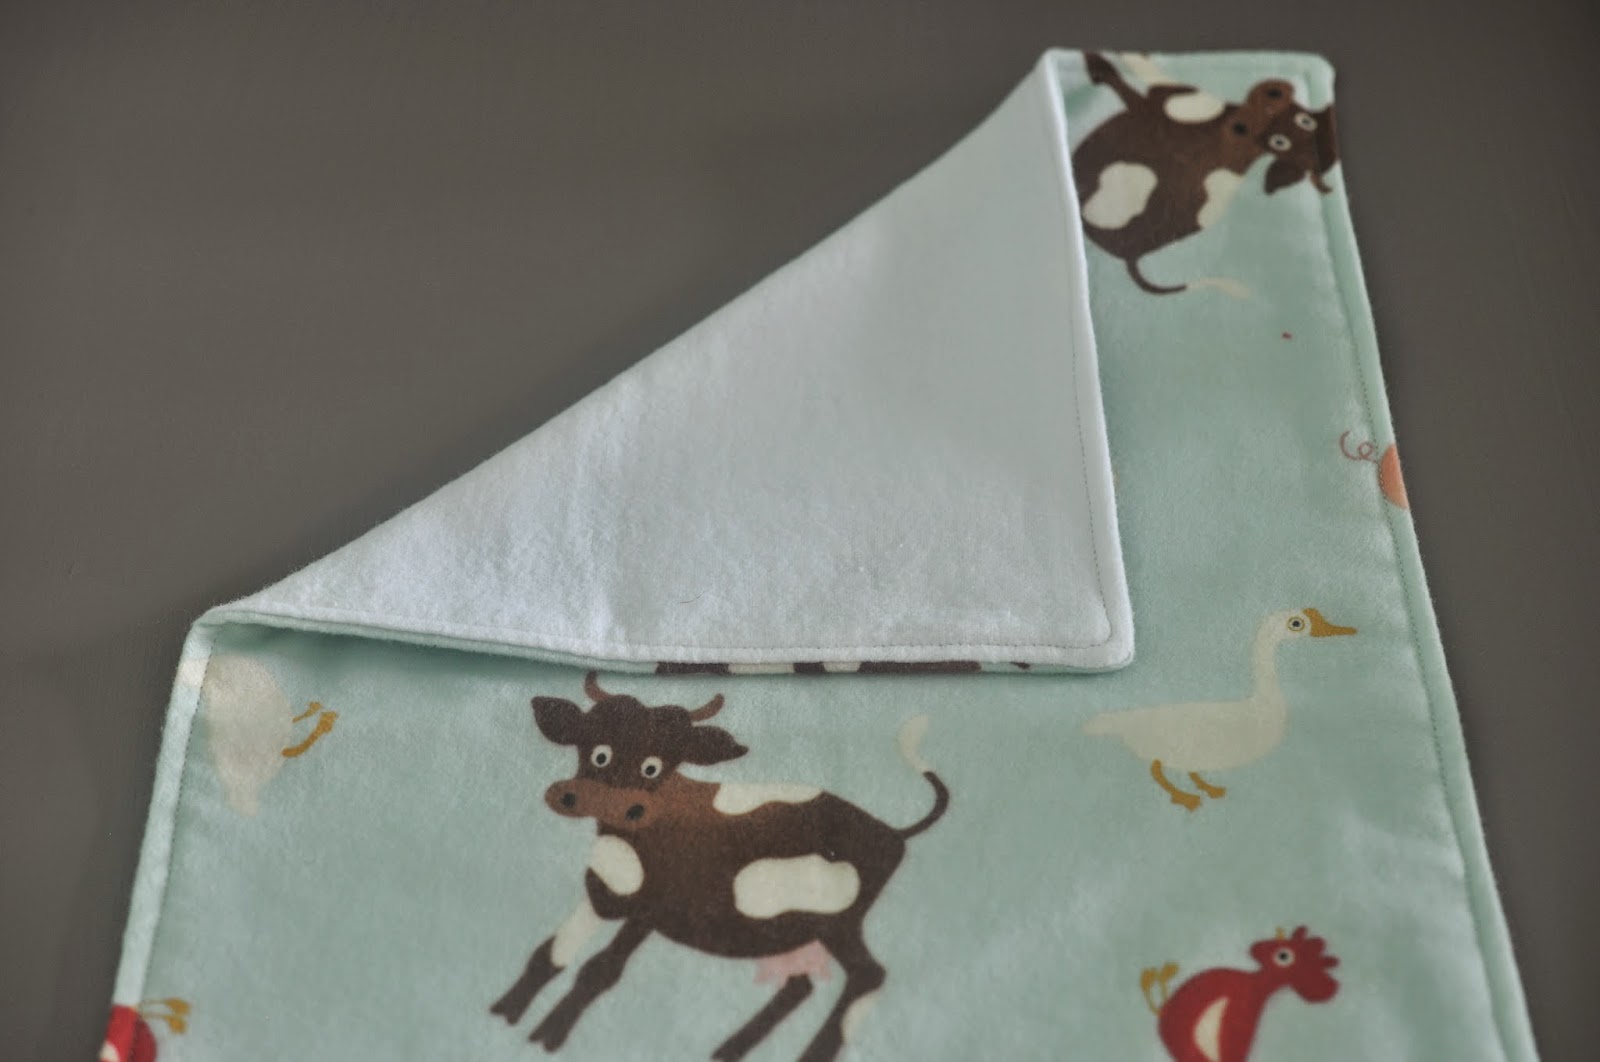
2.  I chose 4 designs of flannel prints for my burp cloths, a large print animal, a small print animal and two camping designs in contrasting colours.
 
 
3.  Cut fabric into a rectangle by 17 x 10 inches.  

 
4.  Cut backing fabric (white flannel) into the same rectangle shape - 17 x 10 inches.


5.  Taking a printed flannel piece, and a white backing flannel piece - put right sides together and pin around the edge, leaving a seam allowance around the edge. 

 
6.  Make sure to leave a gap of around 2 - 3 inches somewhere along the pinned edge so when it has been sewn, you can turn it back with right sides out.  I chose to do this at the bottom short edge of the rectangle - thinking it would be the least noticeable part of the cloth, and wouldn't mean for any awkwardness in sewing the corners of the cloth!


7.  Back stitch a little at the start of where you sew, and the end - just to make sure no stitching comes apart when you turn it right sides out.
 
 
8.  Once you have sewn all around where you have pinned (I chose white thread to go with the white flannel backing), cut the corners of the cloths to give them a nice corner when you turn them right sides out.


9.  Turn the cloth right sides out through the gap left at the bottom of the cloth.  I use a chopstick to poke to corners out as much and as neatly as they can.


10.  Iron the burp cloths flat, making sure to press the open area in as if it was also stitched!


11.  Nicely pressed, now go around the edge of the cloth top-stitching all the way around.  I used a white thread again, but you could also go with a contrasting but complementary colour to your fabric to make it stand out intentionally!  Stay closer to the edge of the cloth than your seam allowance was, it gives the cloths a really nice finished edge. ... And yup, that's it!  Cloths finished!

 
As I had the four designs of flannel print, I did all four cloths at the same time - but could have easily made more in that same window of time.  The part that takes the most time is the cutting out (at least for me it did), but I'm glad that I did all four cutting out, pinning and then I could just whizz around the edges with the machine of all four, iron all four, and then top stitch all four all at once but this could easily be more without adding much more time!
 
Not too difficult at all, good for me - having not done much sewing recently (with our sewing machine packed up in a box before we moved, not being able to do any crafting while we tried to sell our home!) so I'd definitely recommend whipping a few of these up - they'd make great gifts for a new baby or for yourself like I did! :-D


Burp cloth photo shoot time of course! 
 
Before I cut these out (which was half of the fabric I had in these designs), I checked they would be a good size for placing over a shoulder, for both me and my husband but I'm sure they'll be used for all sorts in the near future!


I just can't decide which fabric design is my favourite!  They each have something I love about them!!  What do you think!?


Can't wait to use these when our little one arrives, and at least I'll always have these pictures of how clean and pressed they were... once upon a time!! 
 
Now to use the remaining fabric for each of the designs... Maybe some bibs using the same idea... Watch this space!