Showing posts with label cookie. Show all posts

Monday, 12 May 2014

Chocolate Crinkle Cookies

Mmm I'm excited to be blogging about these cookies today.  I had forgotten how much I loved them, until I re-baked them last weekend and ate a few of them along the way! 
 
 
Do you remember last year, when our church youth group ran the first Fun(d) Fair in order to raise FUNDS while having FUN for World Vision!?  Check out all the games and exciting things we did, and what I baked for the bake sale in 2013 here.
 
This year, we wanted even more baked goods to sell, as they were a big hit last year and we ran out before the event was over.  So, with everyone baking the Friday before the event, I had to get my thinking cap on as well.  I wanted something small, and easy to buy one or two of, but also needing a recipe that made a LOT of whatever the bake was.
 
I couldn't think for a while what to make... I considered a rectangular cake cut into small squares, but I didn't want it to dry out.  I didn't have time to make all the components of the Cherry Bakewell traybake that I also love so much.  And I've made SO many cupcakes recently I didn't want to go down that path either.
 
Then I remembered these cookies I made from the Taste of Home 'Best Loved Cookies and Candy' 2010 magazine!  I made them for my piano students in 2010, in a Christmas treat bag full of various cookies and candy, and they were definitely my favourite out of the lot.


A deliciously soft and chewy inside, with a crinkle top, slightly crusty outside layer with a full on chocolate flavour.  Perfect with a glass of cold milk!
 
 
Ingredients (to make 3 1/2 dozen cookies):
 
2 cups (12 ounces) semisweet chocolate chips
2 tablespoons butter, softened
1 cup sugar
2 egg whites
1 1/2 teaspoons vanilla extract
1 1/2 teaspoons baking powder
1/4 teaspoon salt
1/4 cup water
1/2 cup icing sugar
 
Method:
 
1.  In a microwave, melt 1 cup cholate chips.  Stir until smooth, and set aside.
 
2.  In a small bowl, beat the butter and sugar until crumble - about 2 minutes.
 
3.  Add the egg whites and vanilla, and beat well.
 
4.  Stir in the melted chocolate.
 
5.  Combine the flour, baking powder and salt, and gradually add to the butter mixture, alternately with water.
 
6.  Stir in the remaining chocolate chips. 
 
7.  Cover and refrigerate for 2 hours, or until easy to handle.
 
8.  Pre-heat the oven to 350°F.
 
9.  Shape the dough into 1-inch balls and roll in icing sugar.
 
10.  Place 2 inches apart on a baking sheet coated with cooking spray
 
11.  Bake for 10-12 minutes in pre-heated oven.
 
12.  Leave to cool on the tray for 5 minutes, and then move to the cooling rack to cool completely. 

 
And then, all that is left to do is enjoy these delicious cookies!... And if, like me, you're donating them to a good cause - try not to eat too many of them first!!
 
 
And in good news, despite the weather (the afternoon of the Fun(d) Fair was miserable and wet!) we still managed to raise $898, and then, along with some generous donations the next morning we actually BEAT our 2013 amount, raising over $1200 for World Vision :-D

Monday, 23 December 2013

Pretty in Pink Cookie Wreaths

In the bleak midwinter, frosty wind made moan… Earth stood hard as iron, water like a stone… ♫

It certainly has been a frosty frosty weekend here in Toronto.  The ice storm hit, many many trees have fallen, the streets are a thick layer of ice and a whole lot of homes are without power.  We were one of the lucky ones who (oh please no jinx) still have power.  Our cable and internet is out which is why this post will be late to the blog this weekend, but honestly – no complaints compared to power outages some people might facing all this Christmas week.  We just had the in-laws over who had no power all last night and today to enjoy some warmth, a hot shower, dinner and coffee!  Impromptu Christmas Party at our place!  A lot of fun :-)

Once this post finally gets put online (maybe I’ll be searching for an open Starbucks tomorrow or something!) I’ll be so happy to be sharing my Cookie Wreaths that were a HUGELY EXCITING project for me this week!!!


So, I was asked again by Rethink Breast Cancer (who I made the mini cupcakes and chocolate dipped strawberries for – check this post out) to create something ‘Rethink’ to say Thank You to 4 locations who donate their space to their terrific program for all kinds events.  Not only does Rethink Breast Cancer run a fantastic program here in Toronto (check out their website here and like theirFacebook page for updates here) but also all over Canada.  So I am super SUPER excited to say I have had my baking shipped all over Canada with this exciting project.  My cookie wreaths were sent nearby to Toronto, to Ottawa and then much further afield to Vancouver and also Calgary!  … That is to say, my cookies have now visited Calgary which is a place I personally have never been to!  The most cool.


Thank you SO much Rethink for giving me this opportunity – it was a lot of fun and I’m so happy I got to create these ‘Rethink’ Cookie Wreaths for your company!
 
I wanted to create something visually appealing, without losing out on taste or flavour, and I had to make sure whatever I baked would be able to be mailed across Canada!  My initial idea (when I maybe was just doing 1 item for the Toronto location!) was to do a tree of star cookies… But these wouldn’t ship too well, so I went to my other idea I had initially proposed which was to do a wreath of cookies.  Using 1 shape of cookie cutter (in my case a star) I planned to ice the cookies, and then arrange them with the points of the star off setting one another, and laying them out on a cake board, glueing them down with royal icing and fixing them into a wreath shape. 

To make it all go with the theme of ‘Rethink’ (as this is who the cookie wreaths would be from), I went with the pretty in pink theme again just like the mini cupcakes from their holiday party!  They use a lot of hot pink in their colouring, and their website has other shades of pink too, so I went with 3 pink colours when I iced the cookies – a bright pink, mid-pink and slightly paler pink as well.  Going for an ombre effect as I layered and placed the cookies in a wreath so that everywhere you looked you would see a different shade of pink.


I decided to use a basic sugar cookie recipe that I have used with royal icing decorations before and trusted it to hold it’s shape when it baked.   Check out the end of the post to see the full recipe instructions.  
 
I made these 4 cookie wreaths over 35 hours…

Waking and getting up for a 7.30am making of the dough…

A few errands, emails and a bit of work later I got to actually baking the cookies…
 

Leaving the cookies to cool while I went to teach in the afternoon/evening…

Getting home, having a speedy dinner before making royal icing and pinking up the star cookies…
 

All iced and left to go hard overnight… 
 
 
Waking up the next day and assembling the wreaths…


Final touches of the ribbon and then they were ready to be packaged up…


Delivery of the cookie wreaths to downtown Toronto and they were FINISHED!

145 cookies baked and iced and done :D
 
An amazing experience to be able to create cookie wreaths that would be used as thank you gifts for a wonderful company serving a truly worthwhile purpose.  I was really glad to be a part of that!  And of course, the exciting part for little baker me to have my cookies used, not only as gifts custom ordered (I like the term cookie commission, or cake commission… I am a musician after all!!)… but also to be shipped across CANADA!!!!!!  Made a pretty awesome year end on a high that’s for sure!

Remember, keep reading below to see the recipe!

As we enter this Fourth Advent (at least it would have been exactly the Fourth Sunday if I hadn’t lost internet due to #icestormTO!) I hope you all have a really really great Christmas week.  Stay warm and safe if you’re still feeling the consequences of this weekend’s bad weather.   

Enjoy time with friends, family, good food and lots of fun times.


Merry Christmas!!
 
Hannah


Ingredients: (This recipe should make around 4 dozen cookies if using a 2/2 ½ inch cookie cutter)


¾ cup butter
1 cup sugar
2 eggs
½ teaspoon lemon extract
2 ½ cups all-purpose flour
1 teaspoon baking powder
1 teaspoon salt

Method:

1.         In a large bowl, cream together butter and sugar until light and fluffy.

2.        Beat in the eggs and extract.

3.       Combine the flour, baking powder and salt and gradually add to the butter-sugar mixture and mix well.

4.       Cover and leave in the fridge for at least 2 hours, or until easy to handle and not too sticky/ warm.

Time out for chilling! …

5.        Pre-heat oven to 400°F and grease baking sheets. 

6.        On a lightly floured surface, roll dough to desired thickness.  I did around 1/8 inch thick for my stars so they wouldn’t be so thin and break too easily… I had shipping to think about!

7.       Cut with cookie cutters and place on greased baking sheets.

8.       Bake in pre-heated oven for 7-9 minutes or until they are lightly browned.  I wanted a slight crunch to the bottom edge of the cookie but still a soft chewable texture too.  I cooked until the very edges started to turn brown.

9.       Let the cookies cool on the pan to let them set.  Then transfer them carefully to a cooling rack and leave to cool completely before icing or decorating.


For the royal icing…

Ingredients:

2 egg whites
2 teaspoons lemon juice
3 cups icing sugar
Food colouring if required.
Tiny amounts of water if needed – the actual humidity can effect how dry or wet your icing turns out.  One day this week (a very very cold and dry -10°C day) I made royal icing and it needed 3 teaspoons of water to get the right consistency… another day, a very wet day before the freezing wet day when it was a very damp and 2°C day it only needed ½ teaspoon to get the right consistency using EXACTLY the same ingredients and method… So don’t panic when yours isn’t quite right, add tiny tiny ½ teaspoons of water at a time until desired thickness is reached.


Method:

1.       Beat egg white and lemon juice a little until blended together.  Do not overbeat.

2.       Add icing sugar gradually, checking the consistency as you go.

3.       If needed, add small amounts of water until the correct thickness is reached. 

4.        If you are using a coloured icing, now is the time to add a few drops of the colour you want!

5.       Fill piping bag with chosen tip and get ready to ice or decorate.

I firstly did the outline of my star shape before flooding the inside of the star. 

6.        Leave to dry completely before assembling into wreath shape.

 
Please let me know if you have more questions about the recipe or how or what I did!


Sunday, 16 June 2013

♫ High Five to my students! ♫

As the school year draws to a close, I thought I would share with you the baking I did for my piano students, as their 'student appreciation' gifts!  There are so many teacher appreciation gift ideas around, but I love to give my students a little treat at the end of the year, at Christmas time and before the Summer break.  Just a little something to reward their hard work and their piano achievements during the year.


This year they have made me a very proud piano teacher! ♫  I had 5 students taking their VERY FIRST ever piano exams this April and they all did SO well, some with really great marks and comments/feedback so I am very very proud of them for all they achieved.  I have another 2 with Summer time exams and I am so looking forward to being there for them and working with them on these.  

Yesterday was also our Summer recital, and the students of mine who were able to perform did a fantastic job, worked hard on their pieces and played really well, having fun at the same time :-)  

Of course there have been a number of challenges too this year, there's the constant battle of practice with some children... some frustrated learning difficulties... etc etc, but this never wins over the amazing job my students do, the hard work they can put in, and the good feeling they get when they master something tricky.  

Hence my reward for them at the end of the year too!  This year I wanted to bake them a 'High Five' cookie, as I had never used a hand shaped Wilton cookie cutter I bought years ago (I think in Edinburgh 2010!) but knew would be perfect for this little treat :-)


I included a little note on the packaging saying "Well done on a great year of piano.  Keep playing this Summer :-)".  Now not all of my students have had these cookies yet, so parents, if you're reading sshhh, don't tell them!  I teach at a school who is done for the year so our lessons are done for a while.  I have a bunch of students continuing with Summer lessons but I decided to give out the cookies now anyway, as the end of school year treat.  My in-home students will be getting theirs in the final week of June!  I hope the note reinforces what I have been telling them about continuing to play.  I also gave students who I will not see over the Summer an activity pack, with some piano challenges, things to try at home this Summer in their playing, some Summer activity worksheets and some manuscript paper to compose some of their own music.  Let's just hope everybody keeps their fingers in piano mode, and they don't forget their 'piano brains' before September!!

So, about these cookies...

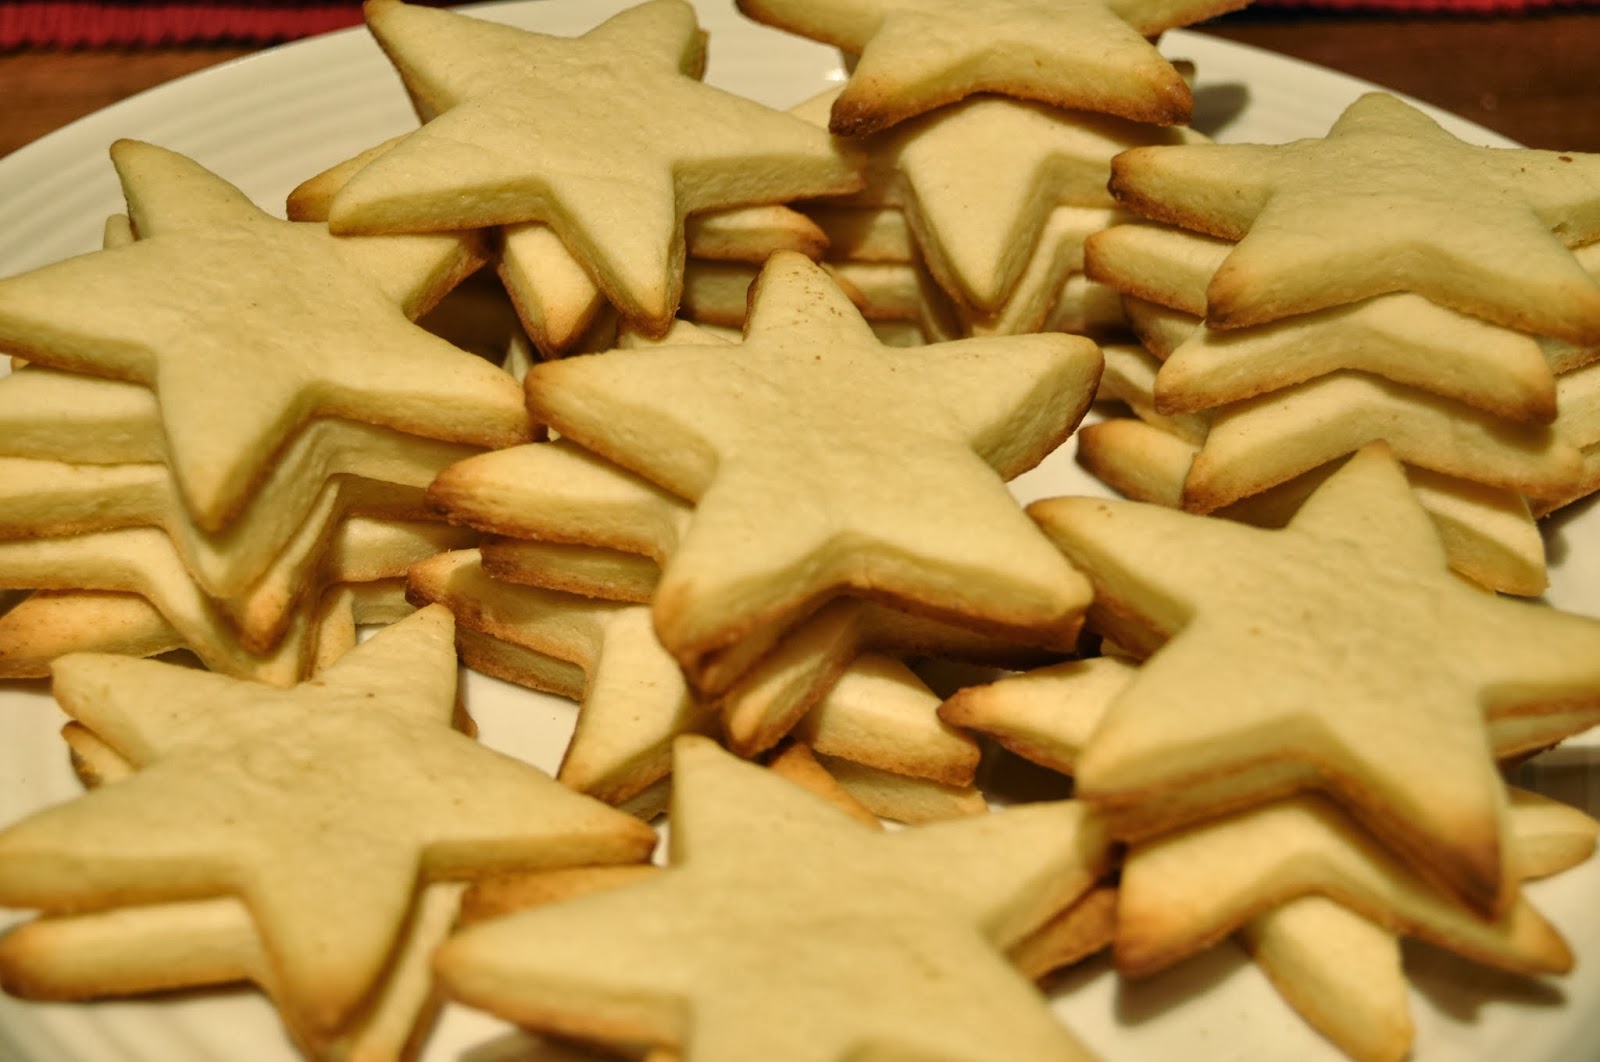
I baked a sugar cookie using a recipe I had used before.  It was a simple recipe to make, and kept it's shape pretty well, which was lucky as I was a little worried about how the fingers would look once cooked.  Especially as this was the first time I had used the cutter.  


Ingredients all ready to go.  But in case you can't guess what the measurements are from this, I'll write the recipe down too :-P  The recipe I made states it makes 4 dozen cookies - I haven't used the whole batch yet but at the end of June I'll let you know how many of the hands it made :-)

Ingredients:

3/4 cup unsalted butter
1 cup sugar
2 eggs
1/2 teaspoon lemon extract
1 teaspoon baking powder
1 teaspoon salt

Method:

1.  Pre-heat oven to 400°F and then in a large bowl, cream together the butter and sugar until light and fluffy.  
2.  Beat in eggs and lemon extract.
3.  Combine the flour, baking powder and salt, and gradually add to the creamed mixture and mix well.
4.  Cover and refrigerate for at least 2 hours or until easy to handle.


5.  On a floured surface, roll dough to 1/8 inch thickness...  

Alright, with a chunk of dough ready to go I got rolling and cutting before placing my cookies on a greased baking sheet and baking for 7-9 minutes (or until lightly browned).  


I LOVE the hand shape and am already thinking about other ways to use these cutters again.  Perhaps engagement cookies?  A silver ring and silver ball for a new shiny ring celebration!?!  A 'helping hand' cookie?  Hmm, what else?

I went with the 'High Five'... which kid doesn't love to give/get a high five!?  And this one's edible :-)  While the cookies were cooling I made these labels in Word and printed them on coloured card.  Chopped and hole punched, they were ready!  Should I make these into a PDF for all to share and print?  I think I will...just bear with me, it will be here in a couple of days :-)


Cookies cooled, and seeing as my first few were going to be given out the following day, although it was late in the evening (as most of my baking ends up being) I thought I should get going on the royal icing decorations, just in case it took a while to dry.  I didn't want the humid weather to mean everything was still sticky when I had to package them up!


A little outline test to check the fingers would still be seen once the icing was there and then I got to work on piping and flooding the cookies.


I used a Royal Icing recipe using 2 large egg whites, 2 teaspoons fresh lemon juice and 3 cups icing sugar mixed together and coloured some of this blue.  You may need more/less than this, I had some leftover from the initial 15 cookies I made but haven't finished yet, so I'll make some more icing at the end of June.


Late in the evening meant I didn't want to have to stop and get photos every few minutes as I went along, so Jonathan kindly took a few while I worked!  Please excuse the blurry moving ones, I obviously didn't want to stop with that icing, not even for a second!


All the cookies were finally flooded, and actually some of the first ones I had flooded were already starting to dry so I risked piping the writing on them, really REALLY hoping the colour wouldn't bleed into the white.


The risk luckily paid off, and the writing was fine so I managed to get everything done before bed!  I was super pleased with the blue on white and the writing I piped.  Most of them anyway.  I had made a few extra  which meant for some practice runs and/or discard cookies...discard into our tummies that is!

The next morning I did some photos before packaging them up ready to be given out at the end of each final lesson!


I was pretty pleased with how these turned out, a simple shape with simple blue writing on white flooded royal icing topped sugar cookies.  BUT a fun idea, which the kids loved!!  :-D  Yey! Success on winning their approval hehe.  Many also couldn't believe they were homemade (now THAT feels good!), so well, that was nice!


I've got a batch of cookie dough in the freezer, and the other high five tags already cut out so just a little more baking to go and all of my students will be well and truly 'appreciated' in my piano students' favourite way...food treats! 

Congratulations on a GREAT year of piano everybody, you make me so proud! :-) ♫

Tuesday, 10 April 2012

Easter Bakes and Makes

This Easter meant lots of family get togethers which for me means the opportunity to make and to bake as much as I can!  Just like my 'About Me' says, freedom is boredom so busy time is the best time - and I made the most of my Easter days off work!

First stop was Easter cards.  Just a little simple design using our scalloped circle punch from our wedding (it has been well used since!) and some printables I found of course, on Pinterest!


Next stop more scalloped punches... A quick and easy bit of bunting using paint strips (thank you Walmart hehe), the punch and some cute yellow ribbon.


Then come the Easter treats!  A big bunny cutter and my tiny little farm animal cookie cutters led to these sugar cookie goodie bags iced and decorated for an Easter treat for everybody.


After seeing this on Pinterest from Sweet Vanilla Bean I HAD to try it!  Chocolate dipped peeps, so cool! Super fun easy make anybody could do (even Jonathan joined me for this!)... just melt some chocolate and coloured wafers dip and go!  Just be prepared for a sweet SWEET day of eating!


Although I have some more Easter baking and making to post about I think that's all the Easter treats that will make it onto this post!

Here are the finished products: