Showing posts with label Canadian cooking. Show all posts

Tuesday, 9 September 2014

5 Year "Canniversary"

Last week marked 5 years since I touched down in Toronto!  Visiting Canada for the first time ever, who knew I would still be here five years on!

And who knew, that 5 years later I STILL wouldn't have tried baking the perfectly Canadian treat of Butter Tarts!  ...  Now don't get me wrong, I have "tried" these delicious sweet bakes at many shops and bakeries all over the country but I had never actually made them myself.

So, 5 years on, I thought the 3rd September 2014 was definitely the right time to try them out - especially as we had guests for dinner that night too :-)


I used a Canadian Living recipe as a base for what I did but adapted it a little to my favourite flavours and ideas with how I wanted to do it.  Then I took a TONNE of photos - so sorry if I couldn't cut enough out, and left you with a whole load of pictures at the end of this post!  I was really enjoying capturing the texture of the gooey-but-cooked top layer of the tart, and getting the colours of the butter tart in the shots, all still experimenting with the light of our new home!

Ingredients:

For the pastry ~
1 1/2 cups all-purpose flour
1/4 tsp salt
1/4 cup cold butter, cubed
1/4 cup lard, cubed
1 egg yolk
1 tsp white vinegar
Ice water

For the filling ~
3/4 cup packed brown sugar
3/4 cup golden corn syrup
1 1/2 eggs
1 1/2 tsp pure vanilla extract
1 1/2 tsp white vinegar
Pinch salt

I'll talk more about the other options for fillings a little later!

Method:

1.  In a large bowl, whisk together the flour and the salt.


2.  With a pastry blender (or 2 knives) cut in the cubed butter and lard until the mixture resembles coarse breadcrumbs.


3.  In a jug, whisk together the egg yolk and vinegar, and then add enough ice water to make up 1/3 cup (75ml).


4.  Sprinkle over the flour mixture and stir briskly with a fork until the pastry holds together.


5.  Press into a disc and wrap in cling-film (plastic wrap) and refrigerate until chilled, at least 1 hour. (To make-ahead: Refrigerate for up to 3 days.)


6.  Preheat the oven to 450°F.

7.  After the pastry dough has had time to chill, roll out the pastry on a lightly floured surface to 1/8" thickness.  Using a 4-inch (10cm) round cookie cutter, cut out 12 circles, rerolling the scraps if necessary.  * Or if you are extremely silly on this baking day, cut 11 circles and think you are cutting 12, even though you re-counted them!? ... Not recommended! *


7.  Fit into a greased cupcake baking tray and place in the refrigerator again while you make the filling.


8.  For the filling - In a bowl, whisk together the brown sugar, corn syrup, egg, butter, vanilla, vinegar and salt until blended.


9.  Spoon the filling into the chilled pastry cups until 3/4 full.


10.  Bake in the bottom third of the oven until the filling is puffed and bubbly, and pastry is golden - about 12 minutes.

 
11.  Let the butter tarts, still in the cupcake tray - stand for 1 minute on the rack.  Run a metal spatula around the tarts to loosen, carefully slide the spatula under tarts and transfer to the rack to cool.
 
 
12.  Let the butter tarts cool completely to allow the runny inside mixture set, but then enjoy!
 
 
... So, if you are not a fan of plain butter tarts, or if you would like to satisfy all butter tart desires, use these filling ingredients and ratios:
 
1/2 cup packed brown sugar
1/2 cup golden corn syrup
1 eggs
1 tsp pure vanilla extract
1 tsp white vinegar
Pinch salt
1/4 cup filling - perhaps raisins, chopped walnuts, pecans or whatever your heart desires! 
 
The only difference in the method then is to add the filling ingredients to the pastry cups before pouring over the filling mixture. 
 
Next time I make these (and there will be a next time) I'll definitely experiment with more flavour and filling combinations!
 
And now......... the photos!  I definitely took too many and couldn't decide which to get rid of, so just keep scrolling! :-D


Sunday, 22 September 2013

Fall into Autumn

It is officially the best season of the year!!!!  I'm so excited for Autumn right now.   The best part of nature happens, colours, Autumn foods and flavours, the best clothes to wear - layers, oh layers I missed you over Summer!

Last week I got into the spirit of the new season and made Maple Leaf Cookies by request for our choir rehearsal on Tuesday.  It was in fact to the day last year that I first made these cookies, so what better time to try them a second time.  They went down a treat last year - for choir, and for friends visiting Toronto from England so for sure I was happy to try this recipe again, thank you Martha Stewart for the original!

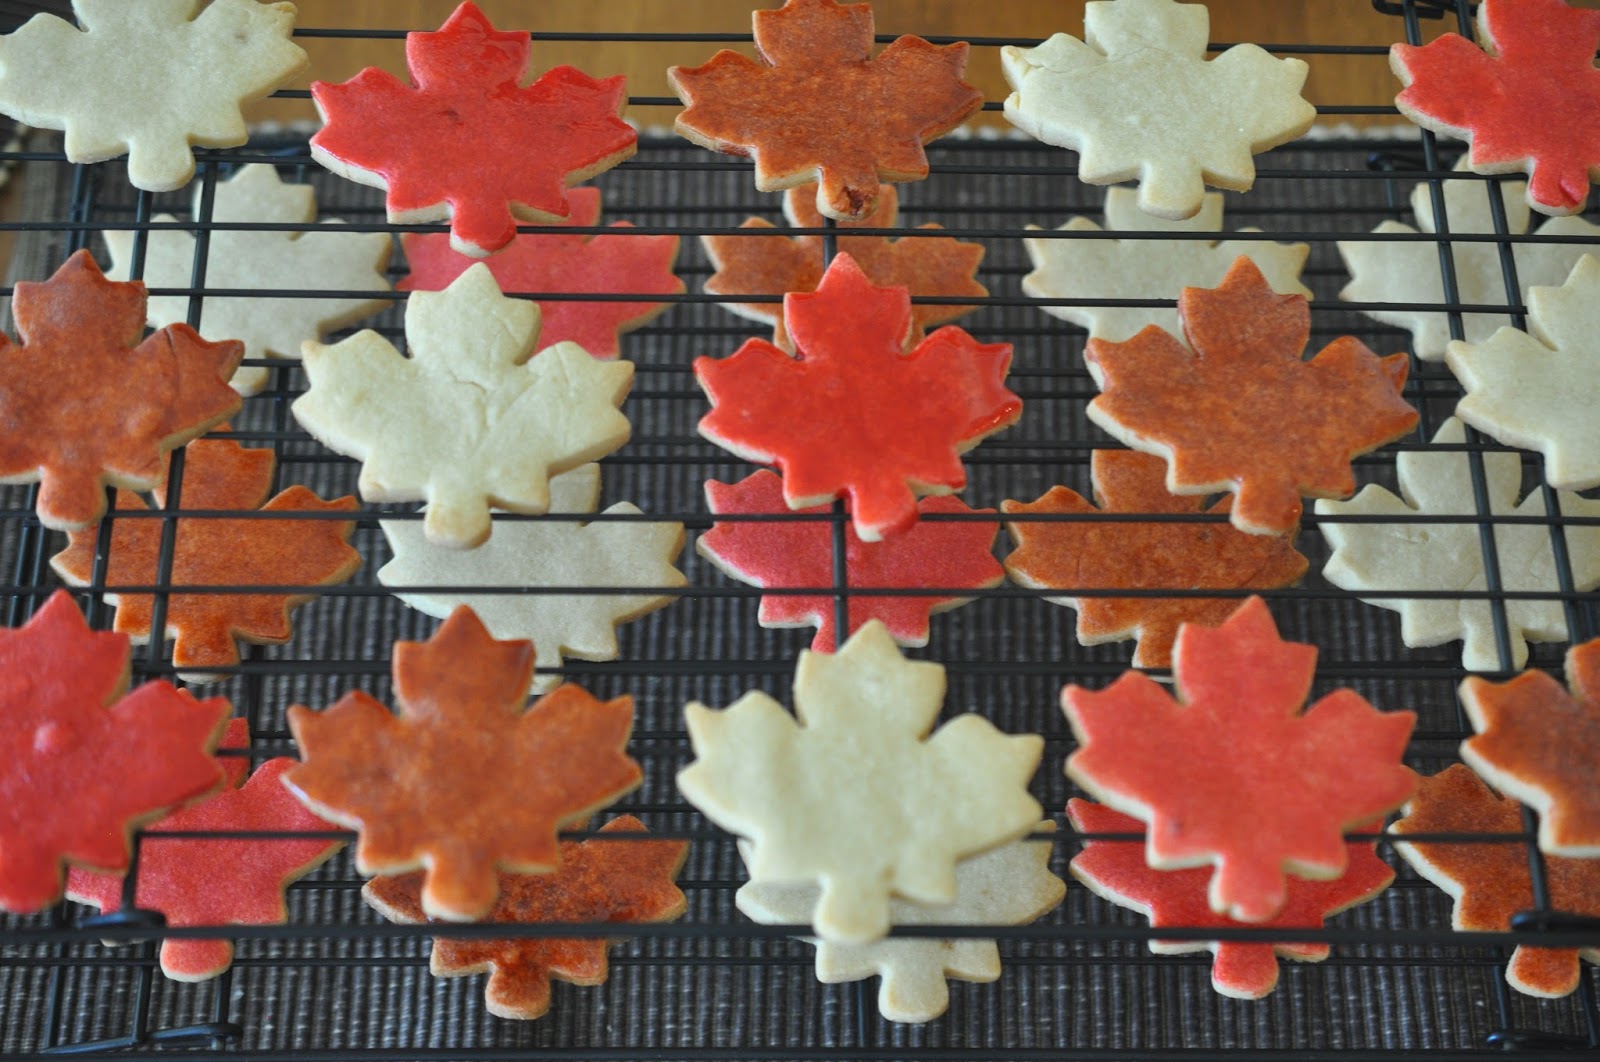
This year I got more adventurous and wanted to create a pile of leaves look to my cookies and thought that the maple glaze painted on the biscuits after they came out of the oven could do with some sprucing up - some red food colouring, and some brown so along with the plain coloured ones they created that amazing multi coloured leaf effect the maple leaves here in Canada create.


So on Tuesday I woke up bright and early and got to work on these cookies.  It had to be early to get done before work, giving it enough time to chill in the fridge, and then also freeze for a little while before putting them in the oven.  So I was on a mission, and I didn't stop moving until I had to leave.

Here's the recipes and some pictures along with it... I HIGHLY recommend this cookie, they are so delicious and well worth the bake!

I halved Martha's original recipe as I didn't need 8 dozen cookies that's for sure (although Jonathan may disagree!) and also had a minor freakout at 8am when I didn't even have 1 egg in the house!  I risked it and substituted it with nothing bad happening phew!

Ingredients (This made 36 cookies using my 2inch maple leaf cookie cutter)

1 1/2 cups all-purpose flour (plain)
1/4 teaspoon salt
4 oz unsalted butter
1/2 cup granulated sugar
1/2 cup light brown sugar
1/2 large egg yolk  (Here is where I had a mild panic.  No eggs so instead I just tried 1 tbsp milk and all was fine!... Maybe better than measuring out half a yolk anyway!)
1/4 cup pure maple syrup for the cookie batter
2 tbsp pure maple syrup for the glaze
Optional food colouring for the glaze (I used red and brown following the mixing instructions on the box)

Method

1.  Sift flour and salt into a bowl.


2.  Beat butter and both sugars with a mixer on medium-high speed until pale and creamy (around 3 minutes).

3.  Reduce speed to medium-low and then add yolk (or milk!), and maple syrup - beating well as you go.

4.  Add the flour mixture and beat until just incorporated.

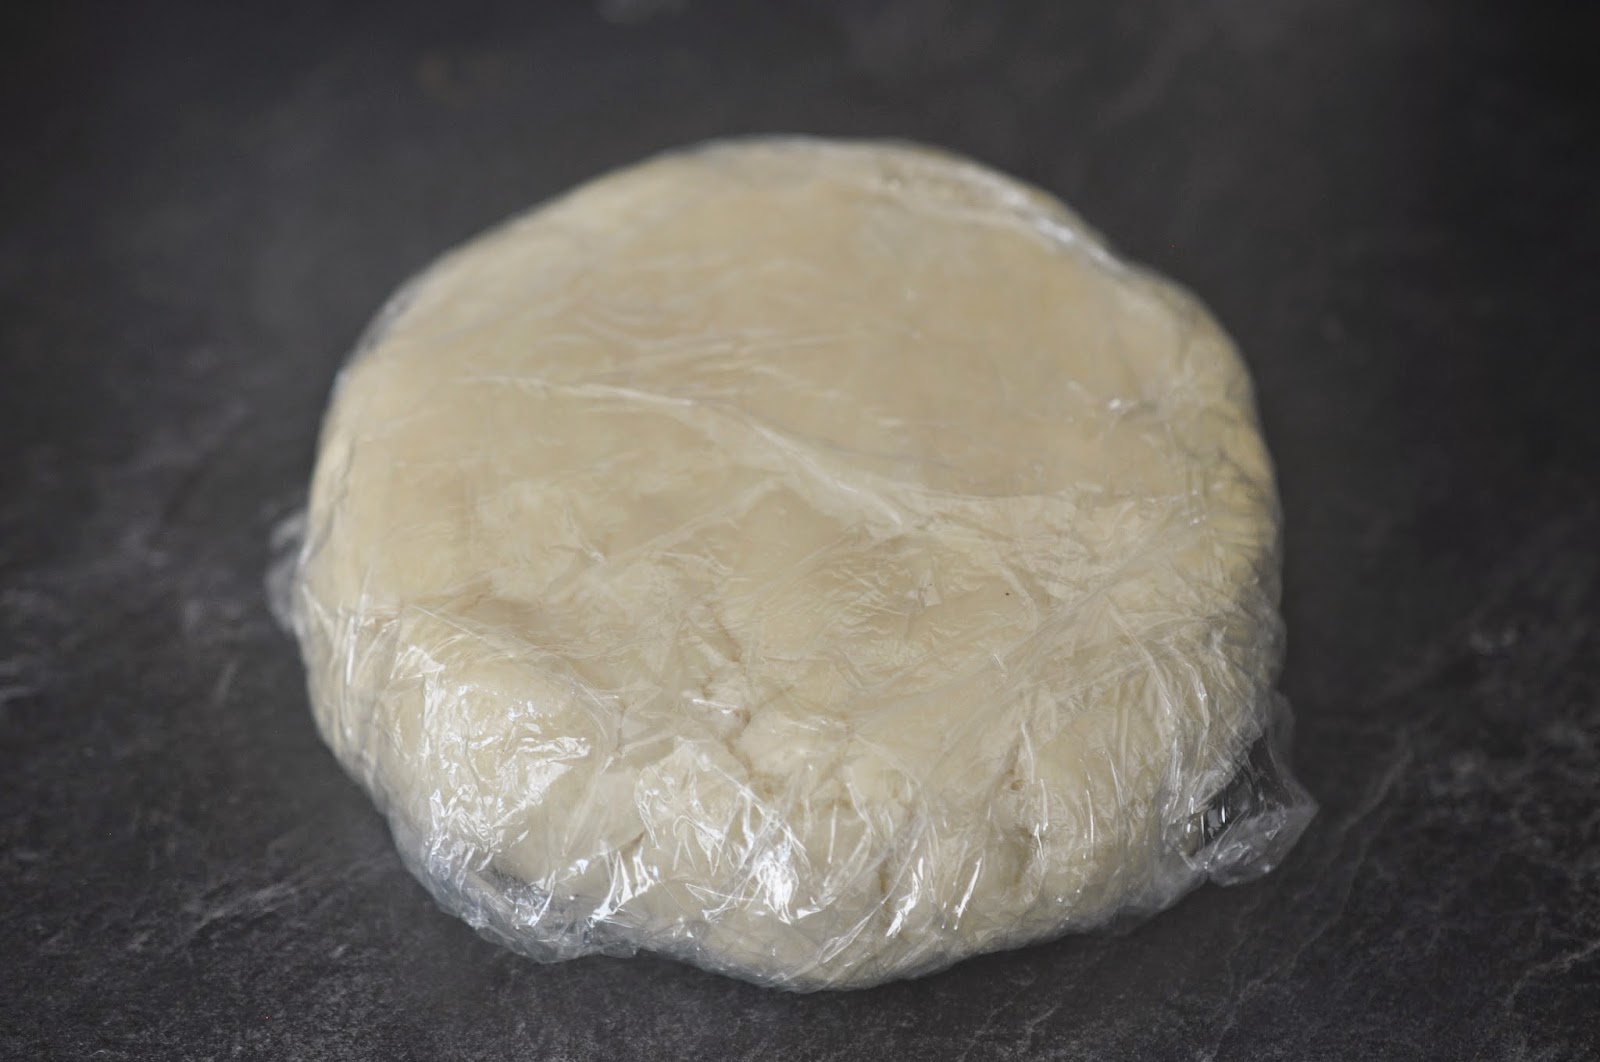
5.  Shape into 2 disks, wrap each in plastic and refrigerate for at least 2 hours (or up to 2 days).


6.  Preheat oven to 325°F/ 160°C.

7.  Prepared baking sheets - coat them with cooking spray, line with parchment and then spray again.

8.  Roll out dough to 1/4 inch thickness onto a slightly floured surface.  Cut out with cookie cutter.  Place cut shapes onto prepared baking sheets, 1 inch apart, and place in the freezer for 15 minutes until they are firm.


9.  Bake cookies until the edges begin to turn golden brown - between 15- 18 minutes - but watch closely.

10.  Leave to cool for a couple of minutes and then transfer to a wire rack.


11.  After 5 minutes brush cookies with maple syrup and food colouring using a brush only used for food or cake decorating!


12.  Leave to dry, and then dig in!  Be prepared to be addicted!


I actually chose to only glaze 2/3 of the cookie batch.  The plain coloured cookies were un-glazed, not only to keep the original colour of the cookie, but just in case anybody (like me) didn't want their cookies too TOO sweet!  The maple syrup although delicious, does make for a chewy sweet flavour that I know not everyone wants :-)


Happy Autumn everybody!  

For more Fall inspired makes and bakes, check out my Pinterest 'Fall into Autumn' board, and also a NEW part to this blog... look below and add your email address to follow me :-)