Showing posts with label tutorial. Show all posts

Monday, 6 October 2014

DIY Baby Burp Cloths

 
Not a baking post!  Who knew!?  ... Baking for me has that has to happen that weekend, or for that particular event feeling as well as being a consumable that obviously makes it delicious enough to want to do immediately!  But then all my ideas for sewing projects and things I want to craft and make get put on a list in my head and wait until everything else is done which means I often don't get around to it!
 
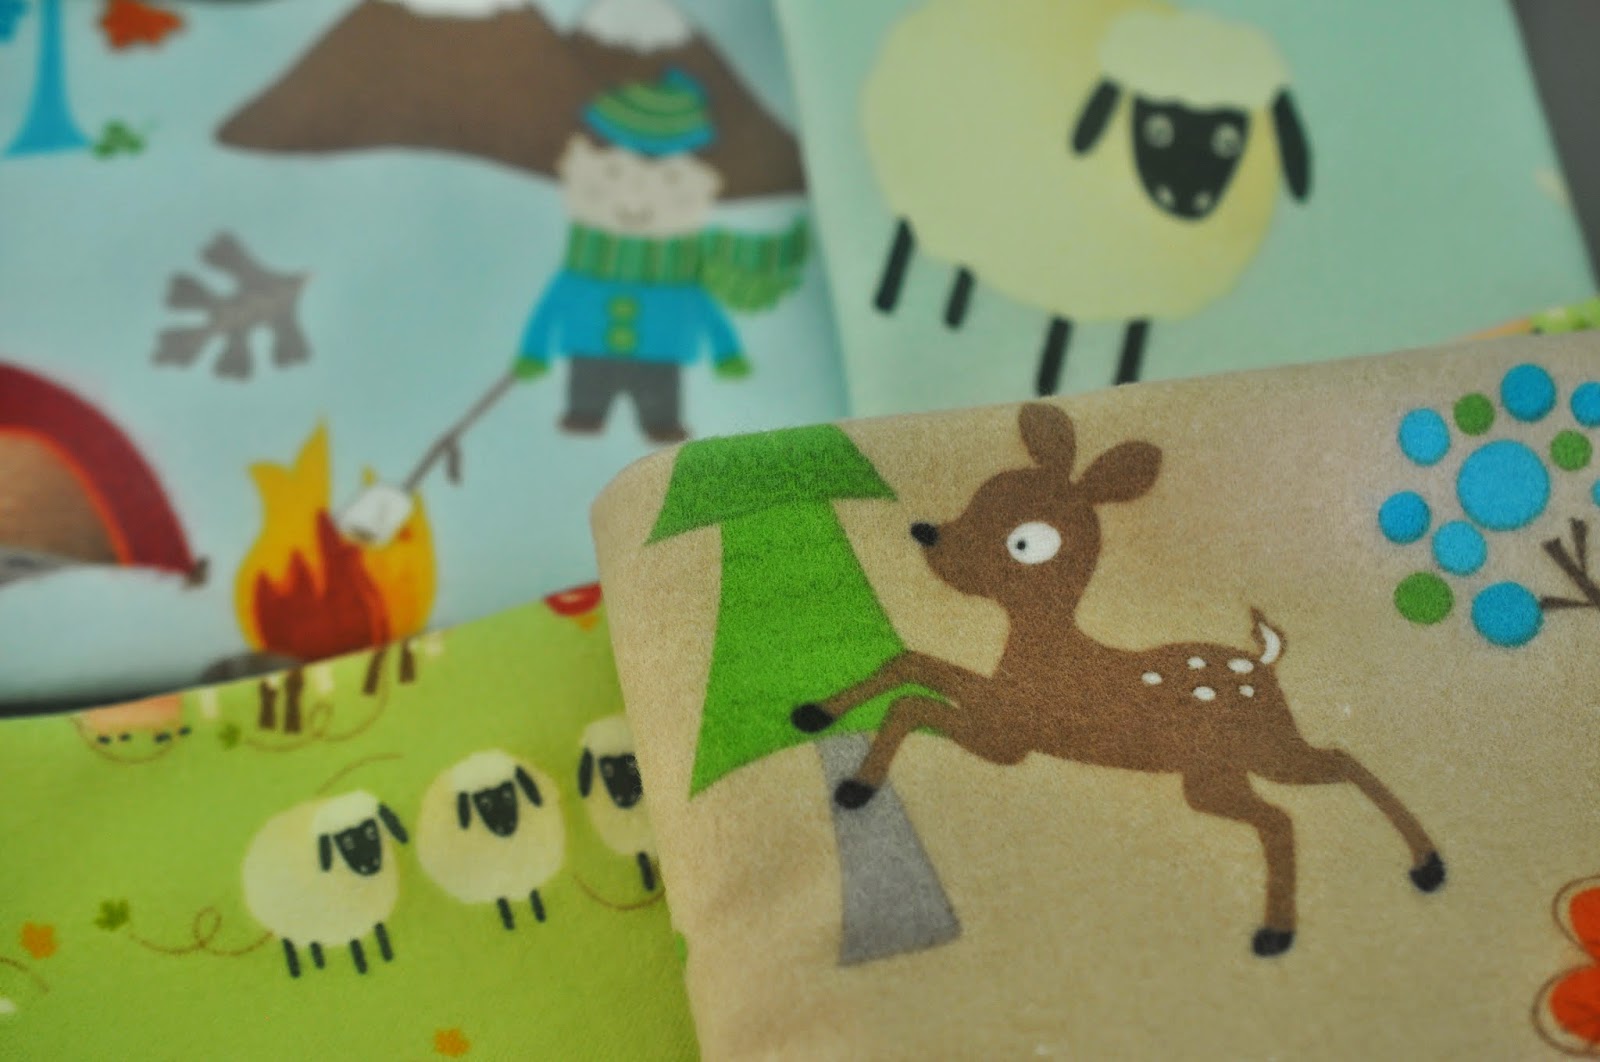
BUT this week, with a bunch of important and necessary to-do list things checked off the list, I finally got around to getting out my sewing machine and getting to work on these nice and easy baby burp cloths I had been wanting to make since I found this variety of super cute flannel fabric at Fabricland a good few months ago!
 
Expecting an Autumn baby, the colours and the designs are perfect for our soon to arrive little one (or perhaps...already arrived by the time this post goes live!?) and burp cloths were something we didn't have yet.
 
It was a nice and easy project to start with... We don't know the gender yet, so sewing clothes will have to wait until he or she is born, so I thought I'd start simply.  I bought some soft white flannel to back the cloths with, contrasting against the fun flannel prints I had found in the 'quarters' section. 
 
If I'd been in the States, I'd have been able to do this for even cheaper!  So at trip to JoAnns might be necessary soon for more baby related projects :-)
 
So with pre-washing fabrics done, I was ready to start... These cloths could be made with any design of fabric, to any size you desire - and don't have to be flannel like mine were, but I personally LOVE flannel so chose to do both the front and back in that, but I might also try something with more of a terry cloth backing to it as well perhaps.  But, I'll share the way I made mine, with my dimensions and the way it worked out!
 
1.  Select your fabric to make the cloths and pre-wash and iron before starting to cut and sew.

2.  I chose 4 designs of flannel prints for my burp cloths, a large print animal, a small print animal and two camping designs in contrasting colours.
 
 
3.  Cut fabric into a rectangle by 17 x 10 inches.  

 
4.  Cut backing fabric (white flannel) into the same rectangle shape - 17 x 10 inches.


5.  Taking a printed flannel piece, and a white backing flannel piece - put right sides together and pin around the edge, leaving a seam allowance around the edge. 

 
6.  Make sure to leave a gap of around 2 - 3 inches somewhere along the pinned edge so when it has been sewn, you can turn it back with right sides out.  I chose to do this at the bottom short edge of the rectangle - thinking it would be the least noticeable part of the cloth, and wouldn't mean for any awkwardness in sewing the corners of the cloth!


7.  Back stitch a little at the start of where you sew, and the end - just to make sure no stitching comes apart when you turn it right sides out.
 
 
8.  Once you have sewn all around where you have pinned (I chose white thread to go with the white flannel backing), cut the corners of the cloths to give them a nice corner when you turn them right sides out.


9.  Turn the cloth right sides out through the gap left at the bottom of the cloth.  I use a chopstick to poke to corners out as much and as neatly as they can.


10.  Iron the burp cloths flat, making sure to press the open area in as if it was also stitched!


11.  Nicely pressed, now go around the edge of the cloth top-stitching all the way around.  I used a white thread again, but you could also go with a contrasting but complementary colour to your fabric to make it stand out intentionally!  Stay closer to the edge of the cloth than your seam allowance was, it gives the cloths a really nice finished edge. ... And yup, that's it!  Cloths finished!

 
As I had the four designs of flannel print, I did all four cloths at the same time - but could have easily made more in that same window of time.  The part that takes the most time is the cutting out (at least for me it did), but I'm glad that I did all four cutting out, pinning and then I could just whizz around the edges with the machine of all four, iron all four, and then top stitch all four all at once but this could easily be more without adding much more time!
 
Not too difficult at all, good for me - having not done much sewing recently (with our sewing machine packed up in a box before we moved, not being able to do any crafting while we tried to sell our home!) so I'd definitely recommend whipping a few of these up - they'd make great gifts for a new baby or for yourself like I did! :-D


Burp cloth photo shoot time of course! 
 
Before I cut these out (which was half of the fabric I had in these designs), I checked they would be a good size for placing over a shoulder, for both me and my husband but I'm sure they'll be used for all sorts in the near future!

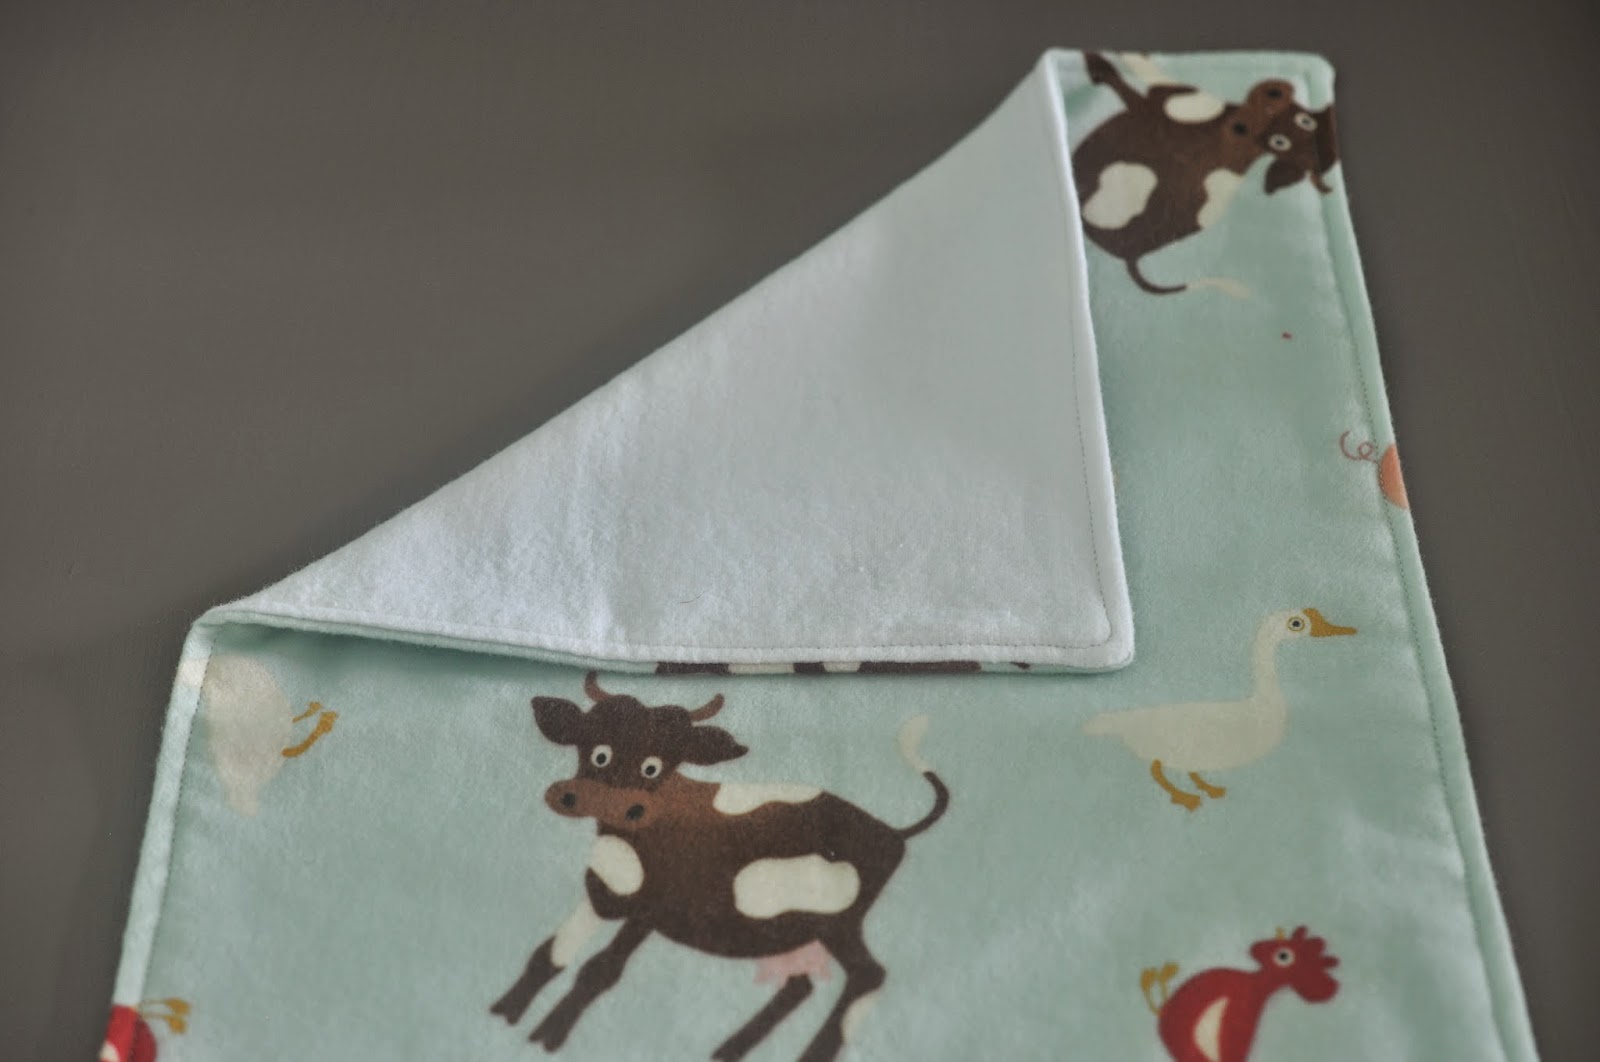
 
I just can't decide which fabric design is my favourite!  They each have something I love about them!!  What do you think!?


Can't wait to use these when our little one arrives, and at least I'll always have these pictures of how clean and pressed they were... once upon a time!! 
 
Now to use the remaining fabric for each of the designs... Maybe some bibs using the same idea... Watch this space!

Monday, 28 April 2014

Sewing into Spring ~ Pocket Sneaker Chicks

Spring is here!!  ... And so is what seems like ALL the craziness happening at once.  Busy busy busy busy busy!  But I'm sure I want to still write a post per week, but forgive me - I didn't actually make these this week - but actually a few weeks ago for Easter.  BUT I didn't post them for Easter, so here they are!  Spring chicks :-)
 
 
Some of you reading might have seen what surprise they were used for over Easter, but well - it's not Easter anymore so I'll leave them as just my Spring Chicks!
 
 
I'm totally in love with the newest in my pocket sneaker series - these little chicks, and whilst they weren't used as my hearts and lucky charm pocket sneakers were for my husband - they were hand delivered at Easter and were very similar in the way I made them, and in their size, so I think I can go with the same pocket sneaker series!


Even making these on a time crunch I actually remembered to take a few photos as I went along so I can share with you how I made them!  They were nice and easy, and if you don't have a machine could be all hand sewn, although the machine did speed things up - and I like that.


When shopping for the felt I would use in this project I couldn't decide which yellow/orange/other chick colour would look best once they were all made... so ... well ... I got a variety and made them all!  In the end my particular favourite was the cream coloured chick, but after making them all and distributing them to family we shared the colours, and I think I liked them all, and especially liked that there were different colours to choose for different people so I'm glad I couldn't decide in Michael's that day!
 
 
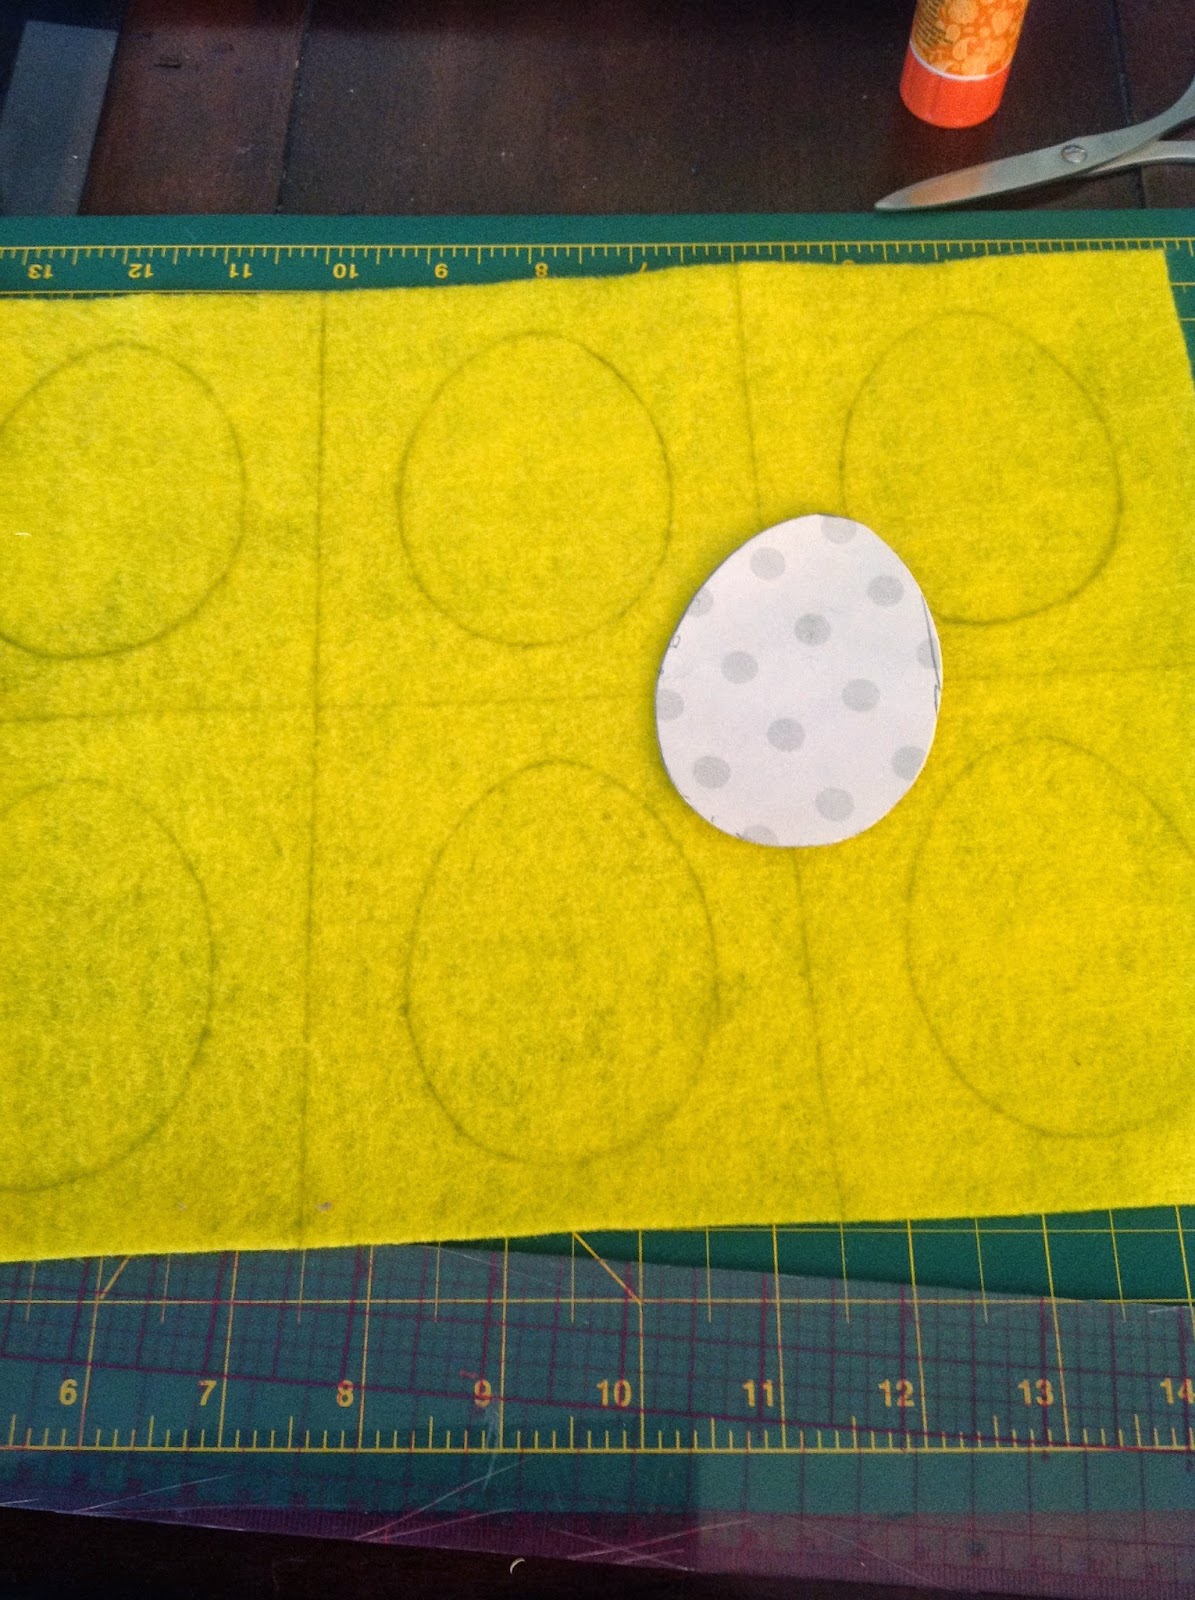
Using a picmonkey egg I had seen on my travels through creating cover photos for my blog, I made the image in various sizes and printed it from a word document.  I had an idea of what size I wanted to make the chicks, but did trial and error on the actual egg size I printed to find the perfect one.  Oh yes, and I chose an egg shape for a chick?!  Coincidence it was all Easter themed but in my head the perfect "cute" chick shape would be an egg!


I cut out the egg in the size of my choice, and then backed it onto some sturdier card so I would be able to keep the template and use it again.

 
This little egg ready and waiting to be cut out to be the start of the chick making adventure!
 
 
I divided the felt sheet into 6 first of all and then traced the outline of the egg shape into each box.  Error here on my part was using a regular pencil and not a better pencil/pen that would fade away, but luckily most of my stitches covered the pencil markings in the end.
 
I then cut out each square of felt (but not the egg shape - this would be my sewing guide later on) in each of the three chick colours, eventually having 12 squares for each colour, 36 in total... which would make 18 chicks as each chick needed a front and back.
 
Whilst our youth group played a soccer tournament all day, I entertained myself by sewing the details on each front piece of the chick!
 
 
I'm most pleased with my chick eyes!! I advanced from my usual back stitching and actually tried a real embroidery knot!  Admittedly some eyes were bigger than others, but by the end of 18 chicks the eyes were nice and small, and tight - just what I wanted! 
 
I used a black embroidery thread for all of the eyes, and either a bright orange or pale orange for the beak and wing details, whichever matched the felt colour best.


Back home with all of the embroidery done it was time to stuff them and sew!  I pinned the fronts to the backs to secure each part together and then with the machine went around most of the egg shape with a coordinating thread (NOT the red that is in the picture for some reason... perhaps that was what was on the machine before I started with the yellows!). 


Leaving a small centimetre gap somewhere along the egg shape would allow me to pause on the sewing, and stuff the chicks before going back to the machine and finishing it off. 

The stuffing part is my favourite element of the 'pocket sneakers' I've made over the past year or so.  Giving them a chubby look and a soft padded feel, it was just what I envisioned for these little chicks.

 
So with all 18 chicks sewn around the edge of the egg shape, I cut out around the edge of the egg shape with pinking shears to give the pocket sneaker look of the jagged edge that I wanted!

 
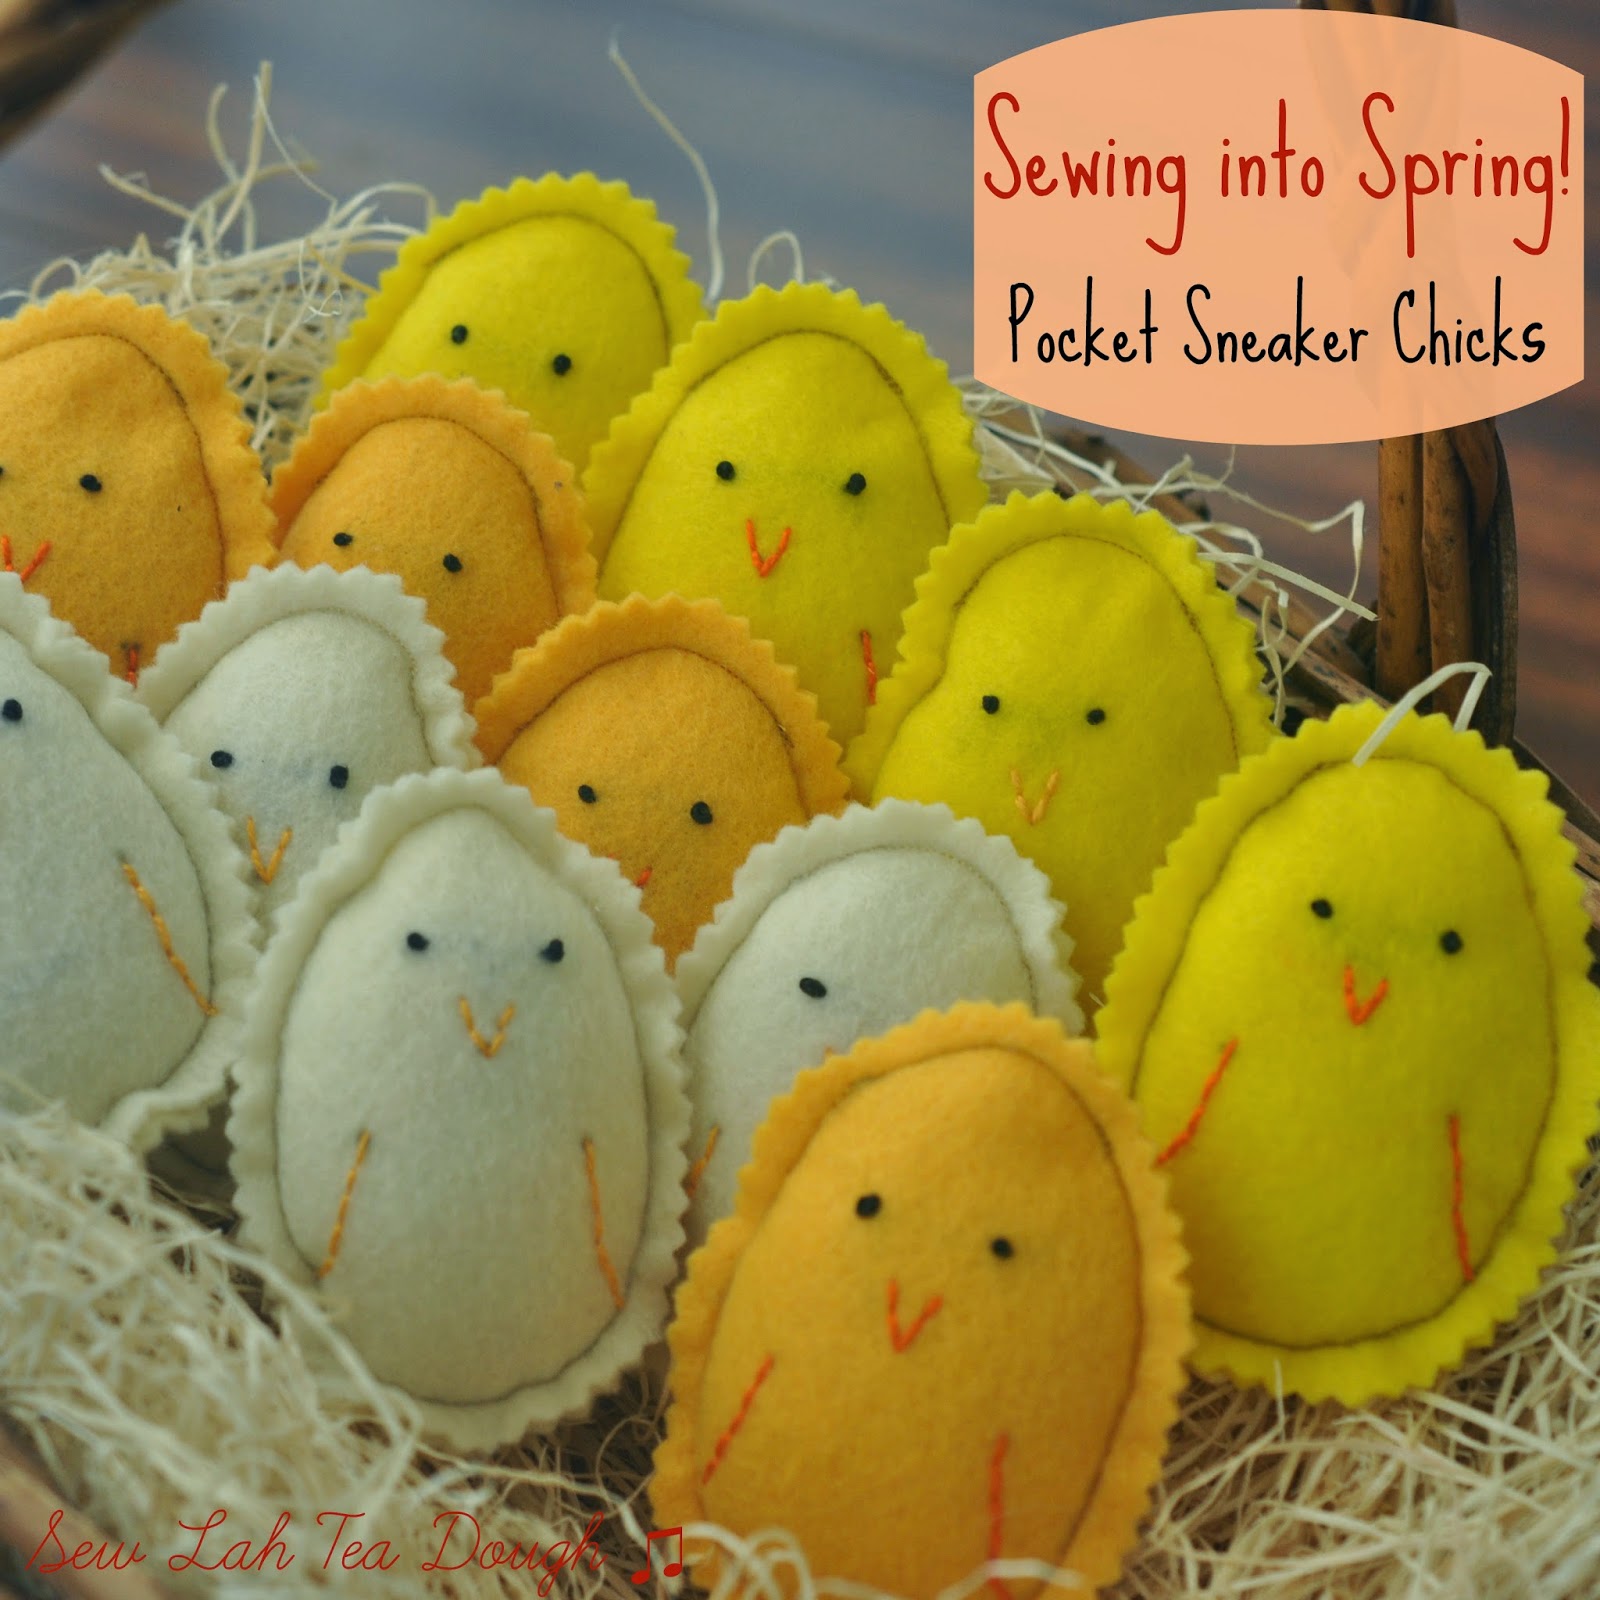
And voila - here they all are, my little chicks in a basket!  I love how they turned out, and was a little sad to be giving these cute little guys away - although all for a good reason!  ... And I did get to keep a few for next Easter - I'll use them as decorations somewhere.
 
 
The chicks are super cute, and if you're happy doing some sewing are nice and easy to make!  If you try them out, do send me a picture :-)


Saturday, 6 July 2013

Bow ties are cool... Baby bow ties are cooler...

... and cuter too!

Nearly 8 weeks ago I blogged about the new baby boy elephant cupcakes and custom baby boy onesies I made for the arrival of a sweet baby boy - a very cute and squishy addition to our friends' family.  Wow 8 weeks!?  Seems like a long time already for this little baby, which means I think it is definitely time I blogged more about the custom onesies I made, just as I promised.

When I first blogged about the onesies I was so thrilled with everybody's kind words and compliments, and especially excited to see, that just like me - everyone's favourite seemed to be the bow tie onesie!  Yey!  I'm still so happy with how it turned out, and I love that everyone else did too - thank you for your comments and repins :-)


So today I bring you the tutorial for the bow tie onesies.  I'll share what I did and also what I plan on differently next time - I'm wondering if these might make it onto my Etsy shop.  Right now you'll just see my moustache hair clips/men's bow ties/lapel pins so it's pretty lonely on the Sew Lah Tea Dough Etsy shop so maybe these will get there soon.  What do you think?  Would these be something that catch your eye while browsing Etsy?

Firstly I purchased a white onesie (this one was a size 6-12months, thinking he could grow into his 'smart suit' in a few months time!).  I chose white to act like a smart white dress shirt :-)

I knew that I wanted to create 2 bow ties so that the colours/patterns could be interchangeable... and then to find a way to attach the bow ties, meaning that I could make future bow ties with the same fixings on for endless possibilities.  That means everything you'll see will be twice over as I made 2 bow ties but the measurements I give will be for 1.

So here goes.  I chose some really cute and soft flannel fabric I got in JoAnn's on my most recent US trip.  I knew a baby was coming so this definitely inspired the purchase, and it worked perfectly for the bow ties - I love the fabric design and thought it was so appropriate for a baby boy.  Thank you JoAnn's!

1.  Start with 1 rectangle of fabric cut to 9" x 4" and 1 smaller piece cut to 2.5" x 1.5".

2.  Fold right sides in lengthwise and pin.  These are the top edges you are going to sew shut.


3.  Machine sew in a similar colour thread (I used white) along the pinned top edges.  (As these aren't huge projects they are probably something that could be hand sewn as well if you don't have access to a machine)


5.  Turn the fabric inside out so that the right side is now showing and admire your pretty baby fabric you chose :-)


You will then have tubes of fabric, one big long rectangle that will be the main part of the bow tie, and the smaller one that will be the wrap around middle part.

6.  Turn the seam so that it sits in the middle of the back and iron flat.


7.  Working first with the large rectangle, fold the 2 ends towards the middle.  I actually overlapped one side more so than the other - I figured if it was going to be on show then having only 1 edge visible would be better than 2!  And also once I wrapped around the smaller rectangle this would then go around both edges potentially making it more secure.


8.  Tack down this middle overlap just to attach them together which will make it easier to work with when you add the small middle band.

9.  Squeeze together the middle of the bow tie and aim for nice symmetrical pleats for the bow tie effect!  I was really happy with how one came out, and the other didn't do as nice of a pleat but that's okay!  


10.  Oopsie that may have been my last photo.  Luckily it's almost the final step, and finally time to use that small rectangle that was oh so fiddly to turn right side out!   Take this rectangle tube and fold around the middle of the bow tie.  Hand sew together at the back.  I sewed through the 2 edges, but also made sure that some stitches went through the actual bow tie so that it would move side-to-side.

Time to attach the velcro or whatever you want to use to get this bow tie to stay on your little one's outfit!

11.  I had chosen to use velcro squares - with two attached to the onesie just underneath the collar spaced apart based on your bow tie - just double check and make a mark where you want them to be sewn on!  This meant I needed the opposite sides of velcro squares to attach to the back of the bow ties.  I'm afraid I don't have a photo of the back (and right now I'm saying to myself "why was I so silly not to take one of the back side?!")... but I attached a square to the under side of the bow tie - one on each side of the bow.  Hand sewing the velcro was tough!  I really appreciate usually being able to use a machine for this! 


I am sure there would be a way of figuring out which part would eventually be this velcro section and attach it first, but I haven't got there yet.

All done!  2 cute and soft bow ties ready for the outfit and the new baby (who, at the time of finishing the gift was still warm and cosy and not born yet!)


My other idea which I think I would use as another option if I made these more often, for more flexibility would be to attach small bar pins either by sewing them on, or hot glueing them down so that the bow tie could be attached to any outfit.  

But for this time I wanted the two interchangeable bow ties for 2 outfits in one, so went with velcro not only for easy attaching, but also meaning the bow tie could be removed so the outfit could still be washed... Very necessary I think :-)

I also should mention, that I chose to make the onesie even smarter with some pale blue buttons sewn down the centre of the onesie.  That's totally optional - but I definitely think it adds a nice contrast in colour to the white fabric as well as being nice and fancy to make your little one look so grown up!


I love these bow ties!  And have lots of material left, and can't wait for a chance to make some more.  Looking forward to when the new little one is big enough to fit into the outfit and we can see him looking super dapper ♥


This final photo is just as I was packing everything up.  Don't you love the 'Stitched with ♥' ribbon!?  It was a super exciting little gift from my Mum sent from England.  Just had to use a little of it for this present :-)  Thanks Mum!

I'm so glad I've finally posted this tutorial - I hope you have a chance to create a cute little bow tie for your little man.  I loved coming up with this onesie - accessories for baby boys are definitely not as easy to come up with as little girls' but I did really enjoy this project :-)  

Definitely going to make some more, and I'd love to hear what you think - do you reckon they'd make for a good Etsy sell!?  And do send me your pics if you make some of your own!

Have a great week everyone!