Not a baking post! Who knew!? ... Baking for me has that has to happen that weekend, or for that particular event feeling as well as being a consumable that obviously makes it delicious enough to want to do immediately! But then all my ideas for sewing projects and things I want to craft and make get put on a list in my head and wait until everything else is done which means I often don't get around to it!
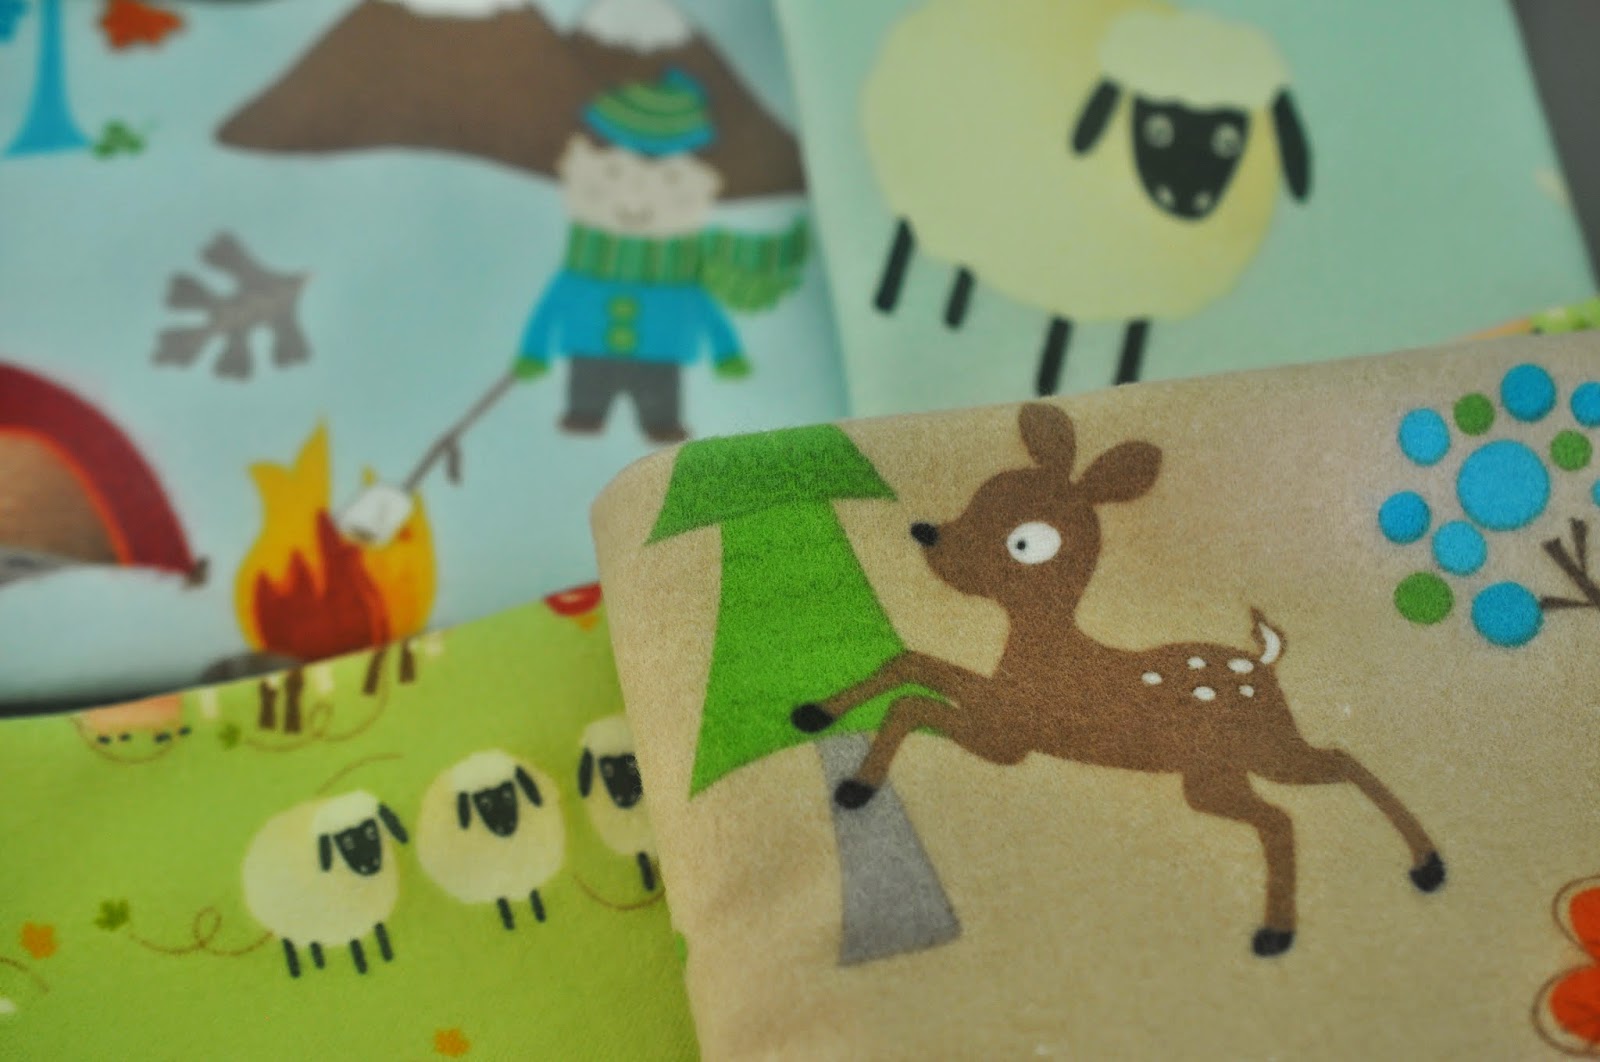
BUT this week, with a bunch of important and necessary to-do list things checked off the list, I finally got around to getting out my sewing machine and getting to work on these nice and easy baby burp cloths I had been wanting to make since I found this variety of super cute flannel fabric at Fabricland a good few months ago!
Expecting an Autumn baby, the colours and the designs are perfect for our soon to arrive little one (or perhaps...already arrived by the time this post goes live!?) and burp cloths were something we didn't have yet.
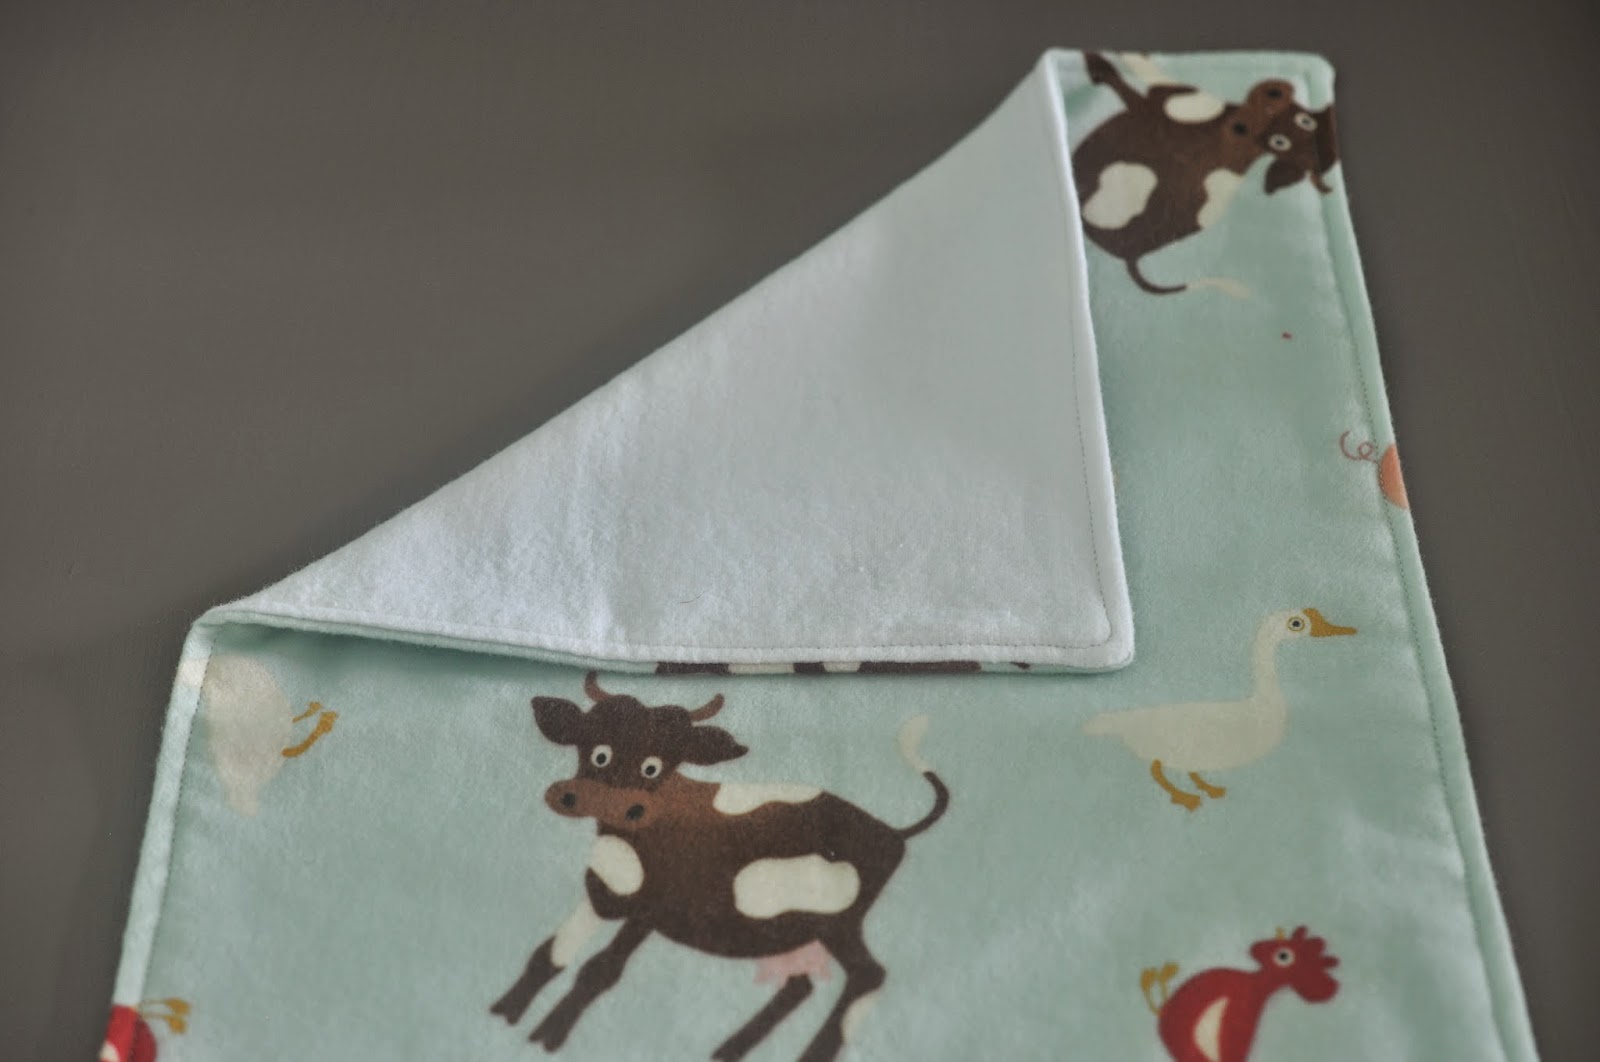
It was a nice and easy project to start with... We don't know the gender yet, so sewing clothes will have to wait until he or she is born, so I thought I'd start simply. I bought some soft white flannel to back the cloths with, contrasting against the fun flannel prints I had found in the 'quarters' section.
If I'd been in the States, I'd have been able to do this for even cheaper! So at trip to JoAnns might be necessary soon for more baby related projects :-)
So with pre-washing fabrics done, I was ready to start... These cloths could be made with any design of fabric, to any size you desire - and don't have to be flannel like mine were, but I personally LOVE flannel so chose to do both the front and back in that, but I might also try something with more of a terry cloth backing to it as well perhaps. But, I'll share the way I made mine, with my dimensions and the way it worked out!
1. Select your fabric to make the cloths and pre-wash and iron before starting to cut and sew.
2. I chose 4 designs of flannel prints for my burp cloths, a large print animal, a small print animal and two camping designs in contrasting colours.
3. Cut fabric into a rectangle by 17 x 10 inches.
4. Cut backing fabric (white flannel) into the same rectangle shape - 17 x 10 inches.

5. Taking a printed flannel piece, and a white backing flannel piece - put right sides together and pin around the edge, leaving a seam allowance around the edge.
6. Make sure to leave a gap of around 2 - 3 inches somewhere along the pinned edge so when it has been sewn, you can turn it back with right sides out. I chose to do this at the bottom short edge of the rectangle - thinking it would be the least noticeable part of the cloth, and wouldn't mean for any awkwardness in sewing the corners of the cloth!
7. Back stitch a little at the start of where you sew, and the end - just to make sure no stitching comes apart when you turn it right sides out.
8. Once you have sewn all around where you have pinned (I chose white thread to go with the white flannel backing), cut the corners of the cloths to give them a nice corner when you turn them right sides out.
9. Turn the cloth right sides out through the gap left at the bottom of the cloth. I use a chopstick to poke to corners out as much and as neatly as they can.
10. Iron the burp cloths flat, making sure to press the open area in as if it was also stitched!
11. Nicely pressed, now go around the edge of the cloth top-stitching all the way around. I used a white thread again, but you could also go with a contrasting but complementary colour to your fabric to make it stand out intentionally! Stay closer to the edge of the cloth than your seam allowance was, it gives the cloths a really nice finished edge. ... And yup, that's it! Cloths finished!
As I had the four designs of flannel print, I did all four cloths at the same time - but could have easily made more in that same window of time. The part that takes the most time is the cutting out (at least for me it did), but I'm glad that I did all four cutting out, pinning and then I could just whizz around the edges with the machine of all four, iron all four, and then top stitch all four all at once but this could easily be more without adding much more time!
Not too difficult at all, good for me - having not done much sewing recently (with our sewing machine packed up in a box before we moved, not being able to do any crafting while we tried to sell our home!) so I'd definitely recommend whipping a few of these up - they'd make great gifts for a new baby or for yourself like I did! :-D
Burp cloth photo shoot time of course!
Before I cut these out (which was half of the fabric I had in these designs), I checked they would be a good size for placing over a shoulder, for both me and my husband but I'm sure they'll be used for all sorts in the near future!
I just can't decide which fabric design is my favourite! They each have something I love about them!! What do you think!?
.JPG)
Can't wait to use these when our little one arrives, and at least I'll always have these pictures of how clean and pressed they were... once upon a time!!
Now to use the remaining fabric for each of the designs... Maybe some bibs using the same idea... Watch this space!


.JPG)


No comments:
Post a Comment
Thanks for reading!! Please leave a comment, I'd love to hear from you :-)