
Spring is here!! ... And so is what seems like ALL the craziness happening at once. Busy busy busy busy busy! But I'm sure I want to still write a post per week, but forgive me - I didn't actually make these this week - but actually a few weeks ago for Easter. BUT I didn't post them for Easter, so here they are! Spring chicks :-)
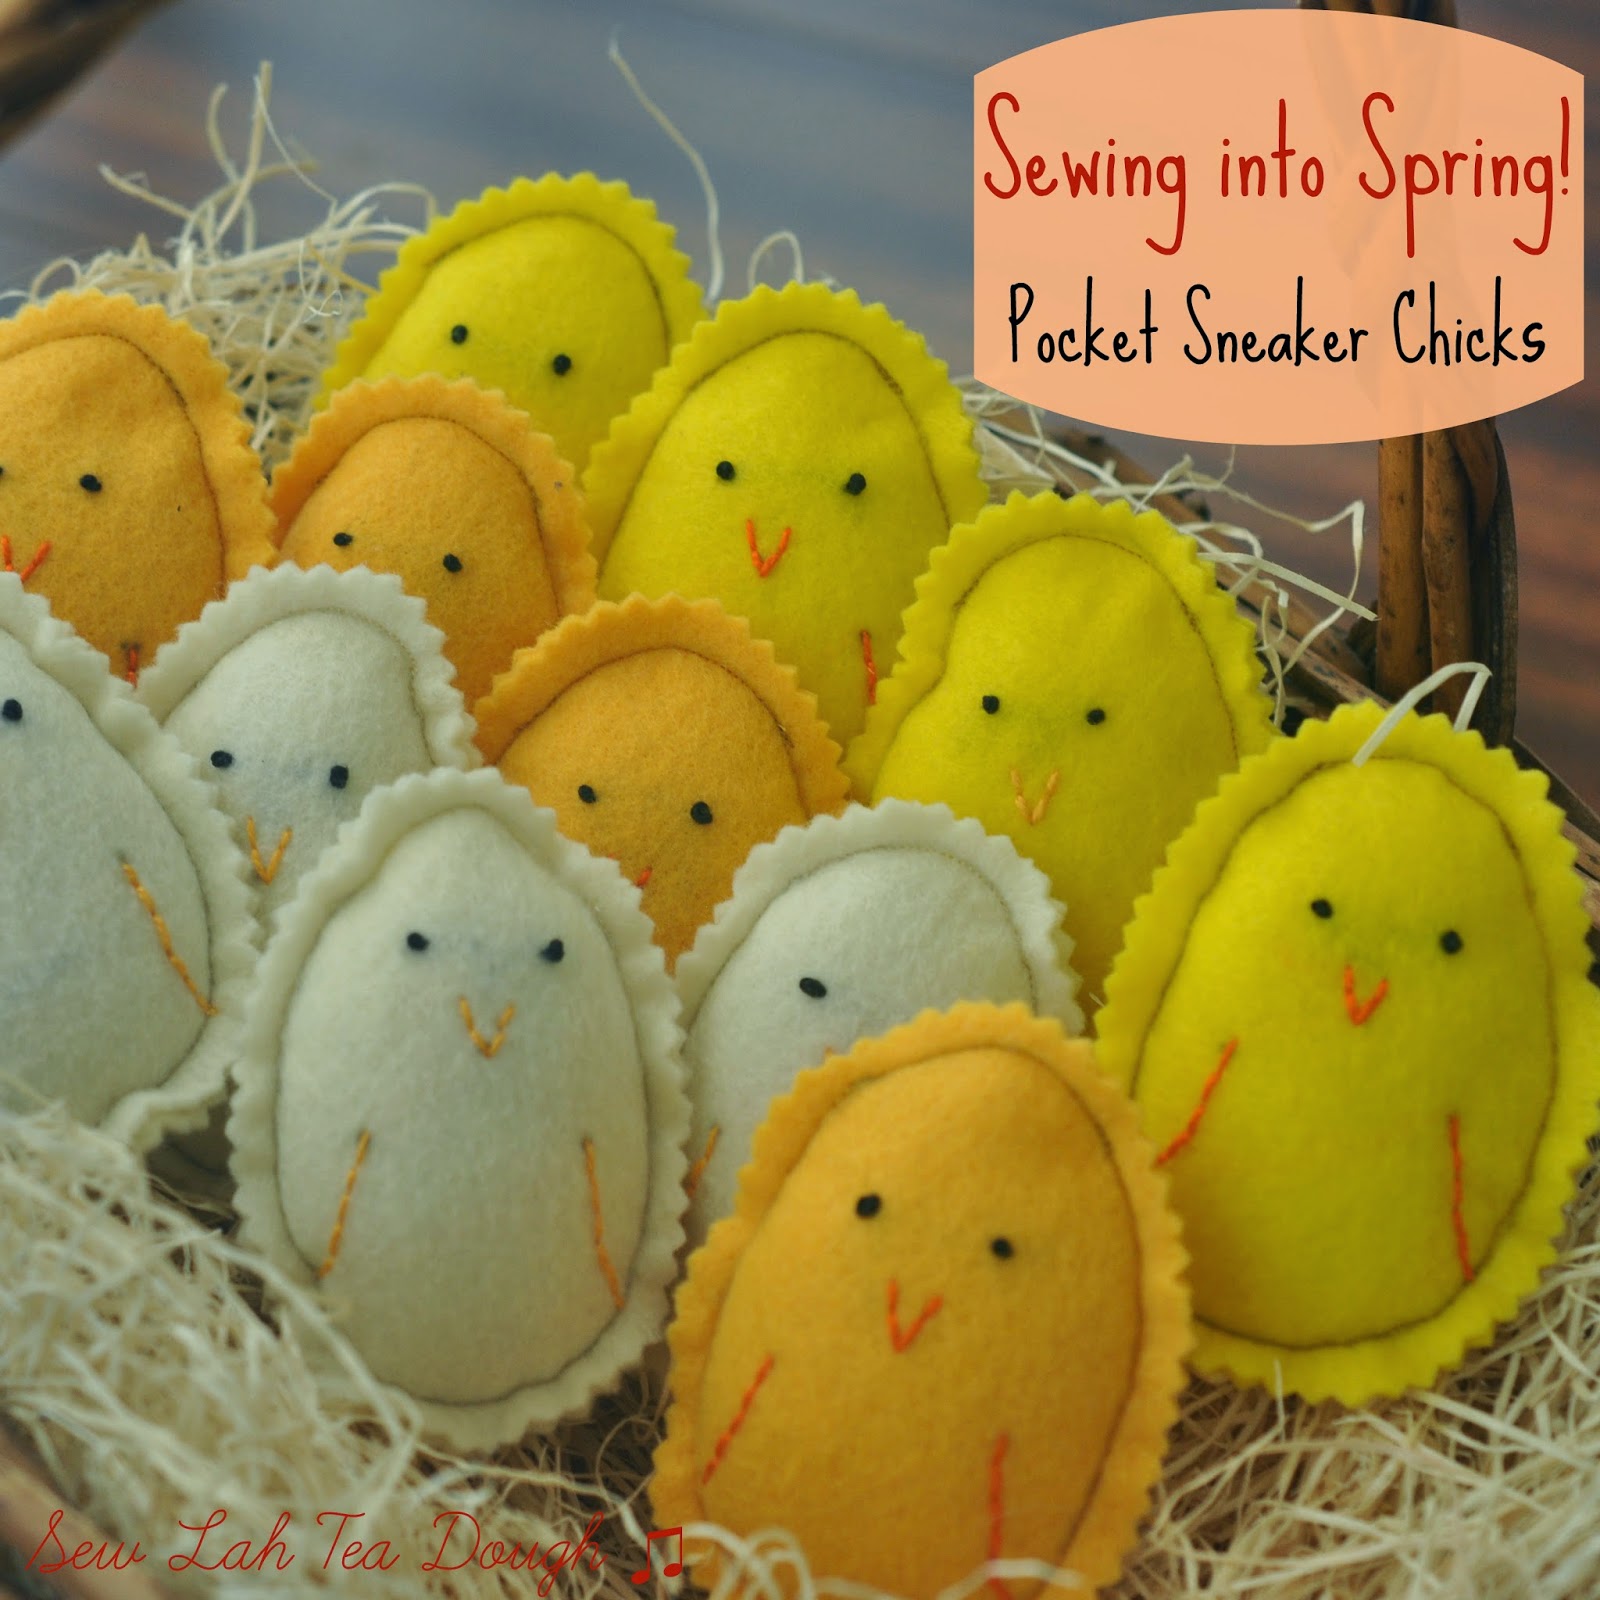
Some of you reading might have seen what surprise they were used for over Easter, but well - it's not Easter anymore so I'll leave them as just my Spring Chicks!

I'm totally in love with the newest in my pocket sneaker series - these little chicks, and whilst they weren't used as my hearts and lucky charm pocket sneakers were for my husband - they were hand delivered at Easter and were very similar in the way I made them, and in their size, so I think I can go with the same pocket sneaker series!


When shopping for the felt I would use in this project I couldn't decide which yellow/orange/other chick colour would look best once they were all made... so ... well ... I got a variety and made them all! In the end my particular favourite was the cream coloured chick, but after making them all and distributing them to family we shared the colours, and I think I liked them all, and especially liked that there were different colours to choose for different people so I'm glad I couldn't decide in Michael's that day!

Using a picmonkey egg I had seen on my travels through creating cover photos for my blog, I made the image in various sizes and printed it from a word document. I had an idea of what size I wanted to make the chicks, but did trial and error on the actual egg size I printed to find the perfect one. Oh yes, and I chose an egg shape for a chick?! Coincidence it was all Easter themed but in my head the perfect "cute" chick shape would be an egg!

I cut out the egg in the size of my choice, and then backed it onto some sturdier card so I would be able to keep the template and use it again.
This little egg ready and waiting to be cut out to be the start of the chick making adventure!
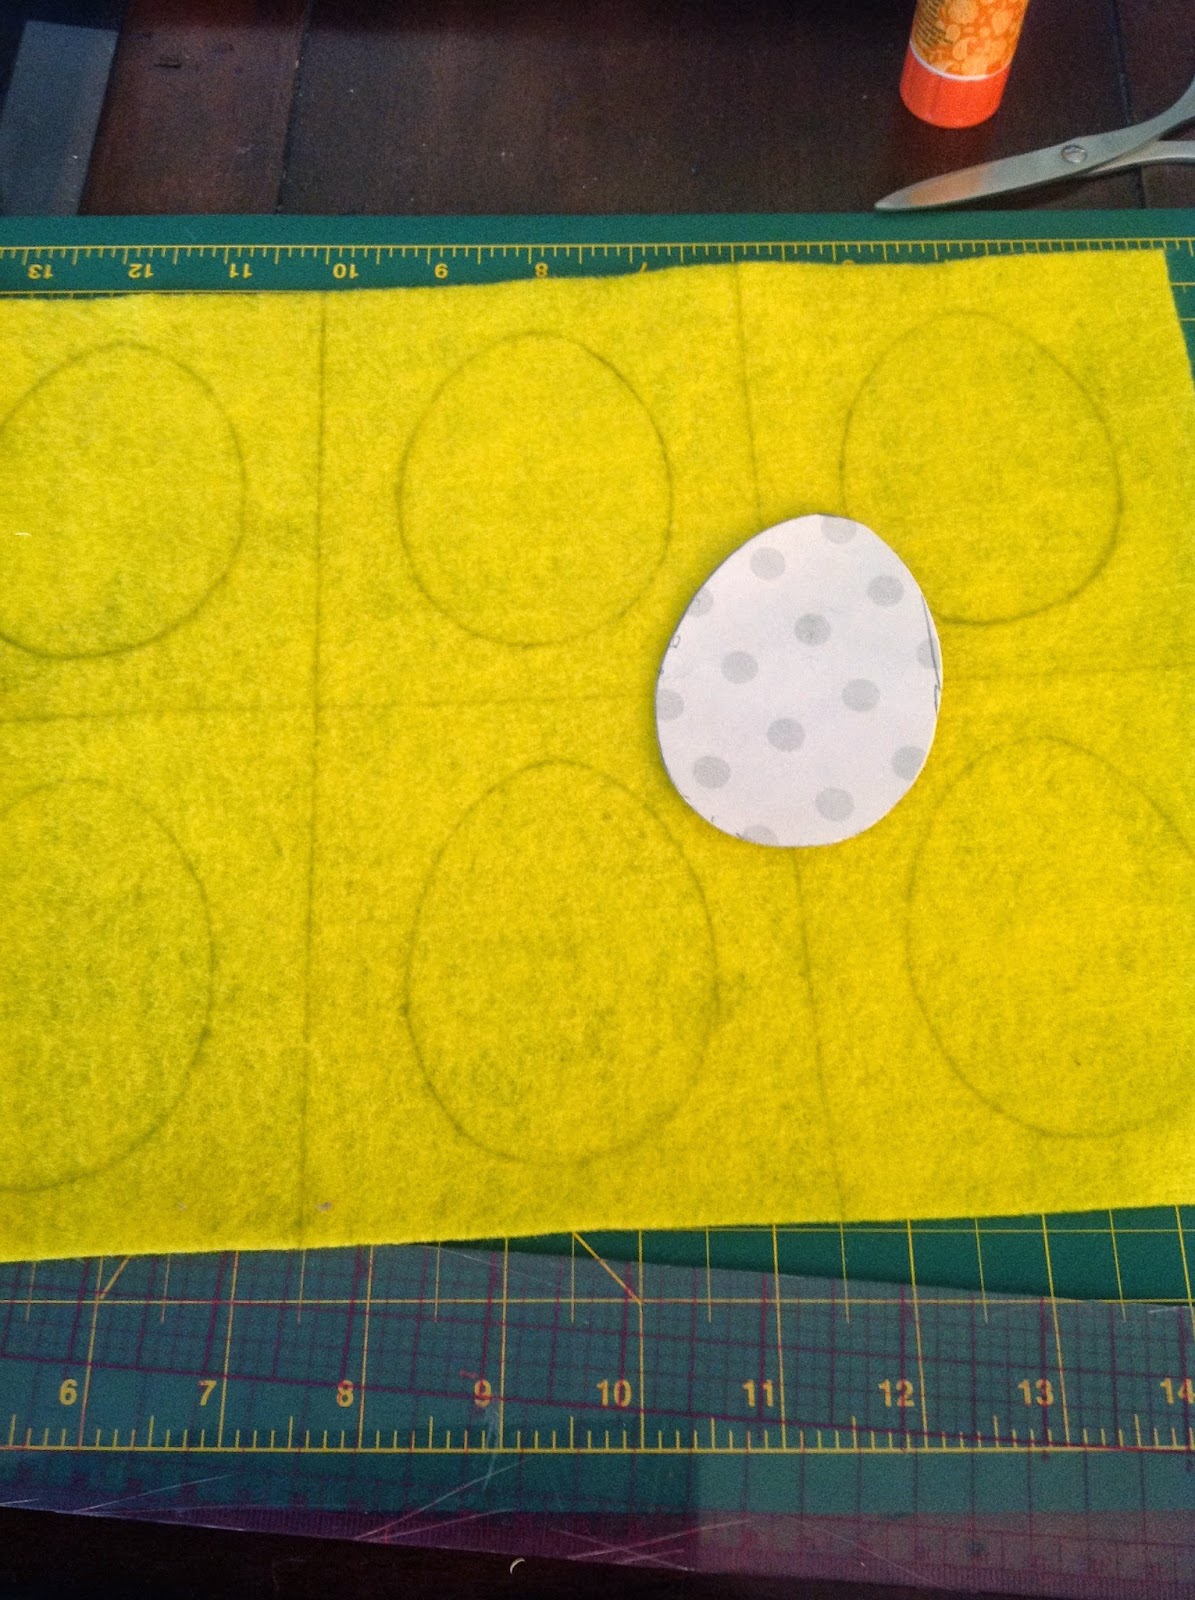
I divided the felt sheet into 6 first of all and then traced the outline of the egg shape into each box. Error here on my part was using a regular pencil and not a better pencil/pen that would fade away, but luckily most of my stitches covered the pencil markings in the end.
I then cut out each square of felt (but not the egg shape - this would be my sewing guide later on) in each of the three chick colours, eventually having 12 squares for each colour, 36 in total... which would make 18 chicks as each chick needed a front and back.
Whilst our youth group played a soccer tournament all day, I entertained myself by sewing the details on each front piece of the chick!

I'm most pleased with my chick eyes!! I advanced from my usual back stitching and actually tried a real embroidery knot! Admittedly some eyes were bigger than others, but by the end of 18 chicks the eyes were nice and small, and tight - just what I wanted!
I used a black embroidery thread for all of the eyes, and either a bright orange or pale orange for the beak and wing details, whichever matched the felt colour best.

Back home with all of the embroidery done it was time to stuff them and sew! I pinned the fronts to the backs to secure each part together and then with the machine went around most of the egg shape with a coordinating thread (NOT the red that is in the picture for some reason... perhaps that was what was on the machine before I started with the yellows!).

Leaving a small centimetre gap somewhere along the egg shape would allow me to pause on the sewing, and stuff the chicks before going back to the machine and finishing it off.
The stuffing part is my favourite element of the 'pocket sneakers' I've made over the past year or so. Giving them a chubby look and a soft padded feel, it was just what I envisioned for these little chicks.

So with all 18 chicks sewn around the edge of the egg shape, I cut out around the edge of the egg shape with pinking shears to give the pocket sneaker look of the jagged edge that I wanted!

And voila - here they all are, my little chicks in a basket! I love how they turned out, and was a little sad to be giving these cute little guys away - although all for a good reason! ... And I did get to keep a few for next Easter - I'll use them as decorations somewhere.

The chicks are super cute, and if you're happy doing some sewing are nice and easy to make! If you try them out, do send me a picture :-)


