
Ireland, and Dublin in particular is one of my favourite places in the world. My Grandparents lived there since my Dad was at university and so I have spent all of my childhood visiting, and now whenever I go back to England to visit I make sure I ALWAYS get to Dublin to go back, to see my Granny, to wander around the city and enjoy it! I've even been lucky enough to spend time there during St. Patrick's weekend, the parade there was incredible :-)
Since moving to Canada, I have discovered that North America LOVES St. Patrick's Day - perhaps more than England does?! You all go nuts for it! I have no problem with that, I love it too. What a fun celebration for the patron saint of Ireland.
Last week I got crafty and made my Lucky Pocket Sneakers and Shamrock bunting, see that post here but this weekend I have been baking!
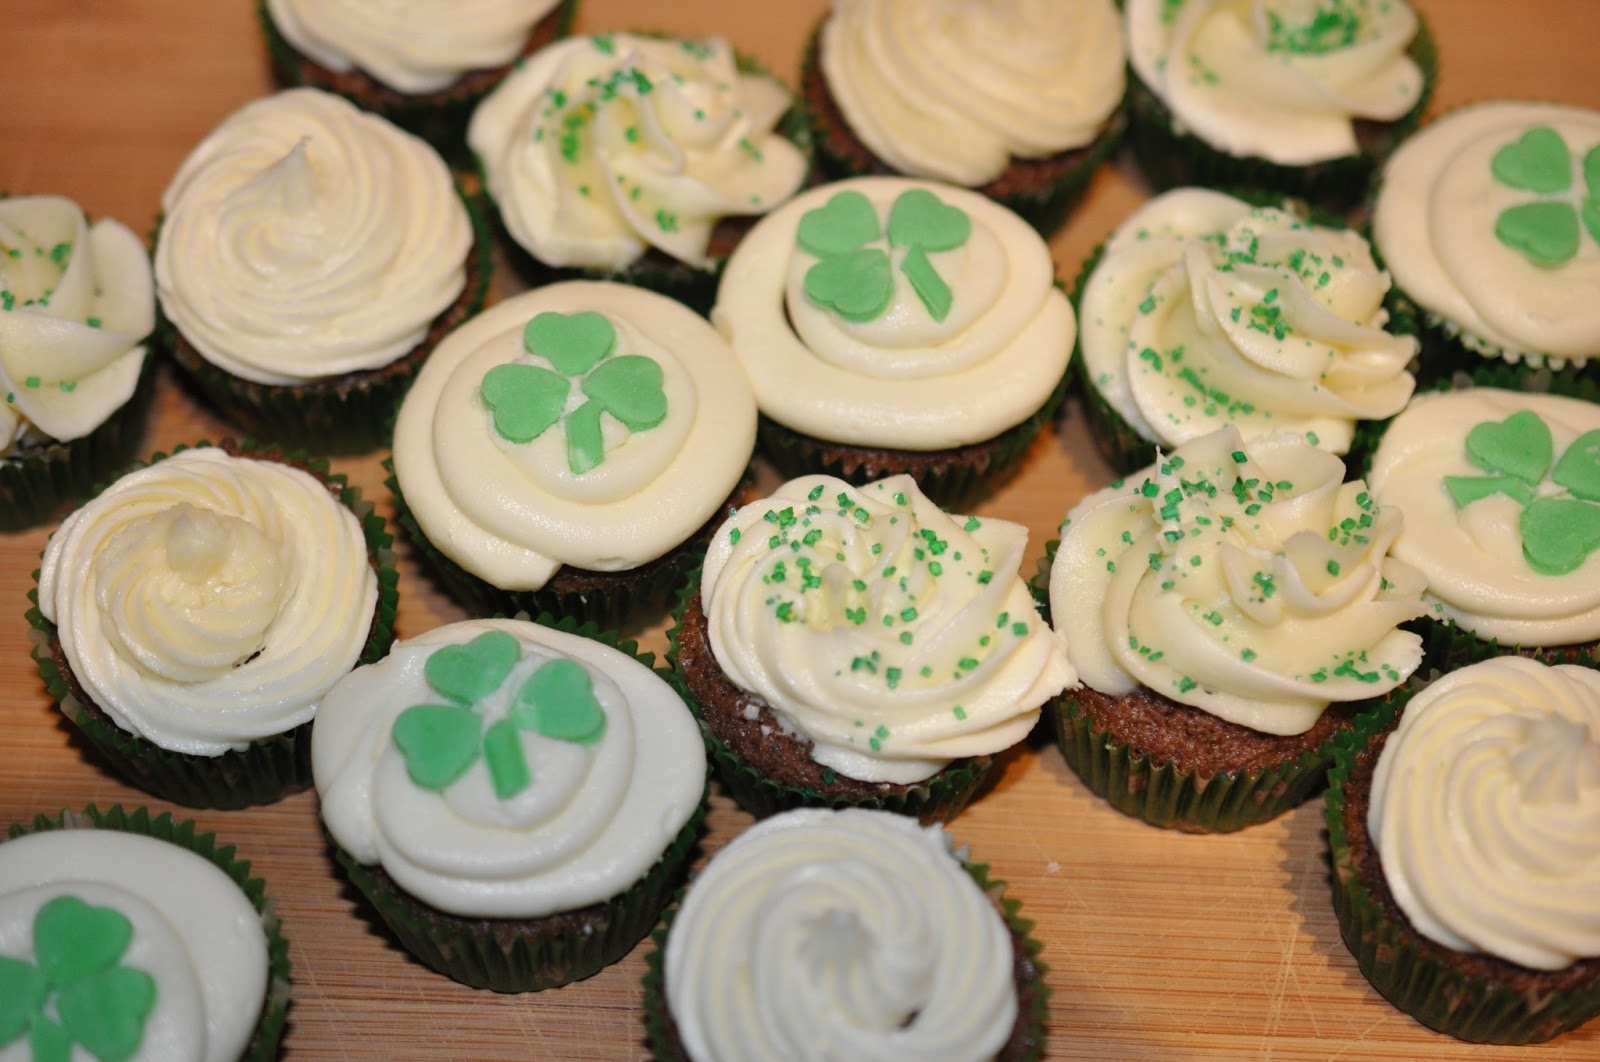
I'm been on a cupcake roll recently... I have some I still need to post up from last week but for this weekend I went on an Irish/ St. Patrick's Day theme and made some chocolate mini cupcakes with a mint buttercream frosting. I decorated them with some green decorations, and my favourite part - the fondant shamrocks :-)
Michael's served me well with a new set of mini cupcake cases, the green spotty ones were perfect for this project!
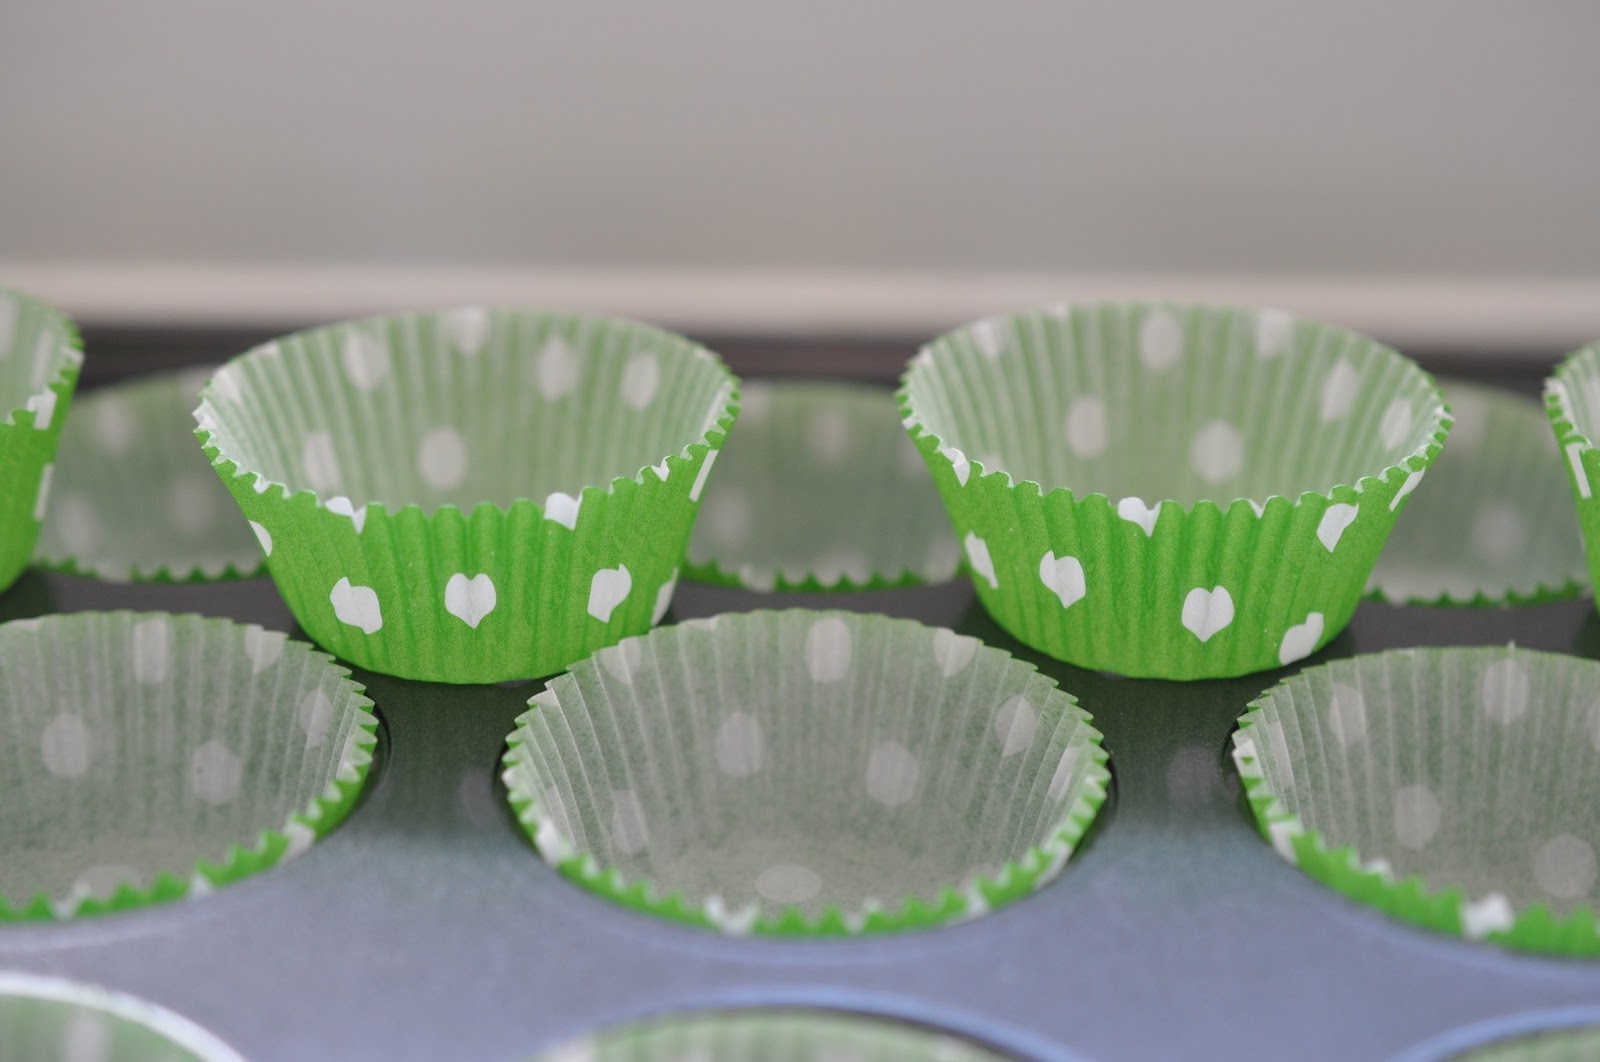

I used a basic cupcake recipe (see below) and substituted some cocoa powder for some flour for the chocolatey taste! For my mini cupcake tray (makes 24) I used my small cookie scoop, not quite filled, as I didn't want them to be too overflowing when they had risen.


I was trying to think of adaptations of a mint chocolate chip idea and thought that a chocolate cupcake, with buttercream frosting made to be a mint flavour would do the trick :-)
I used 3 different tips to decorate, a small round one (Wilton # 12) to make a base for the fondant shamrocks, an large inverted star (Wilton # 2D) to create swirls that the green sugar would be sprinkled onto, and a star tip (Wilton # 21) to create a swirl that looked good enough (well on some it looked okay enough!) to leave blank.
My general idea was to create variations on a theme and I'm pretty pleased with how they turned out.
That is to say, I was not too happy at the start of my piping, but once the toppings and decorations were on I was pleased with how they looked!


I am MOST happy with the shamrocks. Originally I was thinking I would have to cut out the shamrocks free hand out of the green fondant, then sometime this week I had a brain wave. Earlier this month I picked up a lot of cheap Wilton baking accessories: a star hand punch, various stamps for decorating cakes, a crimper for fondant and also a heart hand punch! This would be PERFECT! All I needed was the green fondant rolled out, then I could punch out my little hearts and use three to make the shamrock! I crimped the rest of the fondant to and ripped apart the strips it made, cut them short and used those for sturdy stems! And there I had the perfect size shamrocks for these mini cupcakes.

I hope everyone has had a wonderful March Break if you were off school, and a fun filled St. Patrick's Day! I know the crafts and baking I have seen on blogs and link parties this week have been SO great - can't wait to see more of your creations next week :-)
Chocolate Mini Cupcakes Recipe (makes 48 mini cupcakes plus 3 regular sized cupcakes, just for tasting!)
230g unsalted butter, softened
230g caster sugar (I used superfine granulated)
4 eggs
230g self-raising flour BUT sub out 4 tablespoons floor, and add 4 tablespoons cocoa powder
1 teaspoon vanilla extract
1. Preheat oven to 375°F/190°C
2. Cream together butter and sugar until light and fluffy
2. Add eggs one at a time and vanilla extract
3. Sift in flour and cocoa powder. Fold in until just combined.
4. Scoop into cupcake cases (I did this in two batches as I only have 1 mini cupcake pan) and bake for 12 minutes or until a cake tester comes out clean/the sponge springs back to your touch.
5. Leave to cool before decorating.
Mint Buttercream Frosting Recipe (makes enough to cover all of the cupcakes with the style of piping I used)
300g butter
450g icing sugar
2 tbsp milk
Peppermint extract, to taste. I think in the end I used around 3/4 teaspoons, but do check as you go!
1. Soften butter in mixer
2. Add icing sugar
3. Add milk and peppermint extract to taste.
Pipe, decorate, and then of course ENJOY! ♧


