Showing posts with label DIY. Show all posts

Tuesday, 31 March 2015

Best Friend Clothes

 
After starting on the Christmas posts from last year, I've been excited to share this little set of outfits I created for Amelia and our best friends little girl and boy who will be our little one's greatest friends :-D
 
With a three year old's declaration when Amelia was just a few weeks old, that no they wouldn't be friends when she was older - that they already were friends, I thought I would put together some cute matching clothes for their Christmas gifts!  A little circle skirt with a fold down waistband for the girls, and an embellished shirt for the little guy!
 
A HUGE thanks to Delia Creates for the perfect tutorial on this skirt with a fold down waistband.  She so wonderfully describes the various ways you can make it, with different seams or waist options, as well as the information on all the sizing possibilities!
 
I used the 3-6 month size for our baby girl, and she's still able to wear it now which is perfect, especially as she can get her chubby little legs out without having to wear tights now we're not in the dead of Winter anymore!!


No tutorial photos for this project I'm afraid to say.  I don't know why I don't have any... Perhaps in the mad rush towards Christmas there just wasn't enough time.  But the original tutorial over on Delia Creates has great instructions and you can adapt it to many fabrics and ideas for various skirts.

The idea of creating two matching skirts was the easy part.  But I wanted to include everybody so I had to think of something for the little guy as well!  I contemplated pants of some kind, but was excited when I finally found a plain long sleeved shirt that I could embellish with an L (for his name) using the same fabric as the skirts.

I cut out a cardboard template of the L and cut two fabric pieces, one with the right side of the fabric up (the correct way around) and one in the reverse.  With wrong sides together I sewed the L together, and then turned the fabric inside out, right sides facing out now.  Using complementary thread, I top stitched around the L and onto the shirt.


Everything ironed, and gifted at Christmas time. 
And now I'm super excited to create lots more of these cute skirts for the Spring and Summer time :-)

Monday, 6 October 2014

DIY Baby Burp Cloths

 
Not a baking post!  Who knew!?  ... Baking for me has that has to happen that weekend, or for that particular event feeling as well as being a consumable that obviously makes it delicious enough to want to do immediately!  But then all my ideas for sewing projects and things I want to craft and make get put on a list in my head and wait until everything else is done which means I often don't get around to it!
 
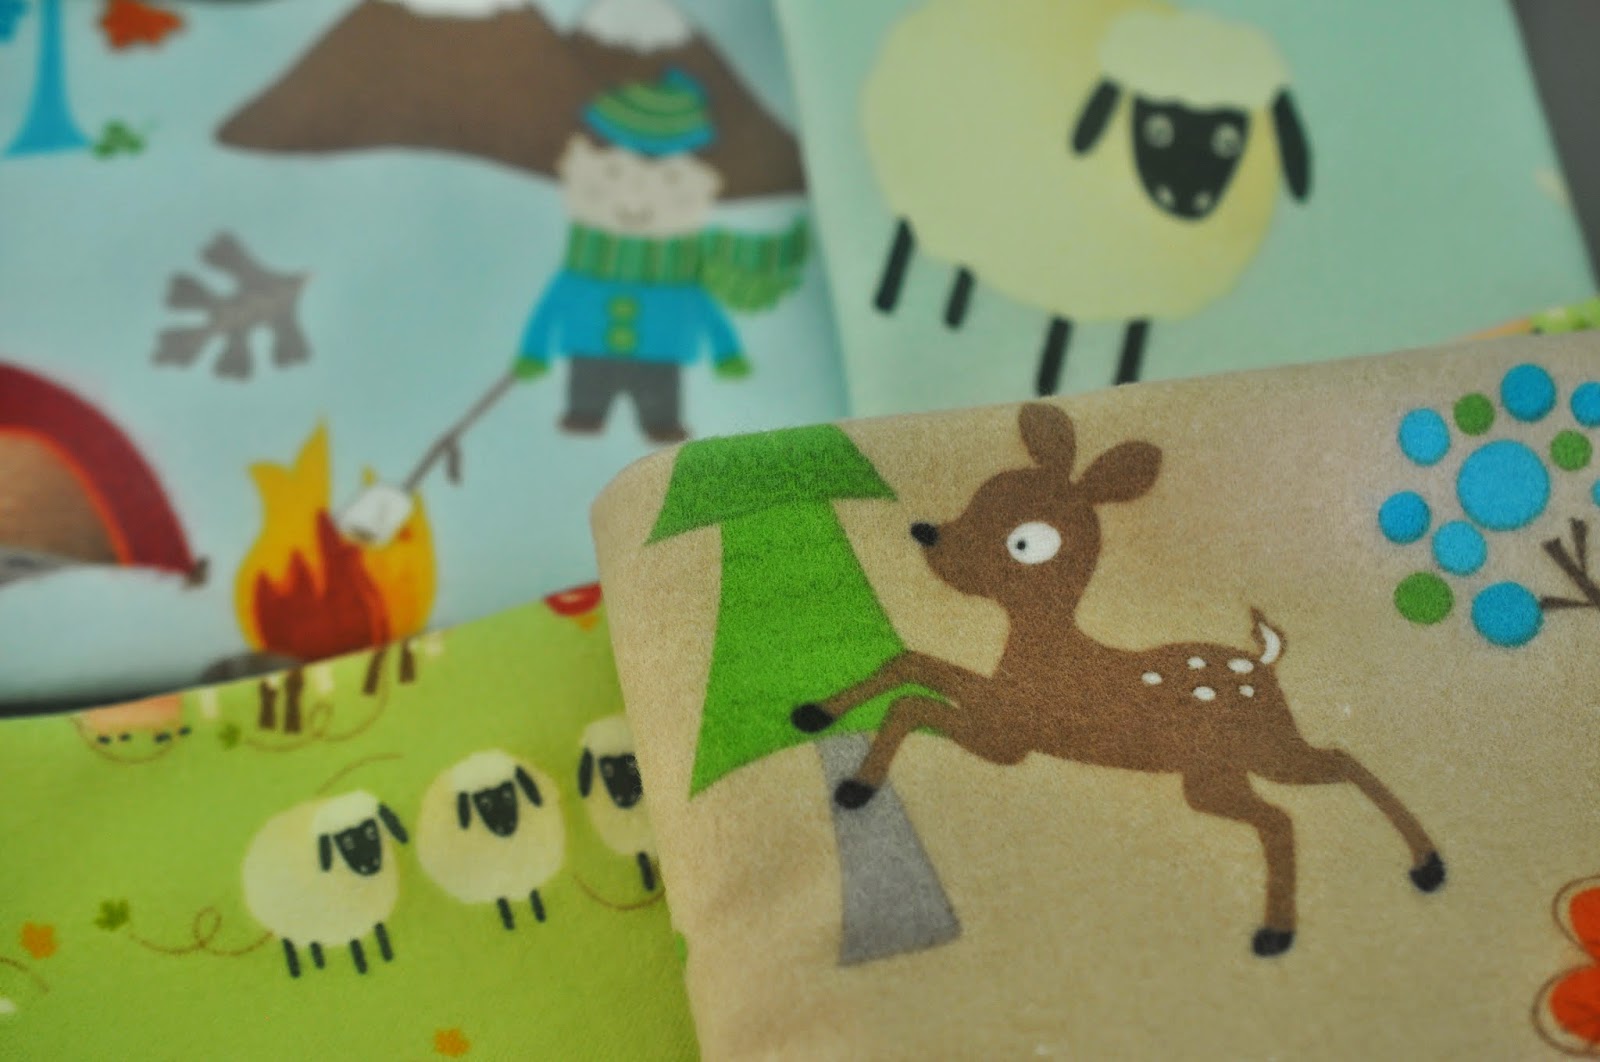
BUT this week, with a bunch of important and necessary to-do list things checked off the list, I finally got around to getting out my sewing machine and getting to work on these nice and easy baby burp cloths I had been wanting to make since I found this variety of super cute flannel fabric at Fabricland a good few months ago!
 
Expecting an Autumn baby, the colours and the designs are perfect for our soon to arrive little one (or perhaps...already arrived by the time this post goes live!?) and burp cloths were something we didn't have yet.
 
It was a nice and easy project to start with... We don't know the gender yet, so sewing clothes will have to wait until he or she is born, so I thought I'd start simply.  I bought some soft white flannel to back the cloths with, contrasting against the fun flannel prints I had found in the 'quarters' section. 
 
If I'd been in the States, I'd have been able to do this for even cheaper!  So at trip to JoAnns might be necessary soon for more baby related projects :-)
 
So with pre-washing fabrics done, I was ready to start... These cloths could be made with any design of fabric, to any size you desire - and don't have to be flannel like mine were, but I personally LOVE flannel so chose to do both the front and back in that, but I might also try something with more of a terry cloth backing to it as well perhaps.  But, I'll share the way I made mine, with my dimensions and the way it worked out!
 
1.  Select your fabric to make the cloths and pre-wash and iron before starting to cut and sew.

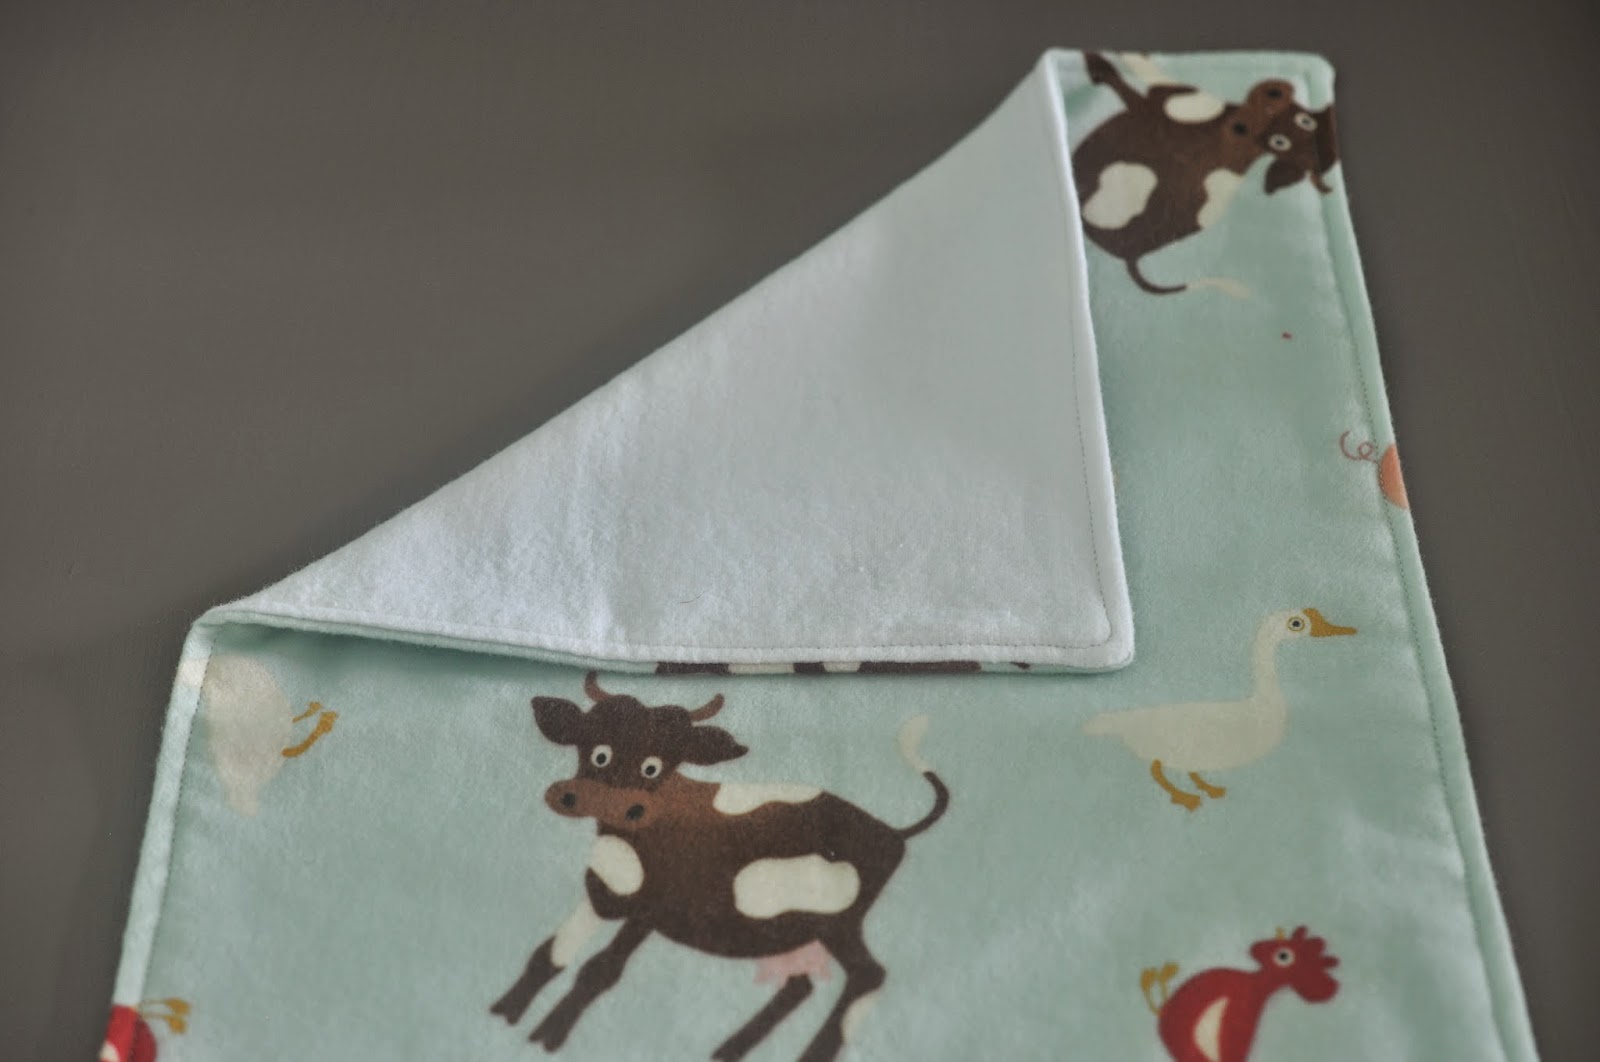
2.  I chose 4 designs of flannel prints for my burp cloths, a large print animal, a small print animal and two camping designs in contrasting colours.
 
 
3.  Cut fabric into a rectangle by 17 x 10 inches.  

 
4.  Cut backing fabric (white flannel) into the same rectangle shape - 17 x 10 inches.


5.  Taking a printed flannel piece, and a white backing flannel piece - put right sides together and pin around the edge, leaving a seam allowance around the edge. 

 
6.  Make sure to leave a gap of around 2 - 3 inches somewhere along the pinned edge so when it has been sewn, you can turn it back with right sides out.  I chose to do this at the bottom short edge of the rectangle - thinking it would be the least noticeable part of the cloth, and wouldn't mean for any awkwardness in sewing the corners of the cloth!


7.  Back stitch a little at the start of where you sew, and the end - just to make sure no stitching comes apart when you turn it right sides out.
 
 
8.  Once you have sewn all around where you have pinned (I chose white thread to go with the white flannel backing), cut the corners of the cloths to give them a nice corner when you turn them right sides out.


9.  Turn the cloth right sides out through the gap left at the bottom of the cloth.  I use a chopstick to poke to corners out as much and as neatly as they can.


10.  Iron the burp cloths flat, making sure to press the open area in as if it was also stitched!


11.  Nicely pressed, now go around the edge of the cloth top-stitching all the way around.  I used a white thread again, but you could also go with a contrasting but complementary colour to your fabric to make it stand out intentionally!  Stay closer to the edge of the cloth than your seam allowance was, it gives the cloths a really nice finished edge. ... And yup, that's it!  Cloths finished!

 
As I had the four designs of flannel print, I did all four cloths at the same time - but could have easily made more in that same window of time.  The part that takes the most time is the cutting out (at least for me it did), but I'm glad that I did all four cutting out, pinning and then I could just whizz around the edges with the machine of all four, iron all four, and then top stitch all four all at once but this could easily be more without adding much more time!
 
Not too difficult at all, good for me - having not done much sewing recently (with our sewing machine packed up in a box before we moved, not being able to do any crafting while we tried to sell our home!) so I'd definitely recommend whipping a few of these up - they'd make great gifts for a new baby or for yourself like I did! :-D


Burp cloth photo shoot time of course! 
 
Before I cut these out (which was half of the fabric I had in these designs), I checked they would be a good size for placing over a shoulder, for both me and my husband but I'm sure they'll be used for all sorts in the near future!


I just can't decide which fabric design is my favourite!  They each have something I love about them!!  What do you think!?


Can't wait to use these when our little one arrives, and at least I'll always have these pictures of how clean and pressed they were... once upon a time!! 
 
Now to use the remaining fabric for each of the designs... Maybe some bibs using the same idea... Watch this space!

Wednesday, 4 June 2014

♫ So Long, Farewell, Auf Weidersehen, Goodbye! ♫

 
It's a super sad week for me here, as I'm saying goodbye to all of my piano students, many of whom I have taught for 4/5 years now - some since I arrived in Toronto and started teaching here!
 
With all the other excitement happening this year, my time with these students has come to an end - at least for now!  I'll be away from teaching piano for a few months but I'm so pleased with how I chose to celebrate my students and my time with them.
 
In the past, for Christmas and Summer gifts I have mainly baked their treats!  My favourites have been Musical Shortbread and High Five Cookies :)  But this little project was something baked in the oven, that, for once in my life wasn't a cake!
Having seen DIY Sharpie Mugs for a long long time now on Pinterest, and in other bloggers' projects, it's surprising to me that I've actually never tried it!  So now was the time!
 
A black and white piano, using a black oil-based Sharpie on a white mug... I liked the idea of a distinct image on the white mug, and then to take it to the next level for my students - to personalise it for each of them.  That was my favourite part, and definitely their favourite part when they opened their gifts!  It worked especially for those students who were siblings because the mugs were individual for each of them :)


I read many posts about the DIY Sharpie projects, and saw how most of them were similar enough, but each had something slightly different they did about them.  I'll tell you how I did it, and how I combined many elements of the "usual" way I found, and chose my own way as I went along as well.
 
What you'll need (weird not to be writing 'Ingredients' here!):
 
Oil-based Sharpie pen in colour of your choice - I purchased a Fine Black pen from Michaels, with 40% off of course!
Plain white mug - I read a lot that the cheaper the better - I got 3 packs of 6 plain white mugs for $10 from Canadian Tire.
 
Before I bought the mugs, I put together a word document with my students' names on in 3 different fonts, some to match personalities, others that fit the style of font with the name itself!  I chose these fonts which I had previously downloaded free: 'Hello Heartache', 'Girls Have Many Secrets' and 'KG When Oceans Rise'.  In the end I only used these as a reference as I copied the font, and used them as a guide on sizing too.
 
Directions (Method?!):
 
1.  Wash the mugs in soapy water, rinse and leave to dry.  Make sure the mugs are completely dry to make you start.


2.  Decide on your image, and using the Oil-Based Sharpie Paint Marker just let it happen!  You could etch out the design with eyeliner (as I found when I researched), or even try a pencil transfer from a printed design, but I used the printed names as a guide for sizing, marked where I wanted to start and finish, and then freestyled the rest. 
 
 
3.  Once the names were done, it was piano time.  I'm lucky - I have drawn an octave of a piano MILLIONS of times in my life!  It was easy to draw freehand, just using a random rectangle (in fact, a pack of stamps!) for the sizing, and then colouring in the black keys by eye.
 
 
4.  The paint pen did appear to dry just as I worked on each mug (I did 4 the first day, 11 the next, and 3 the final day of DIY-ing - I always had to stop and leave for work!).  Then, placing the mugs on a baking sheet - so they are not touching, place in a cool oven and turn the oven on to 450°F.


Careful not to pre-heat the oven before you put the mugs in.  The gradual heating of the oven helps the mugs adjust to the heat, to slowly heat up and to keep everything from cracking.
 
5.  Bake for 30 minutes, then turn off the oven and leave to cool without opening the oven door.
 
*** Whilst my mugs were baking, especially the day there were 11 mugs in there, the smell did get quite toxic!  Luckily, with both the oven fan, and our unit's fan on, and a sunny balcony to go and sit on, it was okay - but do be wary of this if you're in a small space, or are doing a lot of these!  I don't know if it is anything super toxic, but the smell was not great, and I felt like it was not the best to sit inside while it smelt so pungent! ***
 
 
6.  When the mugs have completely cooled (and for me, overnight) - wash in warm, soapy water again and leave to dry.
 
 
7.  Go over any patches of the black design that might have cracked, or be more faded than the rest.  Some of the black piano keys needed a second coat of the paint marker, and some of the thicker parts of the names - but it was super easy to go over a second time.
 
8.  Do a second bake in the oven, again placing them in a cool oven, turning on to 450°F, baking for 30 minutes and then leaving them to cool completely.  When cooled, give them another wash in warm, soapy water.


So there were many different thoughts on whether these mugs could be dishwasher safe or not.  My research on everybody's different blog posts on the project lead me to believe, that yes, if you use the oil-based Sharpie paint markers, and do at least 1 bake in the oven, they are likely to be dishwasher safe.  In my two hand-washings of the mugs there were no problems at all, I just haven't been brave enough to try the dishwasher yet! 

 
I marked up the tags (that had a special note to each of my students telling them I'd miss them a lot!) as Hand Wash Only, just as a precaution, and then stuck one of my Sew Lah Tea Dough stickers on too!
 
A double wrap in tissue paper to keep them safe as I took them to student's houses, and schools, placed in white paper bag, with a strip of piano tape I have had in my craft box forever, and they were ready to go!
 
 
17 DIY mugs made, as of today, 11 given out, and 6 more to go before my time teaching all of these amazing students is over :-(  I am SUPER happy with how much they have all loved the mugs.  Many have finished their lessons to run to their Mum/Dad and show them their new mug with their name on it... YEY!  That's a good feeling!  Hopefully they'll be able to keep them forever, and always enjoy their piano lessons.


Now I have tried this DIY Sharpie project, I cannot wait to do it more!!  New colours, new designs... I already have one in mind for the Summer time, you'll just have to wait and see how that one turns out.
 
 
I'd totally recommend this project for anyone!  The Sharpie pens make it easy to design and draw with, as you're holding a pen - not a paintbrush!  Keep the design simple and it will be totally effective - it's shiny and well glazed and looks professional (at least to my 10 year old students!!).
 
♫ ♫ ♫ ♫ ♫ ♫ ♫ ♫ ♫ ♫ ♫ ♫ ♫ ♫ ♫ ♫ ♫ ♫ ♫ ♫ ♫ ♫ ♫ ♫ ♫ 
 
Good luck to all of my students in their future musical endeavours and piano playing... I am going to miss you all A LOT and hope to always keep in touch!