Showing posts with label Winter. Show all posts

Sunday, 9 February 2014

My husband's favourite time of year!

It's not often my husband will, not only wake up before me, but also get up and make coffee before I have even begun to think about getting up... But, Thursday morning - the day before the 2014 Winter Olympics officially starts he was out on the couch, watching TV first thing in the morning.  Not many things get him up and awake... but the Olympics is definitely one of them!! ... And I got my breakfast out of it too, so can't really complain!

Not only is it the start of the Olympics this week, but last Monday it was my amazing husband's birthday!  We kind of celebrated all weekend, with a snowy day out on the Saturday, a family day on Sunday - with the Superbowl of course, and then birthday breakfast, presents (a bit of work/school) and then a delicious dinner out together on Monday night!

So, with both of these exciting events happening for Jonathan all in one week, there was only one way to go with his birthday cake this year...

 
... His very own Winter Olympic cake, in two tiers, with two flavours I just knew he would love.
 
For the bottom flavour, I used my go-to Red Velvet Cake recipe from Joy of Baking.  Since the first time I tried this recipe, it has never failed me and I LOVE the taste of the cake so why change?!  Find the recipe here
 
 
2 9" sandwich pans filled and baked... Next up was the buttercream!  This is the thing I do differently to the original recipe, filling the cake with buttercream (with a hint of vanilla), instead of cream cheese icing.


For the top tier, I was undecided whether to do a vanilla cake, or something a bit different.  The 'something different' was the winner!  I went with an almond cake, filled with plain buttercream.  Jonathan LOVES almond flavour, and most of his family do too, so I'm glad I went with this one, as it was a hit!  I'll definitely be using this one again for something or somebody else!  I'll add the recipe for this at the bottom of the post.

So with a 9 inch red velvet cake... a 6 inch almond cake all ready, just sitting out cooling - it was time to get icing!

I used Wilton roll out fondant.  The white was perfect, and it's always a nice feeling when you don't have to colour 2lbs of fondant!!  But this time, there was no excuse to do this - snowy white was exactly what I wanted!
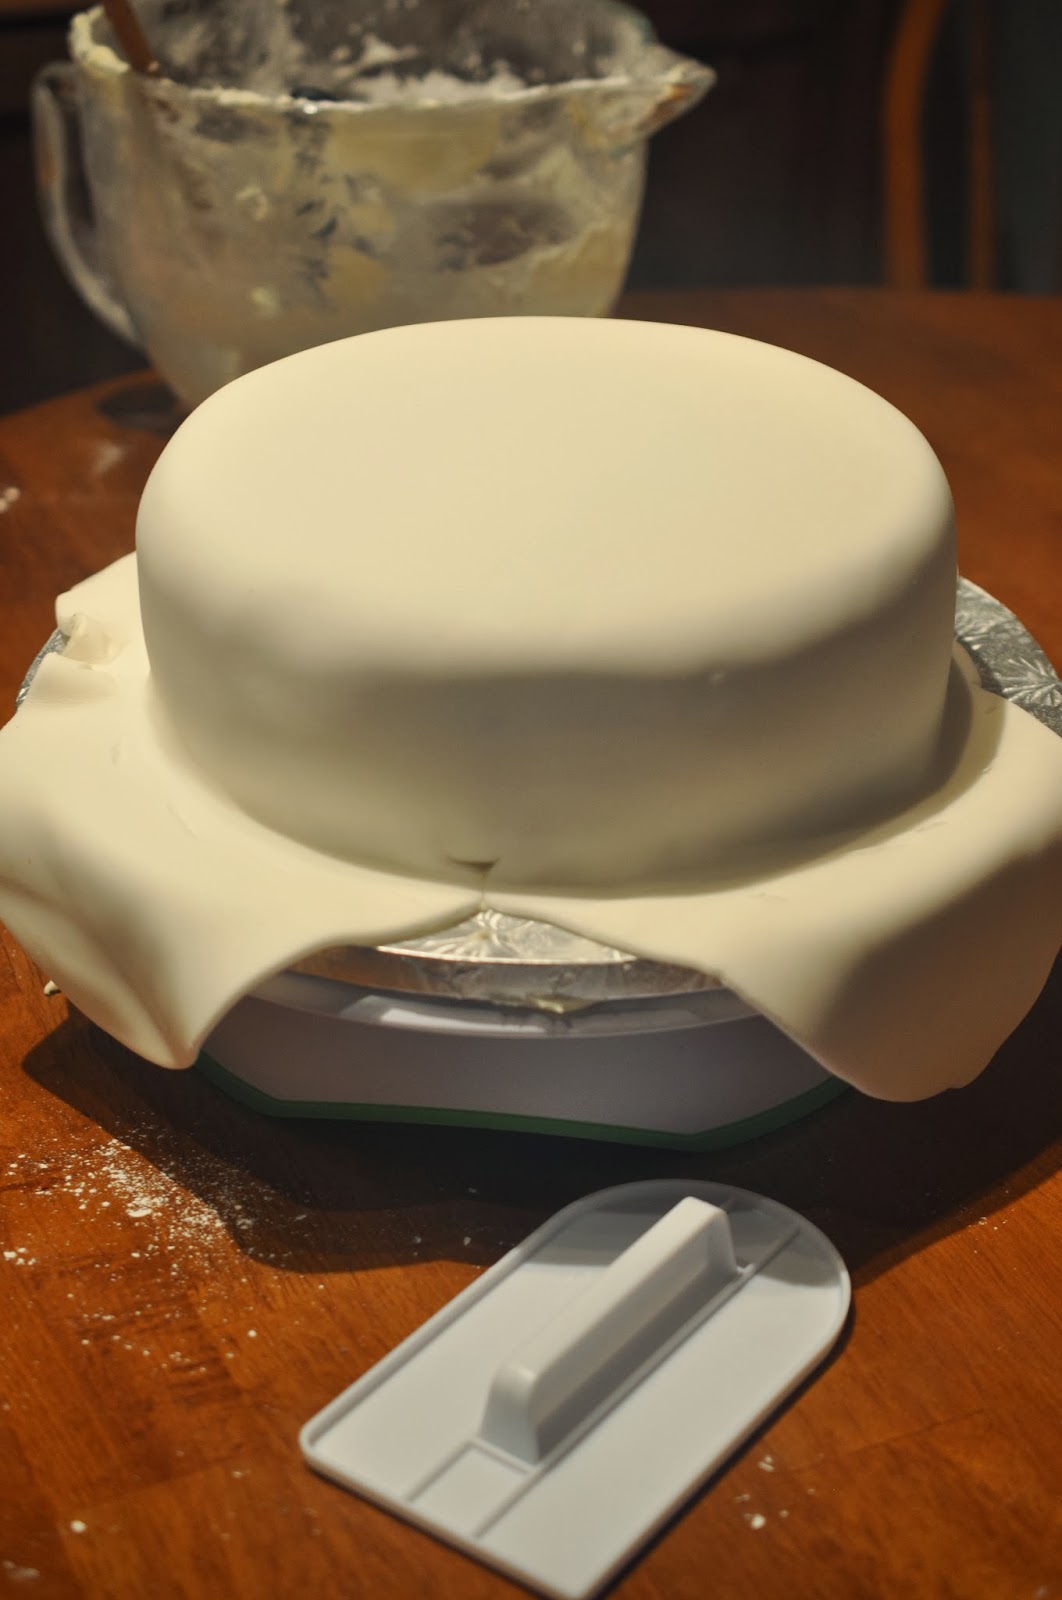

A little mistake with the top tier was I think my fondant wasn't thick enough.  The coverage on the bottom layer was definitely better than the top, but oh well... There were decorations to come!

 
... Lots of them!!
 
 
A couple of days earlier I made all of the fondant decorations, not only to save time on cake baking day, but also to let them harden up a little.  This meant the shape, for example on the skis would hold once placed and attached to the cake.  The nice thing about the fondant is it's not too hard to eat!  ... Sugar highs here we all come!

One of my favourite pieces on the cake was the curling stone.  A nice big fat round of grey, and then a Canadian red for the handle!  I wedged a little piece of paper under the handle for the couple of days after making it, to make sure the handle could support itself when the royal icing I attached it with set.


Another feature that just had to make it onto the cake were the skis with 'Go Lenny Go' written on in edible pen.  Jonathan's cousin Lenny is racing for Canada in the cross-country skiing team, so we're all pretty much the MOST excited for him... this was just a little shout out to him as the 2014 games begin!  #TeamLenny :)
 

Aren't the Winter Olympics just great?!  Full of some really great sports... Hockey of course had to make an appearance! 

Here are 2 skates I create with fondant coloured black, grey toe parts to the skate, royal icing laces and a blue fondant star for decoration on the back of each skate.


You can't really see the blade part of the skate, but it is there - they're not just walking boots I promise!
 
 
And where would hockey skates be without a stick and puck?!... This was one of the decorations I was most nervous about.  How to make the hockey stick NOT look like a golf club!?  I went with a retro looking wooden stick, and even taped it up to try and make it definitely hockey.  And a nice and easy round piece for the puck!


The next bit, the Olympic Rings were perhaps the hardest and most frustrating part of the cake.  I coloured the fondant icing into the appropriate colours, and then used my Wilton fondant press, with the circle plate insert inside to create perfect lengths of tubing.  I then connected the blue, black and red ends together to form a circle.  The green and yellow were much harder as I tried to be accurate and realistic with the overlapping/interlocking in the right places.  I had a hard time with the green one (and it was my least favourite part of the cake because I knew the mistake was there!) but royal icing helped me out and it wasn't too noticeably faulty!  Just a bit more icing holding it together than I would have liked, but apart from that - the rings were as they should be.


And let's not forget the compulsory red maple leaf to represent Canada on top of the cake here!  The space on the right hand side of the top cake was intentional - that's where the candles went :-)


And as you've seen by now, I surrounded each bottom of the cake with snowballs.  I had made SO many of these on fondant day, all in different sizes that it made it much easier to finish up the cake on the day, just sticking them to the cake board with royal icing to make sure they stuck down!

 
This cake was SO fun to make, I really love creating decoration pieces out of fondant, and had a great time putting them together.  And it also made cake day less stressful.  After baking and icing the cake, all that was left to do was decide where everything went, and just ... well, do it!  Sticking everything down, and then voila.  It was done! 
 
Finished on Saturday night, and taken to the Superbowl party on Sunday afternoon where Jonathan's family would all be, helping him celebrate his birthday - even if it was a day early... And anyhow, we're still eating cake leftovers right now too... Problem is, I can't decide which my favourite flavour is... Which was yours?!  ... Or perhaps I should say, which would yours be?!


I made a bottom layer of Red Velvet which you can get the recipe for here, but here's the almond cake recipe - I kind of adapted a usual plain sponge recipe as I went along!  This was for a 6" Spring form pan.

Ingredients:

6oz self-raising flour (minus 3 tbsp)
6oz granulated sugar
6oz unsalted butter
3 eggs
3 tbsp ground almonds
1.5 teaspoons almond extract

Method:

1.  Preheat the oven to 350°F and grease and line a 6" Springform pan with parchment paper.
2.  Cream together the butter and sugar until light and fluffy.


3.  Add eggs one at a time, beating well between each addition.

 
4.  Add the almond extract.
5.  Weigh out flour, but then substitute 3 tbsp of the flour for the 3 tbsp ground almond.
6.  Add flour and beat together until combined.


7.  Spoon the batter in the prepared pan and place in the centre of the oven and bake for at least 50 minutes.  Checking on the cake as you go - the top will likely get a golden brown colour, but the most important test is the skewer/toothpick test - the cake is cooked when the skewer comes out clean.

Baking in the deep pan did mean for a REALLY long cooking time, and if it wasn't the top tier, I would have definitely chosen to do it in two sandwich tins instead.  But, it did get cooked all the way through, I just had to keep checking on it!
 
I hope you get to try either the Red Velvet or Almond cake in some of your baking you do soon! 
 
And of course, enjoy the 2014 Winter Olympics!


*** My blog is 1 year old ***
 
Look back at what I wrote 1 year ago today!


Sunday, 12 January 2014

Snow + Ice = Cookies?!

 
If only all this snow and ice actually was only pretty and not cold or dangerous!  I can't really complain however... This is perhaps the first truly Canadian winter I have ever experienced.  It certainly will be the longest winter if it continues with these cold temperatures right through to March based on how early it started!  And so far I think it is the most snow, and most definitely the most ice I have seen in the 4 1/2 years I have lived here now!
 
The thing is, I love the winter... I love the snow and actually when the ice storm hit - we got some of the best icy/winter weather photos of all!  So apart from the big bruise I'm sporting on my knee from not one but two slips in the same spot of ice this morning I am enjoying the weather, no matter how cold!
 
So a few weeks ago, after creating the Cookie Wreaths for Rethink Breast Cancer I made these church shaped cookies, originally planned to have at our church Christmas concert.  I used the same sugar cookie recipe... because really, what was 36 more cookies when I had already made 145!!!!
 
 
I bought this church cookie cutter in the summer from Degrees, one of my favourite shops to go in Toronto - especially for their cookie cutter selection that changes with the season :)  I had never had the chance to use it, but wanting to take these treats to our concert at church before the holidays I thought it was the perfect opportunity!
 
I used my go-to sugar cookie recipe - click here to see it used in the wreath and to find all the details!

 
With the weather already turned into a full blown winter before we even saw the Christmas holidays I was inspired by snow and ice to decorate these cookies.
 
 
Using royal icing (recipe also here) I simply piped the top part of the church roof with 'snow'...or actually with the pure white royal icing!  I piped at random the 'icicles' without really worrying too much about how long or short they were hanging!


Then, using the coarse sugar I have been LOVING this winter season I sprinkled it across the top edge, and filling in the church spire for some bonus sparkle and frosted icy look!


I really liked how simple the cookies looked, the contrast of the white against just the plain colour of the cookie - it not only meant for not a huge decorating task but also a simple design giving the snowy icing the full glory on the slightly 'different' cookie in the shape of a church.


Originally these were going to be church concert cookies, but with the power outage meaning we had to wait until Christmas Eve to sing and play these cookies ended up being 'Church at Christmas' cookies instead, taking them along to eat for our 2nd dessert on Christmas Eve and Christmas Day as well as a sneaky few shared a little earlier in the week!


It was definitely the most cookie crazy pre-Christmas I've ever had... But I love it!  There were many many stacks of cookies like this all around our condo - either waiting to cool, to be iced, waiting to dry or just ready to eat for a good couple of weeks!


But it's back to normal now, and it's been a little crazy getting back to school/work and also getting ready for my new job that starts on Monday!  I've been doing a LOT of prep for it so I haven't had much time for crafting/baking but don't worry - I'll be back on it soon enough - there are exciting birthdays and Valentine's Day coming up so no excuse not to be creative!


Happy Sunday everybody! 
Whether or not you were at a church that looked like this today, I hope you're enjoying the winter season and it's not TOO cold for you where you are!!

Monday, 2 December 2013

Pretty in Pink Winter Cupcakes ❅

Happy December everybody! 

I am SO excited for pre-Christmas times, first advent, and everything festive in the run up to Christmas Day!  Lots to do yes, but I'm definitely trying to squeeze in as much of the fun festivities as I can as well to really enjoy my favourite time of year :-)  So far this weekend we've enjoyed baking gingerbread cookies, watching a Christmas tree lighting... we went to a Christmas craft fair, put up some decorations and finished up all of our presents ready to send across to England... So I'm definitely ready for the holidays!

On a similar note, getting ready for the Christmas season I'm happy to be sharing another project from last week's busy weekend of makes and bakes.  Did you see my LEGO Gingerbread House last week?!  This was a customised birthday 'cake' for a 6 year old's birthday party (what a great idea he had right?!) and for the same weekend, I was also asked to bake some mini cupcakes for a holiday party a friend was running at her work.

 
She works for Rethink Breast Cancer in Toronto, and the cupcakes were for the Live Laugh Learn program's holiday party.  What a great reason to get baking, and I was SUPER happy to be asked to create something for this.

So that's where the pretty in pink colours come in.  Some hot pink to go with the colours/branding of their website... and some paler pink for a frostier effect.

Having seen my Bridal Shower Cupcakes from a few weeks ago, I was asked if they could also have some personalised tags for their cupcakes too!  I went with the words 'live', 'laugh' and 'learn' as well as LLL too.  I used a pale pink cardstock to print on (again with the Love Letter Typewriter font) and backed it with a hot pink paper! 


As it was a holiday party, I thought in addition to the pink colours, I would try to create a festive feel, and I went with a sparkly Wintery vision to complement the pink.

Martha Stewart helped me out with these pretty mini cupcake cases in pale blue and pale aqua as well, a last minute find in Michaels which was perfect.

I baked 2 batches of the mini cupcakes, making slightly more than the required 3 dozen.  I'm sure no one minds getting more cupcakes!!  They were a vanilla cupcake with lemon buttercream - nothing too crazy in the flavours, and hopefully everyone liked them :)

Once I had piped the pale pink buttercream I rolled the edges that stuck out in coarse white sugar, which sparkled so well in the light, and then topped each of those with an edible pearl.  Not necessarily Christmassy, but definitely giving it a snowy feel (great as we had just had our first snow of the season that weekend here in Toronto!) which I thought matched both the pink colours.


I used the hot pink colour for the cupcakes with the tags, as well as some more swirl tip mini cupcakes with snowflake sprinkles, really just enjoying the pre-December opportunity to get festive :)


In addition to the 3 dozen mini cupcakes, I also was asked to make 2 dozen chocolate dipped strawberries.  I took a little liberty here, artistic license perhaps and went with a festive feeling for these as well.  I used Baker's sweet chocolate and some pretty red sprinkles, which once on the chocolate actually looked pink (perfect for the colour scheme of my cupcakes!) and even a few little edible snowmen on there too!


So, around 48 mini cupcakes and 25 chocolate covered strawberries later I was ready for the second delivery of the day!  One gingerbread house bright and early, the second - these cupcakes and strawberries, early in the evening ready for the Live Laugh Learn holiday party. 

Got a few snaps of them all out on the platter at the event before I left them to their evening :)  Hope they enjoyed the festive mini cupcakes!


And finally, before I'm done here's the recipe should you want to recreate these pretty in pink mini Winter cupcakes this holiday season!
 
Ingredients: (to make 24 mini cupcakes)
 
4 oz unsalted butter, softened
4 oz sugar
2 eggs
1 tsp vanilla extract
4 oz self raising flour
 
and for the buttercream -
12oz icing sugar
8oz butter
1 tbsp milk
1 tsp lemon extract
 
Method:
 
1.  Preheat oven to 375°F and line mini cupcake tray with cupcake cases.
2.  Cream together butter and sugar together until light and fluffy.
3.  Beat in eggs one at a time, scraping down the sides as you go.
4.  Add vanilla extract (or other flavour of your choice!).
5.  Sieve flour and mix into wet mixture, without overbeating.
6.  Using a small cookie scoop put one spoonful of the batter in each cupcake case - it should rise up and still leave enough room for piping!
7.  Bake for 10-12 minutes in pre-heated oven.
8.  When baked (springy to the touch but so a skewer/cake tester comes out clean) leave to cool on a rack completely before piping/decorating.
 
for the buttercream -
 
1.  Beat sugar until softened.
2.  Add icing sugar and beat until well whipped.
3.  Add milk and any extract/flavourings (I used lemon extract) and colours of your choice for the buttercream frosting.
 
At this point you could use your piping big and tips, or just spread the buttercream on top before decorating with sprinkles, sugar or tags - the possibilities here are endless!  Feel the creativity ♥