
And who knew, that 5 years later I STILL wouldn't have tried baking the perfectly Canadian treat of Butter Tarts! ... Now don't get me wrong, I have "tried" these delicious sweet bakes at many shops and bakeries all over the country but I had never actually made them myself.
So, 5 years on, I thought the 3rd September 2014 was definitely the right time to try them out - especially as we had guests for dinner that night too :-)

I used a Canadian Living recipe as a base for what I did but adapted it a little to my favourite flavours and ideas with how I wanted to do it. Then I took a TONNE of photos - so sorry if I couldn't cut enough out, and left you with a whole load of pictures at the end of this post! I was really enjoying capturing the texture of the gooey-but-cooked top layer of the tart, and getting the colours of the butter tart in the shots, all still experimenting with the light of our new home!
Ingredients:
For the pastry ~
1 1/2 cups all-purpose flour
1/4 tsp salt
1/4 cup cold butter, cubed
1/4 cup lard, cubed
1 egg yolk
1 tsp white vinegar
Ice water
For the filling ~
3/4 cup packed brown sugar
3/4 cup golden corn syrup
1 1/2 eggs
1 1/2 tsp pure vanilla extract
1 1/2 tsp white vinegar
Pinch salt
I'll talk more about the other options for fillings a little later!
Method:
1. In a large bowl, whisk together the flour and the salt.


2. With a pastry blender (or 2 knives) cut in the cubed butter and lard until the mixture resembles coarse breadcrumbs.


3. In a jug, whisk together the egg yolk and vinegar, and then add enough ice water to make up 1/3 cup (75ml).


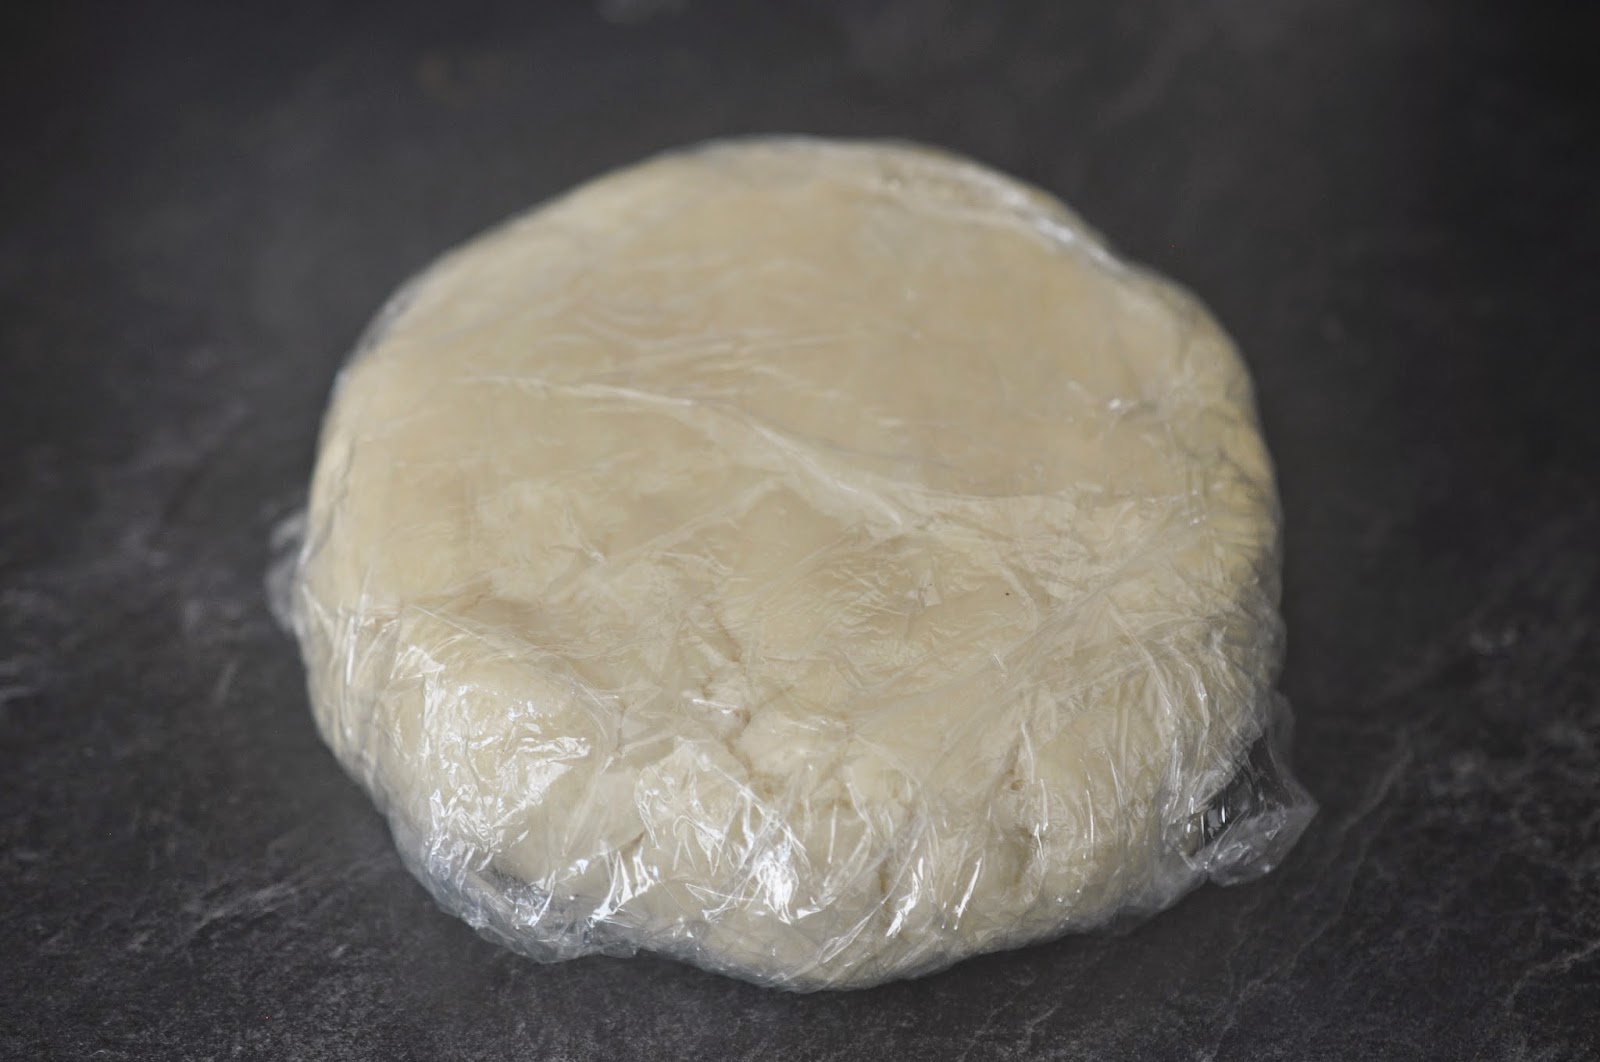
5. Press into a disc and wrap in cling-film (plastic wrap) and refrigerate until chilled, at least 1 hour. (To make-ahead: Refrigerate for up to 3 days.)

6. Preheat the oven to 450°F.
7. After the pastry dough has had time to chill, roll out the pastry on a lightly floured surface to 1/8" thickness. Using a 4-inch (10cm) round cookie cutter, cut out 12 circles, rerolling the scraps if necessary. * Or if you are extremely silly on this baking day, cut 11 circles and think you are cutting 12, even though you re-counted them!? ... Not recommended! *


7. Fit into a greased cupcake baking tray and place in the refrigerator again while you make the filling.
8. For the filling - In a bowl, whisk together the brown sugar, corn syrup, egg, butter, vanilla, vinegar and salt until blended.


10. Bake in the bottom third of the oven until the filling is puffed and bubbly, and pastry is golden - about 12 minutes.

11. Let the butter tarts, still in the cupcake tray - stand for 1 minute on the rack. Run a metal spatula around the tarts to loosen, carefully slide the spatula under tarts and transfer to the rack to cool.

12. Let the butter tarts cool completely to allow the runny inside mixture set, but then enjoy!

... So, if you are not a fan of plain butter tarts, or if you would like to satisfy all butter tart desires, use these filling ingredients and ratios:
1/2 cup packed brown sugar
1/2 cup golden corn syrup1 eggs
1 tsp pure vanilla extract
1 tsp white vinegar
Pinch salt
1/4 cup filling - perhaps raisins, chopped walnuts, pecans or whatever your heart desires!
The only difference in the method then is to add the filling ingredients to the pastry cups before pouring over the filling mixture.
Next time I make these (and there will be a next time) I'll definitely experiment with more flavour and filling combinations!
And now......... the photos! I definitely took too many and couldn't decide which to get rid of, so just keep scrolling! :-D

.JPG)

.JPG)


