Tuesday, 23 September 2014

Baby Sized Baby Shower Swiss Roll

 
Earlier in September we were thrown a wonderful Peter Rabbit themed baby shower and I was told not to bring anything!... But well, the invite said pot luck and when am I ever going to turn down a chance to bake something new!?
 
For my birthday I received a swiss roll pan (jelly roll pan) that I had been wanting for a long time.  I've never made one of these myself, but have been thinking about it a while.
 
I started simply, with a plain sponge, filled with strawberry jam and then, as I wanted to decorate it with some fondant pieces I knew I wanted to make I also covered the swiss roll in a vanilla buttercream.  Here's the recipe, and photos of the finished product!
 
Ingredients:
 
4 large eggs
4oz golden yellow sugar
4oz self-raising flour
 
Method:
 
1.  Preheat the oven to 400°F.  Lightly grease a swiss roll pan (or cookie sheet with high edges) and line the bottom of the pan with parchment paper, leaving the paper hanging over the edges.

 
2.  Using a stand mixer (or electric beaters), beat the eggs and sugar in a large bowl on high speed for 5 minutes, or until light and foamy.


3.  Sift the flour into the bowl and fold in lightly and quickly. 


4.  Pour the mixture into the prepared tin and smooth the surface.  Bake for 8-10 minutes, or until the sponge springs back when lightly touched.

 
5.  While the swiss roll is baking, lay a sheet of parchment paper on a tea towel.

 
6.  Once baked, turn the sponge out onto the paper, remove the original parchment paper from the bottom of the cake, and starting from a short end, roll up the sponge with the paper, using the tea towel as a guide.  Cool rolled up for at least 30 minutes.


7.  While the cake is cooling prepare your buttercream filling and decorations.  I made enough buttercream for a thin spread inside the roll and a thick spread on the outside.  (12 oz icing sugar, 9oz butter, 1 tbsp milk and 1 tsp vanilla essence beaten together).


8.  When the cake has cooled, and the filling is ready carefully unroll the sponge and spread with buttercream.  Add some spoonfuls of seedless strawberry jam and spread with a palette knife leaving a border at the edge of the cake so it doesn't all fall out of the sides!

 
9.  Carefully re-roll the sponge, and spread over the buttercream.  Smooth the edges and wipe away any excess on the platter.  I chose to already put the swiss roll on the platter it would be served on - I thought it would be best to decorate this way! 


10.  Add your decorations and enjoy the cake!

I used these great baby shower cookie cutters and used them with fondant.  I love how these imprinted cookie cutters work with fondant (check them out on my Baby Boy Elephant Cupcakes, and Zebra Birthday Cake to see the other times I've done this!)


And the finished product...


But why did I call this post baby sized?!  Well.  MAJOR melting problem.  I was stupid and left the cake out in a sunny car for longer than I should have done and the left hand side of the swiss roll definitely was not a pretty sight.  So, a good chunk had to be cut off but I was persuaded by my wonderful husband that I should still take some of it along.  BOO huge error.. Now, even in the middle of a Canadian Winter I will not be leaving anything buttery in the car!  At least the taste wasn't effected and I'm pretty pleased with how my first swiss roll turned out - now to try out lots of other flavour combinations, I feel like the possibilities are endless with this cake!
 
Here's a final snap of the dessert table - the fact that my swiss roll was baby sized did NOT matter one bit - just look at the amount of sweets there were, as well as the incredible Peter Rabbit cake and cookies that were made for us :-) 
 
 
 ... And now, the countdown is on!  More baby posts coming soon!

Tuesday, 9 September 2014

5 Year "Canniversary"

Last week marked 5 years since I touched down in Toronto!  Visiting Canada for the first time ever, who knew I would still be here five years on!

And who knew, that 5 years later I STILL wouldn't have tried baking the perfectly Canadian treat of Butter Tarts!  ...  Now don't get me wrong, I have "tried" these delicious sweet bakes at many shops and bakeries all over the country but I had never actually made them myself.

So, 5 years on, I thought the 3rd September 2014 was definitely the right time to try them out - especially as we had guests for dinner that night too :-)


I used a Canadian Living recipe as a base for what I did but adapted it a little to my favourite flavours and ideas with how I wanted to do it.  Then I took a TONNE of photos - so sorry if I couldn't cut enough out, and left you with a whole load of pictures at the end of this post!  I was really enjoying capturing the texture of the gooey-but-cooked top layer of the tart, and getting the colours of the butter tart in the shots, all still experimenting with the light of our new home!

Ingredients:

For the pastry ~
1 1/2 cups all-purpose flour
1/4 tsp salt
1/4 cup cold butter, cubed
1/4 cup lard, cubed
1 egg yolk
1 tsp white vinegar
Ice water

For the filling ~
3/4 cup packed brown sugar
3/4 cup golden corn syrup
1 1/2 eggs
1 1/2 tsp pure vanilla extract
1 1/2 tsp white vinegar
Pinch salt

I'll talk more about the other options for fillings a little later!

Method:

1.  In a large bowl, whisk together the flour and the salt.


2.  With a pastry blender (or 2 knives) cut in the cubed butter and lard until the mixture resembles coarse breadcrumbs.


3.  In a jug, whisk together the egg yolk and vinegar, and then add enough ice water to make up 1/3 cup (75ml).


4.  Sprinkle over the flour mixture and stir briskly with a fork until the pastry holds together.


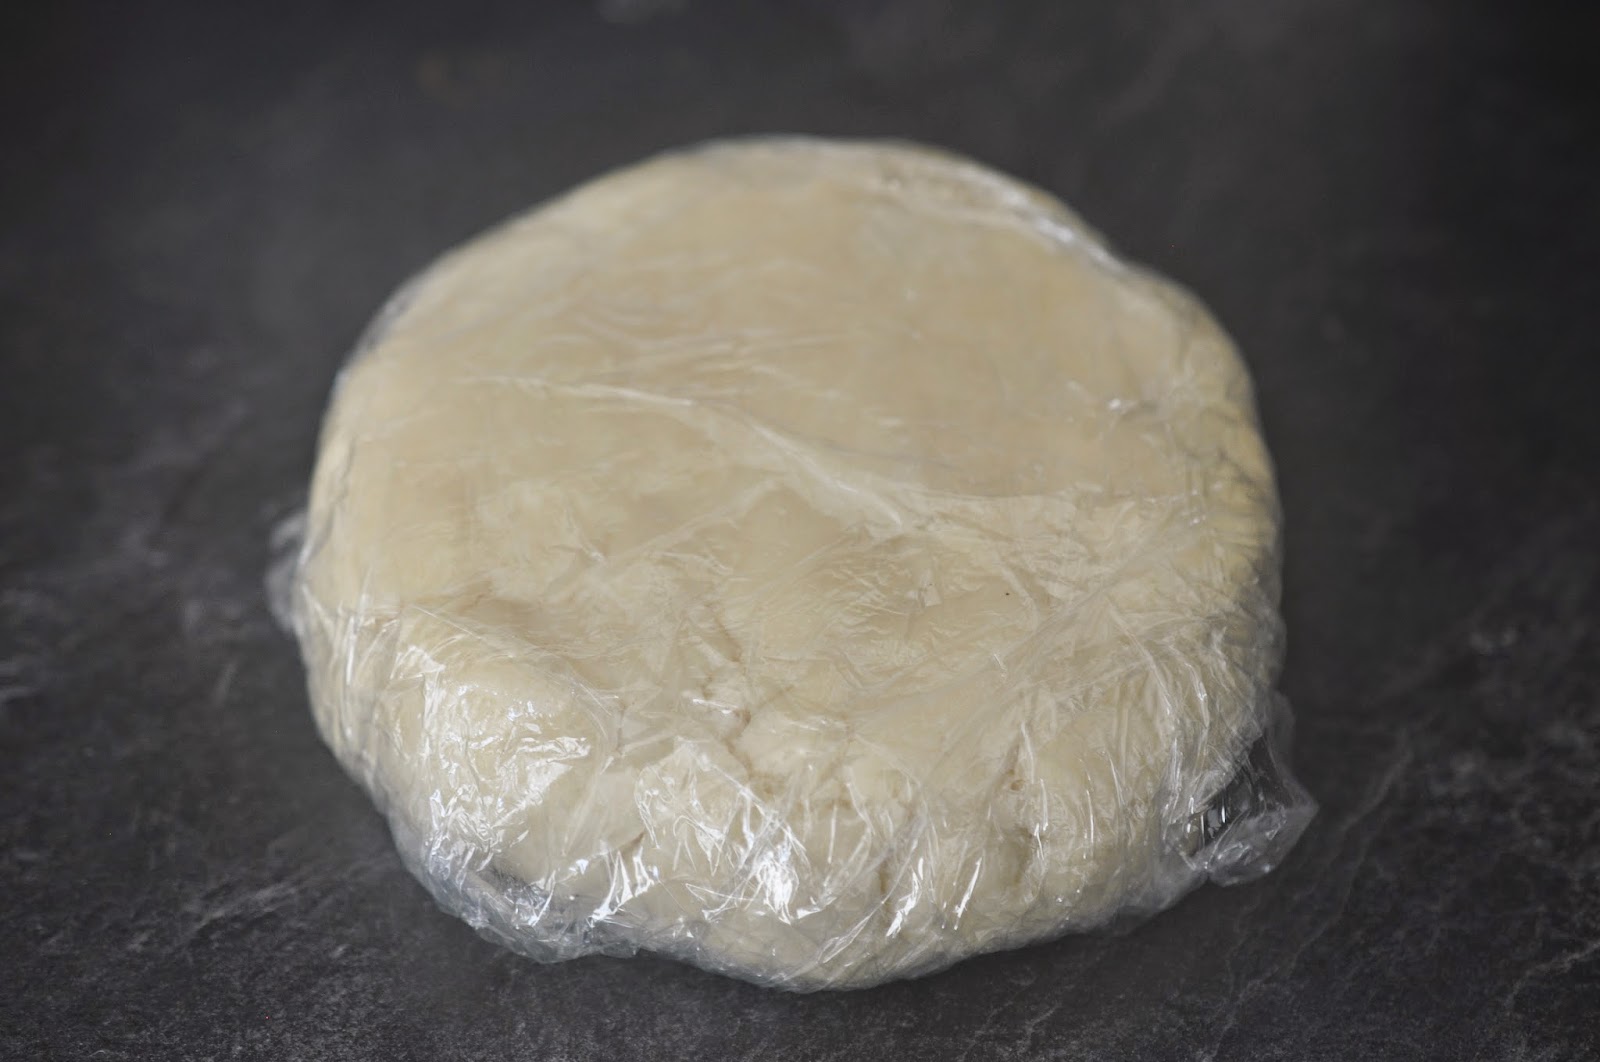
5.  Press into a disc and wrap in cling-film (plastic wrap) and refrigerate until chilled, at least 1 hour. (To make-ahead: Refrigerate for up to 3 days.)


6.  Preheat the oven to 450°F.

7.  After the pastry dough has had time to chill, roll out the pastry on a lightly floured surface to 1/8" thickness.  Using a 4-inch (10cm) round cookie cutter, cut out 12 circles, rerolling the scraps if necessary.  * Or if you are extremely silly on this baking day, cut 11 circles and think you are cutting 12, even though you re-counted them!? ... Not recommended! *


7.  Fit into a greased cupcake baking tray and place in the refrigerator again while you make the filling.


8.  For the filling - In a bowl, whisk together the brown sugar, corn syrup, egg, butter, vanilla, vinegar and salt until blended.


9.  Spoon the filling into the chilled pastry cups until 3/4 full.


10.  Bake in the bottom third of the oven until the filling is puffed and bubbly, and pastry is golden - about 12 minutes.

 
11.  Let the butter tarts, still in the cupcake tray - stand for 1 minute on the rack.  Run a metal spatula around the tarts to loosen, carefully slide the spatula under tarts and transfer to the rack to cool.
 
 
12.  Let the butter tarts cool completely to allow the runny inside mixture set, but then enjoy!
 
 
... So, if you are not a fan of plain butter tarts, or if you would like to satisfy all butter tart desires, use these filling ingredients and ratios:
 
1/2 cup packed brown sugar
1/2 cup golden corn syrup
1 eggs
1 tsp pure vanilla extract
1 tsp white vinegar
Pinch salt
1/4 cup filling - perhaps raisins, chopped walnuts, pecans or whatever your heart desires! 
 
The only difference in the method then is to add the filling ingredients to the pastry cups before pouring over the filling mixture. 
 
Next time I make these (and there will be a next time) I'll definitely experiment with more flavour and filling combinations!
 
And now......... the photos!  I definitely took too many and couldn't decide which to get rid of, so just keep scrolling! :-D