Showing posts with label commission. Show all posts

Saturday, 1 February 2014

Baking up a Winter Wonderland!

Happy February!!  ... As I sit down after finishing up my husband's birthday cake ready for his birthday celebrations tomorrow and Monday, it is finally time to tell you all about last week's super exciting cake and cupcake project I was so happy to work on.
 
 
Contacted by a friend of a friend on my Facebook page, I was asked if I could make a 60th birthday cake, as well as 2 dozen cupcakes each with different messages on, as their family had a whole lot of celebrations going on at the same time!
 
The order was for an Earl Grey cake with lemon buttercream, just like I made for the bridal shower cupcakes, and nautical themed summer cake, this time with some cute Winter themed decorations, and no fondant icing, just buttercream to coat the cake. 
 
 
Although the request for the covering of the cake was not "too sweet", and no fondant icing - I did ask if I could create the decorations with fondant which was fine by them, so I got to work creating my stars of the show - the fondant penguins that would be sitting on top of the cake, showing off the idea of a winter wonderland!
 
 
Did you see these on my Facebook page, or the sneak peek of the picture below on Instagram?!  I love showing off a picture or two, but in this case couldn't show much more before the cake had been delivered!  To see early previews of my projects, follow me on Facebook/ Instagram now!!!!


The same time as I made the penguins (who I didn't want to give away!!!) I also created a tree made out of 2 colours of green fondant cut out with star cookie cutters, of a few different sizes so it could gradually get smaller towards to the top.

 
The lake was a pale blue cut out of fondant, with blue glitter writing icing piped around the outside of the lake to give a water/icy look to it.

 
A winter scene, with blue buttercream tear drop shaped piping around the bottom, and the Happy Birthday message as requested by the family piped around the cake board.

 
They also wanted 2 dozen chocolate cupcakes with mint buttercream icing, with the tags, similar to my bridal shower cupcakes, and winter mini cupcakes I made last year. 
 
 
I went for a pale green and pale blue colour card stock, with the same Love Letter Typewriter font as I used on my previous tags with a similar design.  

 
I also made some green/blue mini snowflakes out of fondant that I used on each cupcake, either one or two on each cake. 


There were SO many different celebrations happening in the family, I did 24 cupcakes, with 12 different messages... so each person/couple had 2 cupcakes with their personal message on.  I love how the tags make it so easy, but yet so effective to customise to anybody's celebration.  I really enjoy crafting before baking as well, so I'm pleased people keep requesting these on their orders - I love making them!! 


Here they all are, ready to be delivered! 


I took a quick snap of the cake and cupcakes all set out, just as I delivered them.. Here they are, ready to be enjoyed!  Hope the whole family loved them :)  Congratulations to everyone for everything you're celebrating!!

Sunday, 26 January 2014

Commission me a . . . Carrot Cake!

Wahoo my blog is a year old!!  This is the first post in Sew Lah Tea Dough's second year... Here's to hoping I'm still here writing every week this time in 2015!

This year has seen some of my greatest bakes and makes... but it has also had it's fair share of frustration, late nights and mistakes too!  All in all, I am SUPER happy with how everything has gone, that I'm here still writing every week about something I have made or crafted, I'm learning to take better photos, I'm trying to always think of something I can make better, improve on next time or do a different way.  I love love LOVE to try new recipes, and love a challenge.

This past year, actually the past few months I have had some amazing opportunities to bake for other people.  Being a music teacher, I love the term 'commission'... I know usually it isn't a term used in baking, more so for art or musical compositions but I'm a muso so I'm thinking "Commission me a Cake"!?  What do you think?  A new line for Sew Lah Tea Dough?!

So this past week I was commissioned to make a cake and cupcakes for a 60th birthday party.. (you'll see that soon I promise!)... but then I got a message asking me if I could whip up a Carrot Cake for an office birthday celebration.  Was I just starting my new job?!  Was I working 13 hour days?!  Was I busy enough!?  Well.... yes... But am I crazy?!  YES!  Of course I said yes!  I had a few hours spare, and what better way to spend them than baking.  So, birthday carrot cake baking here I came!


I used a Martha Stewart recipe for my inspiration with this, and also went with a traditional cream cheese frosting.  I'm personally not a huge fan of cream cheese frosting, but I was surprised with how delicious this recipe was!  I'd definitely use it again.

My favourite part of the cake was definitely the marzipan carrots!  I love marzipan, and had a lot of fun creating these little guys!  I left them overnight to dry but then, before frosting the cake (just before delivery!) I also painted them with food colouring.  A mix of food colouring and a splash of vodka (which does evaporate when it dries!) and a paintbrush and there I had orange carrots with green leaves. 

Another recipe for the box, I loved the taste of the carrot cake - using pecans instead of walnuts, and also not too spicy.  It made a perfect amount for a 9-inch sandwich cake, just what I needed for this.  I also got a couple of cupcakes out of it as well - good to be able to taste-test when you can't actually cut a slice of the actual cake!

Ingredients (for the cake):

2 1/2 cups all-purpose flour
1 teaspoon baking powder
1 teaspoon baking soda
1 teaspoon ground cinnamon
1/4 teaspoon ground nutmeg
3/4 teaspoon salt
12oz unsalted butter, at room temperature
1 cup light brown sugar
1/2 cup granulated sugar
3 large eggs
2 teaspoons pure vanilla extract
1/2 cup water
1 pound carrots, peeled and grated (about 2 3/4 cups of the grated carrots)
1 cup finely chopped pecans.

Method:

1.  Preheat the oven to 350°F and grease two 9-inch round sandwich cake pans.  Line the bottoms with parchment paper, and grease the parchment again. 

2.  Whisk together the flour, baking powder, baking soda, cinnamon, salt and nutmeg.


3.  Beat the butter and sugar together in a mixer, until pale and fluffy. 

4.  Add the eggs, one at a time, beating well after each addition.

5.  Add the vanilla, water and carrots, and beat well until combined. 


 6.  Reduce the speed of the mixer to low, and add flour mixture, then finely chopped pecans.

 
7.  Divide the batter evenly between the two pans, and bake until golden brown, and when a toothpick comes out clean ~ around 30 minutes.


8.  Remove the cakes from the oven, and leave to cool in the pans for 10 minutes before turning out onto a cooling rack. 


Once my cakes were cooled, I actually left them overnight, stacked with a piece of parchment paper in between them, and in an airtight cake container.  The following evening would be for frosting and decorating!
 
However, to save time the next day (which is when I would be frosting, decorating and also delivering the cake) I pre-made the frosting and left in the fridge overnight, as well as making the marzipan carrots!
 
Here I am mid-everything... Carrots sculpted, planning out the sizing...


And then the following evening... I got to painting them!  I had tried colouring the marzipan the previous evening, but didn't really like the colour I got with the colourings, so decided to paint them instead!  It gave a vibrant colour, and I love how it showed up the etching I did on the carrots.


Ingredients (for the cream cheese frosting - it made MORE than enough to fill and cover the 9 inch cake!):

16oz cream cheese, room temperature
2 teaspoons pure vanilla extract
1 cup unsalted butter
32oz icing sugar

Method:

1.  Beat together cream cheese, and vanilla in a large mixing bowl until light and fluffy.

2.  Gradually add butter, beating well.

3.  With the mixer speed on low, gradually add the icing sugar, beating well until incorporated.

Like I mentioned, I left the cream cheese in the fridge overnight.  So when I got home from work the next evening, I took the frosting out of the fridge right away... it was still a little cold, but after some beating with a wooden spoon it softened up and was able to be spread - filling the cake first!


... and then covering the top and sides with more frosting!

 
The birthday girl's colleagues asked for a birthday message to be written on the cake, so after writing this, I changed my mind about the placement of the carrots - instead of all around the edge, I bunched three together in a little cluster. 


Yup, that was three very similar photos in a row!  ... I just couldn't decide which one to use! 
 
Hopefully they had a great lunchtime office birthday party, and once again - thanks for commissioning me a cake :)  It was a lot of fun to make, and I'm happy to have this recipe for another time!


Monday, 23 December 2013

Pretty in Pink Cookie Wreaths

♫ In the bleak midwinter, frosty wind made moan… Earth stood hard as iron, water like a stone… ♫

It certainly has been a frosty frosty weekend here in Toronto.  The ice storm hit, many many trees have fallen, the streets are a thick layer of ice and a whole lot of homes are without power.  We were one of the lucky ones who (oh please no jinx) still have power.  Our cable and internet is out which is why this post will be late to the blog this weekend, but honestly – no complaints compared to power outages some people might facing all this Christmas week.  We just had the in-laws over who had no power all last night and today to enjoy some warmth, a hot shower, dinner and coffee!  Impromptu Christmas Party at our place!  A lot of fun :-)

Once this post finally gets put online (maybe I’ll be searching for an open Starbucks tomorrow or something!) I’ll be so happy to be sharing my Cookie Wreaths that were a HUGELY EXCITING project for me this week!!!


So, I was asked again by Rethink Breast Cancer (who I made the mini cupcakes and chocolate dipped strawberries for – check this post out) to create something ‘Rethink’ to say Thank You to 4 locations who donate their space to their terrific program for all kinds events.  Not only does Rethink Breast Cancer run a fantastic program here in Toronto (check out their website here and like theirFacebook page for updates here) but also all over Canada.  So I am super SUPER excited to say I have had my baking shipped all over Canada with this exciting project.  My cookie wreaths were sent nearby to Toronto, to Ottawa and then much further afield to Vancouver and also Calgary!  … That is to say, my cookies have now visited Calgary which is a place I personally have never been to!  The most cool.


Thank you SO much Rethink for giving me this opportunity – it was a lot of fun and I’m so happy I got to create these ‘Rethink’ Cookie Wreaths for your company!
 
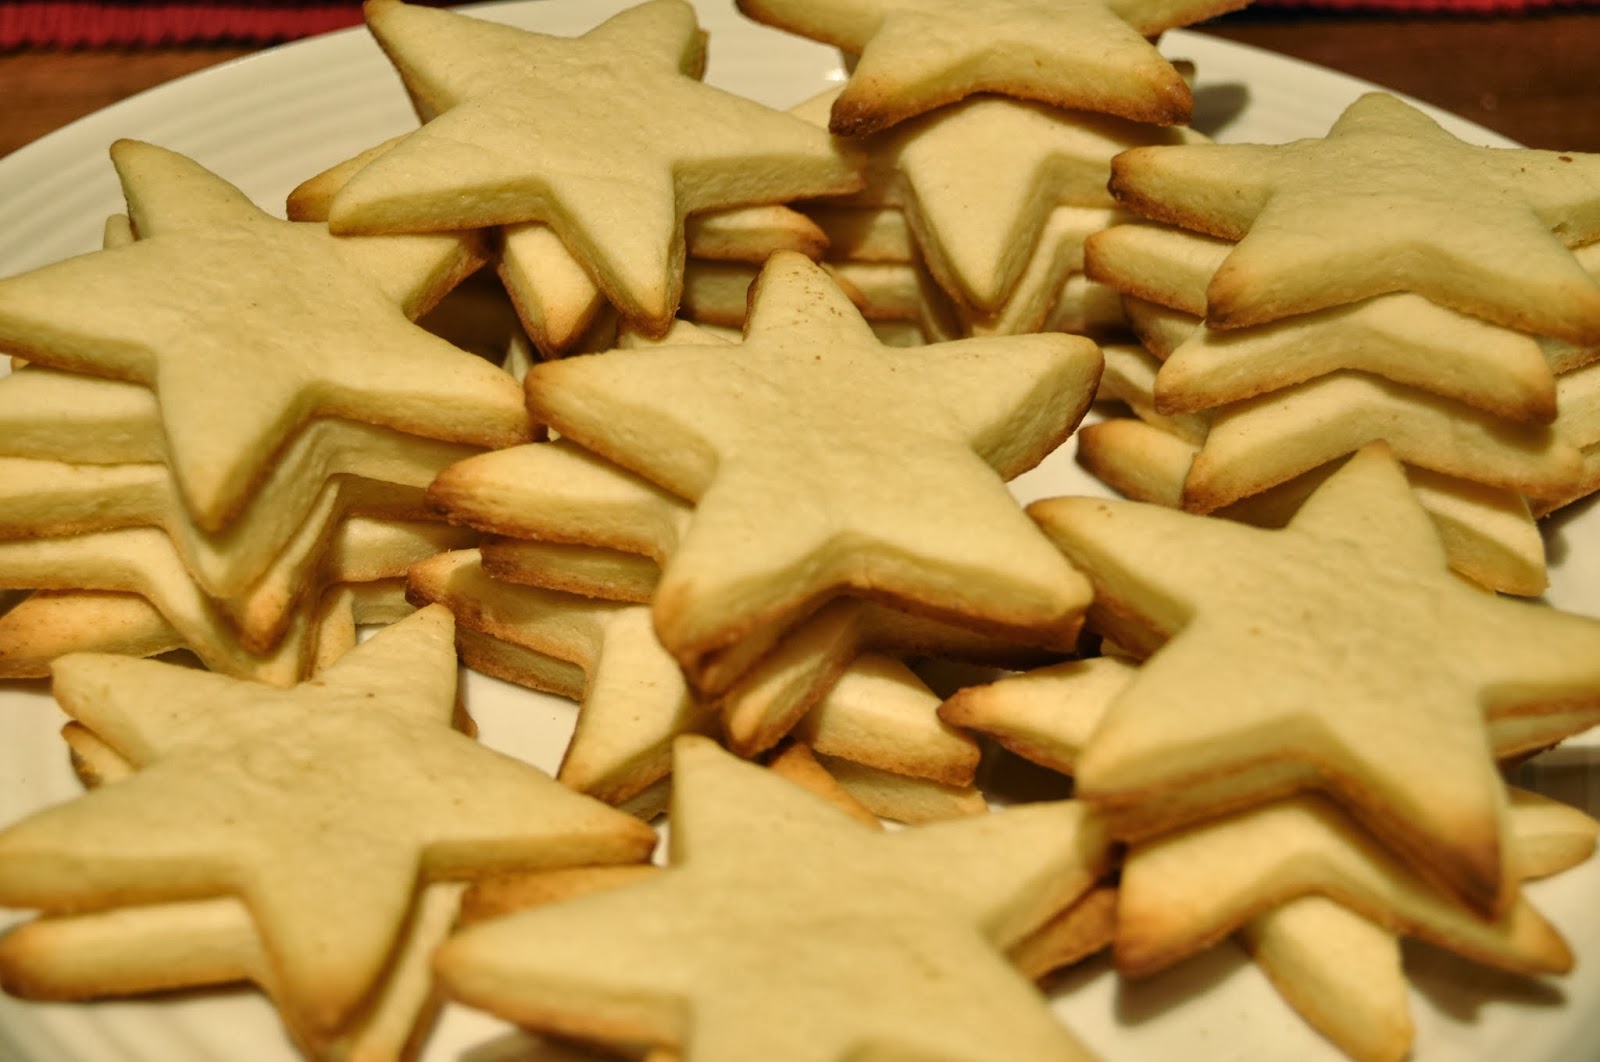
I wanted to create something visually appealing, without losing out on taste or flavour, and I had to make sure whatever I baked would be able to be mailed across Canada!  My initial idea (when I maybe was just doing 1 item for the Toronto location!) was to do a tree of star cookies… But these wouldn’t ship too well, so I went to my other idea I had initially proposed which was to do a wreath of cookies.  Using 1 shape of cookie cutter (in my case a star) I planned to ice the cookies, and then arrange them with the points of the star off setting one another, and laying them out on a cake board, glueing them down with royal icing and fixing them into a wreath shape. 

To make it all go with the theme of ‘Rethink’ (as this is who the cookie wreaths would be from), I went with the pretty in pink theme again just like the mini cupcakes from their holiday party!  They use a lot of hot pink in their colouring, and their website has other shades of pink too, so I went with 3 pink colours when I iced the cookies – a bright pink, mid-pink and slightly paler pink as well.  Going for an ombre effect as I layered and placed the cookies in a wreath so that everywhere you looked you would see a different shade of pink.


I decided to use a basic sugar cookie recipe that I have used with royal icing decorations before and trusted it to hold it’s shape when it baked.   Check out the end of the post to see the full recipe instructions.  
 
I made these 4 cookie wreaths over 35 hours…

Waking and getting up for a 7.30am making of the dough…

A few errands, emails and a bit of work later I got to actually baking the cookies…
 

Leaving the cookies to cool while I went to teach in the afternoon/evening…

Getting home, having a speedy dinner before making royal icing and pinking up the star cookies…
 

All iced and left to go hard overnight… 
 
 
Waking up the next day and assembling the wreaths…


Final touches of the ribbon and then they were ready to be packaged up…


Delivery of the cookie wreaths to downtown Toronto and they were FINISHED!

145 cookies baked and iced and done :D
 
An amazing experience to be able to create cookie wreaths that would be used as thank you gifts for a wonderful company serving a truly worthwhile purpose.  I was really glad to be a part of that!  And of course, the exciting part for little baker me to have my cookies used, not only as gifts custom ordered (I like the term cookie commission, or cake commission… I am a musician after all!!)… but also to be shipped across CANADA!!!!!!  Made a pretty awesome year end on a high that’s for sure!

Remember, keep reading below to see the recipe!

As we enter this Fourth Advent (at least it would have been exactly the Fourth Sunday if I hadn’t lost internet due to #icestormTO!) I hope you all have a really really great Christmas week.  Stay warm and safe if you’re still feeling the consequences of this weekend’s bad weather.   

Enjoy time with friends, family, good food and lots of fun times.


Merry Christmas!!
 
Hannah ♫


Ingredients: (This recipe should make around 4 dozen cookies if using a 2/2 ½ inch cookie cutter)


¾ cup butter
1 cup sugar
2 eggs
½ teaspoon lemon extract
2 ½ cups all-purpose flour
1 teaspoon baking powder
1 teaspoon salt

Method:

1.         In a large bowl, cream together butter and sugar until light and fluffy.

2.        Beat in the eggs and extract.

3.       Combine the flour, baking powder and salt and gradually add to the butter-sugar mixture and mix well.

4.       Cover and leave in the fridge for at least 2 hours, or until easy to handle and not too sticky/ warm.

Time out for chilling! …

5.        Pre-heat oven to 400°F and grease baking sheets. 

6.        On a lightly floured surface, roll dough to desired thickness.  I did around 1/8 inch thick for my stars so they wouldn’t be so thin and break too easily… I had shipping to think about!

7.       Cut with cookie cutters and place on greased baking sheets.

8.       Bake in pre-heated oven for 7-9 minutes or until they are lightly browned.  I wanted a slight crunch to the bottom edge of the cookie but still a soft chewable texture too.  I cooked until the very edges started to turn brown.

9.       Let the cookies cool on the pan to let them set.  Then transfer them carefully to a cooling rack and leave to cool completely before icing or decorating.


For the royal icing…

Ingredients:

2 egg whites
2 teaspoons lemon juice
3 cups icing sugar
Food colouring if required.
Tiny amounts of water if needed – the actual humidity can effect how dry or wet your icing turns out.  One day this week (a very very cold and dry -10°C day) I made royal icing and it needed 3 teaspoons of water to get the right consistency… another day, a very wet day before the freezing wet day when it was a very damp and 2°C day it only needed ½ teaspoon to get the right consistency using EXACTLY the same ingredients and method… So don’t panic when yours isn’t quite right, add tiny tiny ½ teaspoons of water at a time until desired thickness is reached.


Method:

1.       Beat egg white and lemon juice a little until blended together.  Do not overbeat.

2.       Add icing sugar gradually, checking the consistency as you go.

3.       If needed, add small amounts of water until the correct thickness is reached. 

4.        If you are using a coloured icing, now is the time to add a few drops of the colour you want!

5.       Fill piping bag with chosen tip and get ready to ice or decorate.

I firstly did the outline of my star shape before flooding the inside of the star. 

6.        Leave to dry completely before assembling into wreath shape.

 
Please let me know if you have more questions about the recipe or how or what I did!