
Happy New Year!!
I love this post Christmas blogging chance to write about the gifts I made and couldn't share with you all before I actually gave them away. To have something in the works for a couple of months, to have photos on the hard drive just waiting, and then to actually send them across the pond to England way before Christmas before eventually seeing them be opened on Christmas Day!!

I made 3 sets of these bow shoe clips, after originally thinking I would make some cute felt hearts (like last year's Valentine's heart pocket sneakers) to attach onto shoe clips. But on thinking about the gift recipients, and versatility of wearing the clips on any shoe, or with any outfit I went with these, still cute but maybe also 'prettier' shoe clips that hopefully my sister, Mum and sister-in-law would love!
Back in September I bought these great shoe clips from Buckle Boutique, ordered online from the Couture Embellishment shop on Etsy. I did some research, and it generally seemed like everybody was recommending these clips. I should have taken a photo of them but I guess you can see them on the link above. The clips are metal and very sturdy, and then attached to a circle of black leather (I believe you can also get them in white). This made for a really great way to attach my bows to with hot glue. I'd definitely buy these again!
So between September and November when I actually made the clips, I did lots of thinking and research on the kind of clips I'd love to make.
A great inspiration was this post from 'Green Wedding Shoes' who gave me an idea of what dimensions I would be using. Check out her post for the amazing tutorial (she has actual photos of the process unlike me! :-S ), and also another kind of clip - the flowers.
For my Mummy dearest I made a cream coloured satin ribbon.

Per shoe I had one long length ribbon and one medium length ribbon, glued the ends together to make loops. Then, with a little glue on the inside of each loop (in the middle) press it down so it makes more of an sideways 8 shape. Do this for each of the long and medium length ribbons. Then, with a smaller length ribbon cut the ends to make a small indented triangle on each end of the ribbon. This will be the bottom piece. Glue each of the layers together - the triangle cut ends on the bottom, then the longest loop piece, then the medium one and then, finally an even smaller ribbon piece to wrap around the middle and make the bow.

I actually had to cut down the leather circle of the shoe clip to fit it to the same size of the ribbon but that worked out fine, and you couldn't see the clip at all once attached to the ribbon.


I can't wait to try these bow clips with other ribbons as well, maybe some sturdier ribbons, or with different textures. I went with a safe bet with these first ones, in a neutral but pretty colour that I think will go with shoes of my Mums. Hope so anyway!

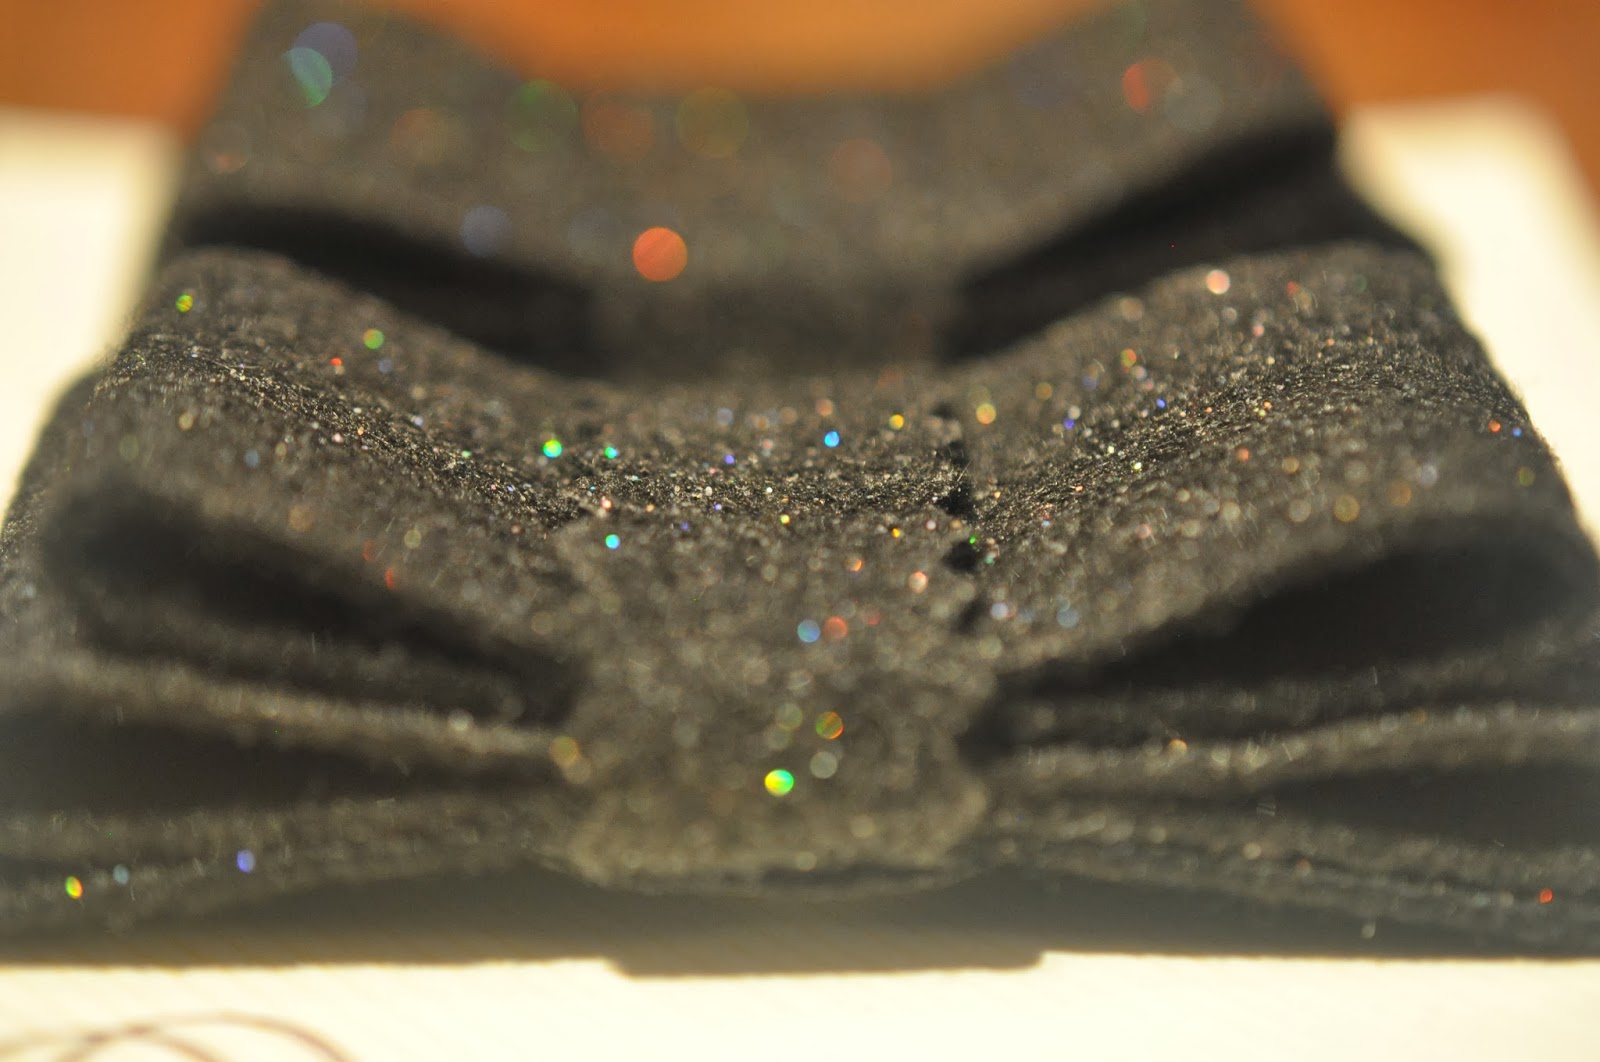
So for my sister and sister-in-law I wanted something to go with black flat shoes, nothing too crazy but still with a little pizzazz. I went with some stiff black glitter felt I had. It would show up on other black shoes, but still had a Christmassy/more glam feel than just plain black. And the sturdy felt was SO easy to work with!!
Choosing to do a thicker width for these ones, I loved how chunky the bow looked when it was finished.I did slightly shorter dimensions, and also finished the bottom felt piece edges with pinking shears instead of a indented cut triangle, and then for the wrap around top piece I also gave it the pinking sheared edge just because I thought it looked better than a plain straight cut!


I REALLY want to make one of these pairs for myself! Luckily my sister lives in England, and my sister-in-law is here in Canada so they will never wear them at the same time in the same place... But if I make and wear them too... Uh oh I guess then it could happen!!

An early DIY gift made, as we had to ship our English package by the beginning of December. They each had their own adventures... my Mum's was opened as planned on Christmas Day, then for my sister (as she had to work on Christmas Day) - I actually got to watch her open them on Skype on Boxing Day... and then, even later on the 28th December my in-laws got to have their official "Christmas morning" with gifts after their power finally came back on after the ice storm in Toronto left them without for 5 days!

I loosely taped the shoe clips to these perfect scrapbook pieces of card from a pack I had already, they were perfect for this with the design at the bottom and room on the top to write a message! Wrapped in tissue wrap they made it safely to England yey!
I'm totally going to make many more of these clips and definitely recommend them as an easy DIY project... maybe for some special people in your life on Valentine's Day!?
They can honestly be made into any kind of bows, other fun clips... Small versions for little girls, novelty felt designs maybe, or what about adding beading or more glitzy jewels... Other ideas I had were also using buttons... Okay yeah, the possibilities are endless and I'm sure you have your own ideas too! I'd love to see your clips if you make some :) Shoot me an email with some pics!
Thanks for reading my first post of 2014! Have a great year!


