Showing posts with label mini cupcakes. Show all posts

Monday, 2 December 2013

Pretty in Pink Winter Cupcakes ❅

Happy December everybody! 

I am SO excited for pre-Christmas times, first advent, and everything festive in the run up to Christmas Day!  Lots to do yes, but I'm definitely trying to squeeze in as much of the fun festivities as I can as well to really enjoy my favourite time of year :-)  So far this weekend we've enjoyed baking gingerbread cookies, watching a Christmas tree lighting... we went to a Christmas craft fair, put up some decorations and finished up all of our presents ready to send across to England... So I'm definitely ready for the holidays!

On a similar note, getting ready for the Christmas season I'm happy to be sharing another project from last week's busy weekend of makes and bakes.  Did you see my LEGO Gingerbread House last week?!  This was a customised birthday 'cake' for a 6 year old's birthday party (what a great idea he had right?!) and for the same weekend, I was also asked to bake some mini cupcakes for a holiday party a friend was running at her work.

 
She works for Rethink Breast Cancer in Toronto, and the cupcakes were for the Live Laugh Learn program's holiday party.  What a great reason to get baking, and I was SUPER happy to be asked to create something for this.

So that's where the pretty in pink colours come in.  Some hot pink to go with the colours/branding of their website... and some paler pink for a frostier effect.

Having seen my Bridal Shower Cupcakes from a few weeks ago, I was asked if they could also have some personalised tags for their cupcakes too!  I went with the words 'live', 'laugh' and 'learn' as well as LLL too.  I used a pale pink cardstock to print on (again with the Love Letter Typewriter font) and backed it with a hot pink paper! 


As it was a holiday party, I thought in addition to the pink colours, I would try to create a festive feel, and I went with a sparkly Wintery vision to complement the pink.

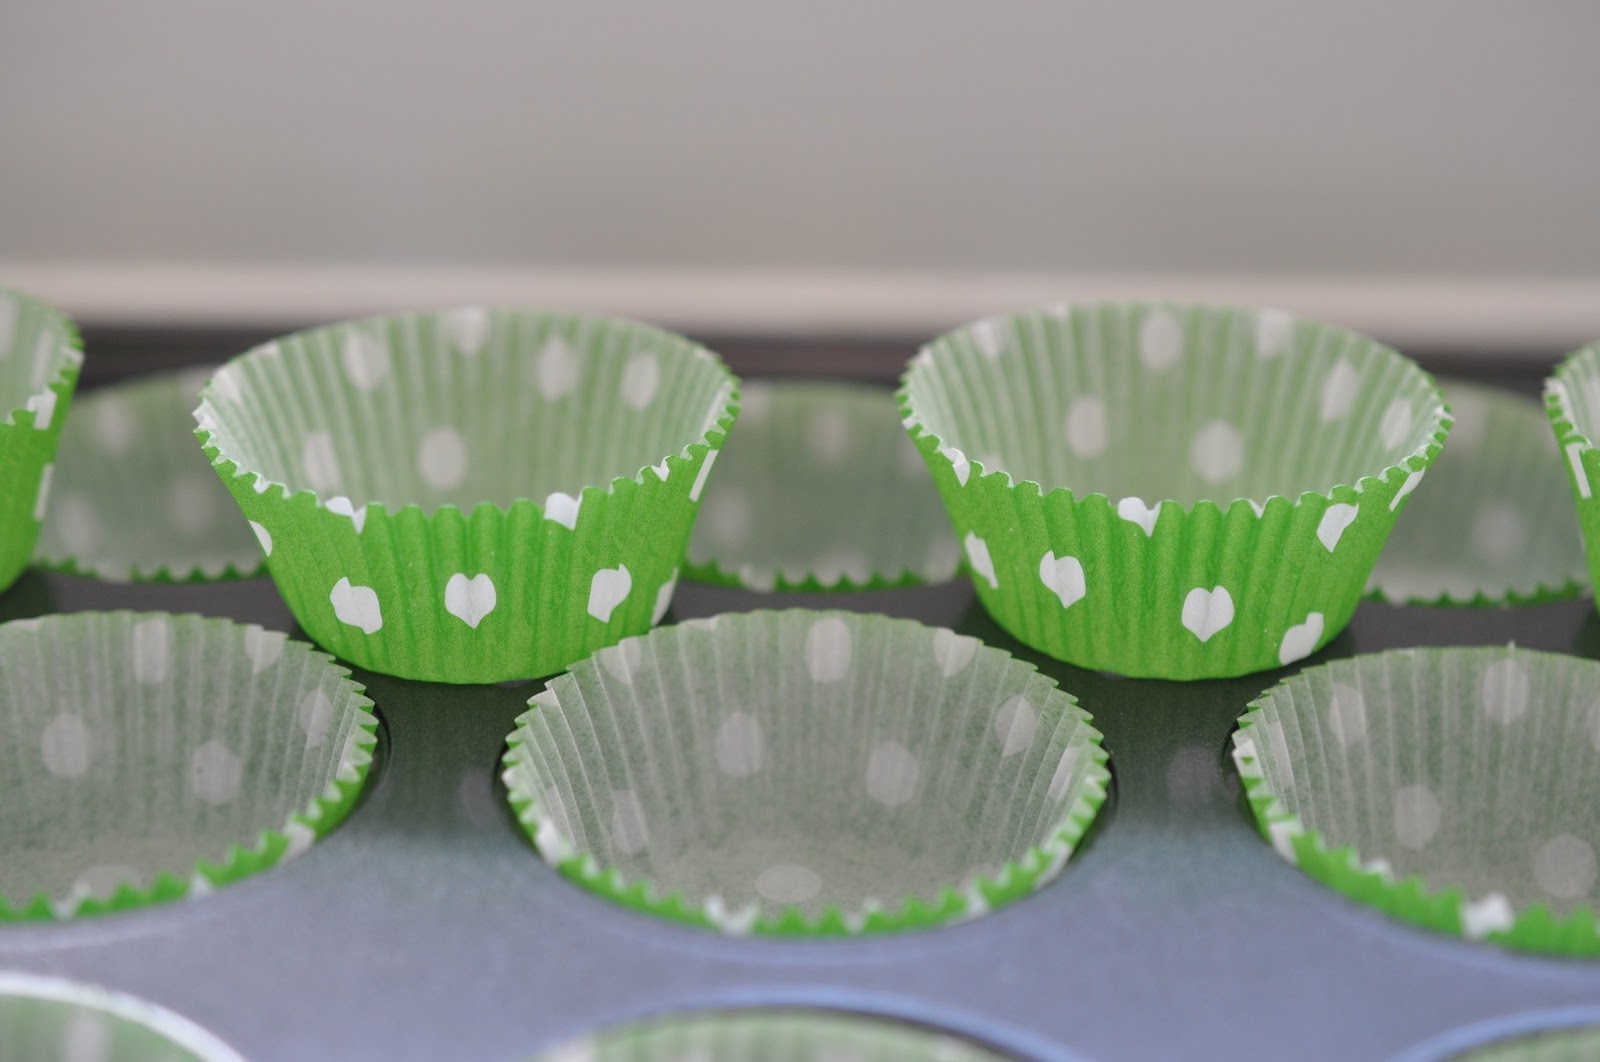
Martha Stewart helped me out with these pretty mini cupcake cases in pale blue and pale aqua as well, a last minute find in Michaels which was perfect.

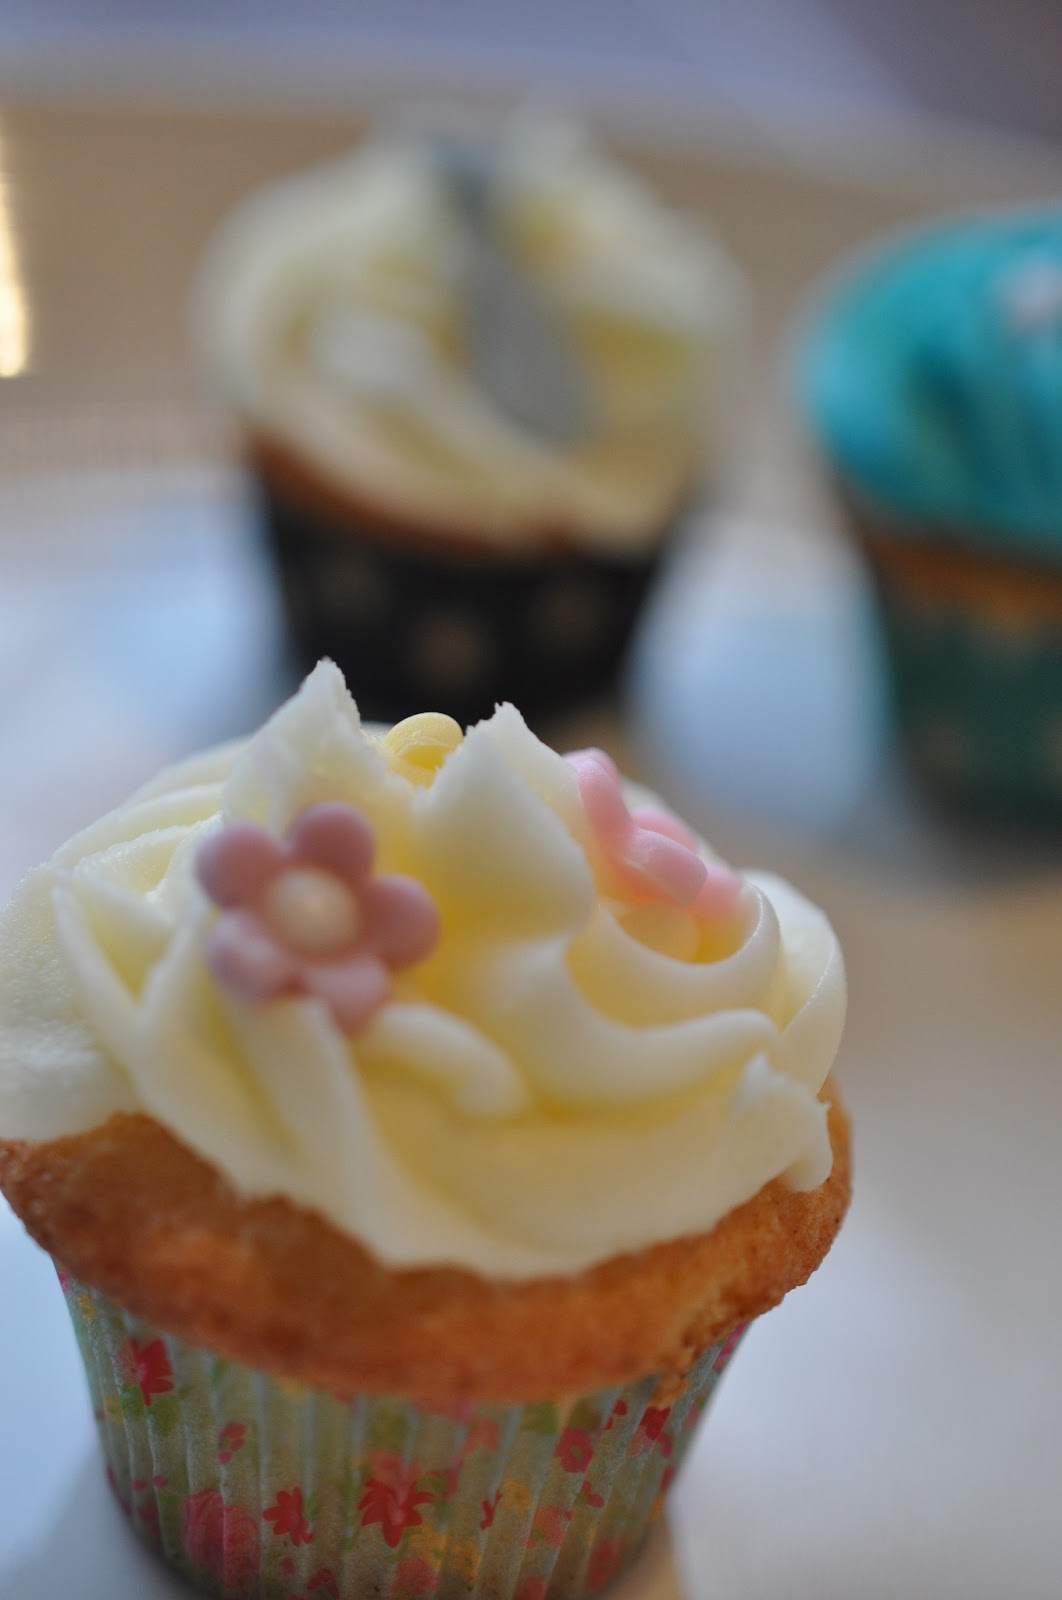
I baked 2 batches of the mini cupcakes, making slightly more than the required 3 dozen.  I'm sure no one minds getting more cupcakes!!  They were a vanilla cupcake with lemon buttercream - nothing too crazy in the flavours, and hopefully everyone liked them :)

Once I had piped the pale pink buttercream I rolled the edges that stuck out in coarse white sugar, which sparkled so well in the light, and then topped each of those with an edible pearl.  Not necessarily Christmassy, but definitely giving it a snowy feel (great as we had just had our first snow of the season that weekend here in Toronto!) which I thought matched both the pink colours.


I used the hot pink colour for the cupcakes with the tags, as well as some more swirl tip mini cupcakes with snowflake sprinkles, really just enjoying the pre-December opportunity to get festive :)


In addition to the 3 dozen mini cupcakes, I also was asked to make 2 dozen chocolate dipped strawberries.  I took a little liberty here, artistic license perhaps and went with a festive feeling for these as well.  I used Baker's sweet chocolate and some pretty red sprinkles, which once on the chocolate actually looked pink (perfect for the colour scheme of my cupcakes!) and even a few little edible snowmen on there too!


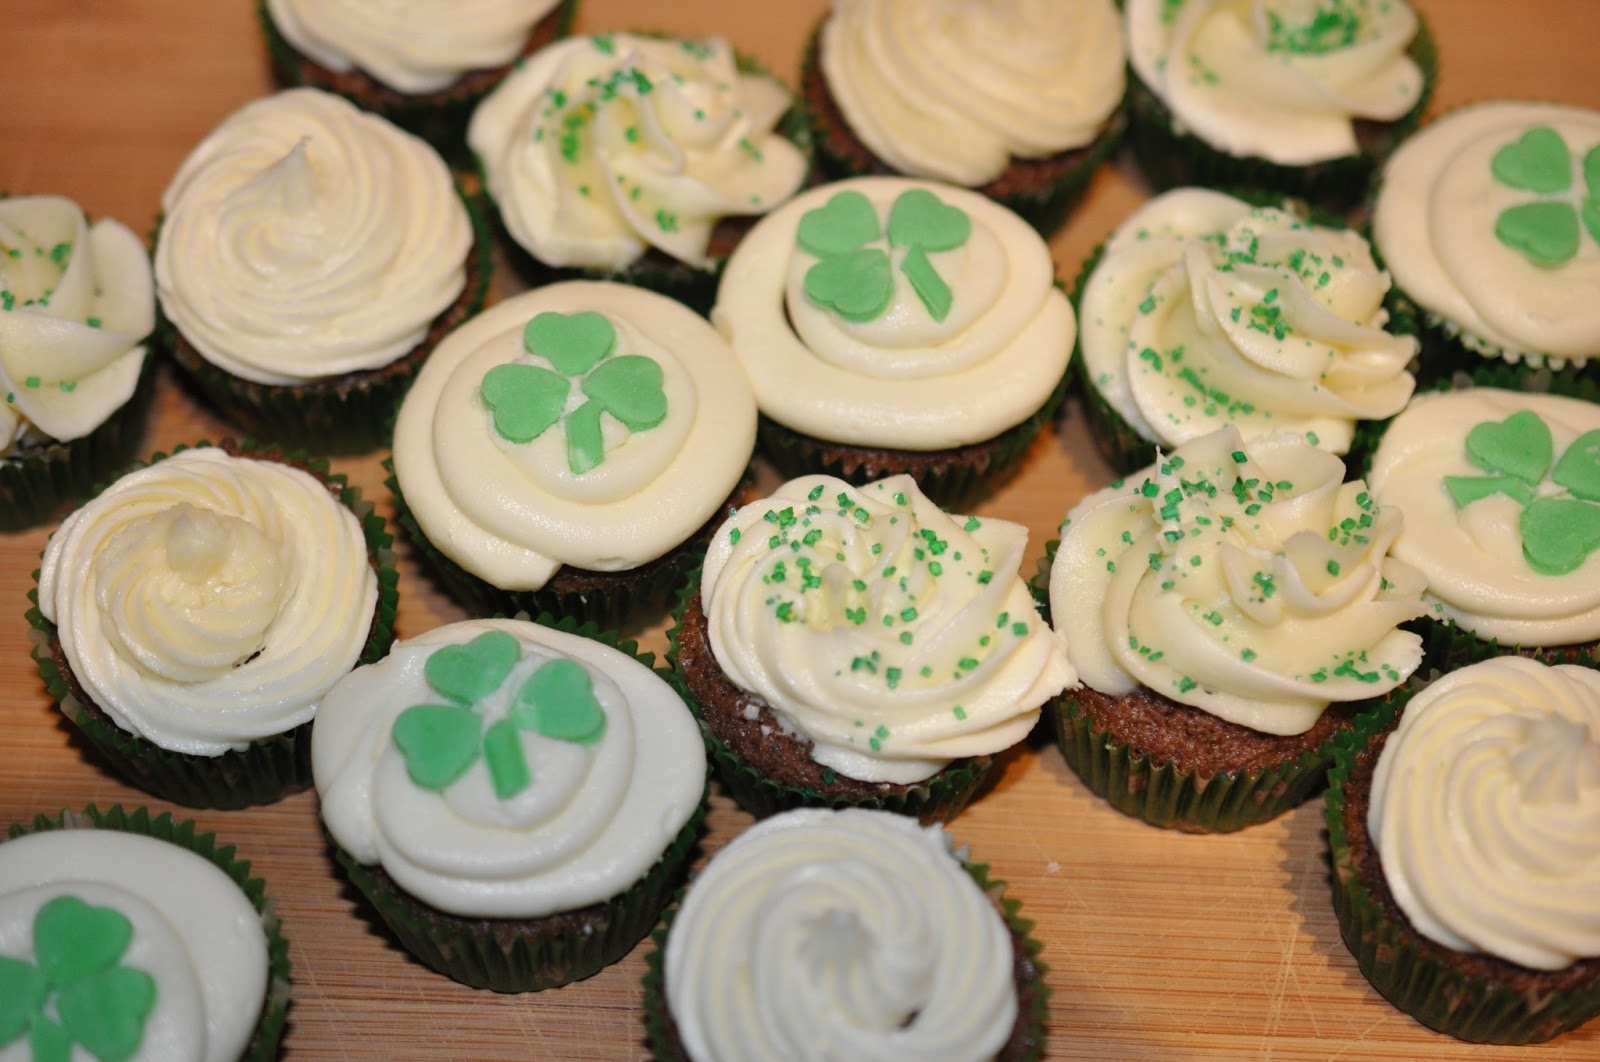
So, around 48 mini cupcakes and 25 chocolate covered strawberries later I was ready for the second delivery of the day!  One gingerbread house bright and early, the second - these cupcakes and strawberries, early in the evening ready for the Live Laugh Learn holiday party. 

Got a few snaps of them all out on the platter at the event before I left them to their evening :)  Hope they enjoyed the festive mini cupcakes!


And finally, before I'm done here's the recipe should you want to recreate these pretty in pink mini Winter cupcakes this holiday season!
 
Ingredients: (to make 24 mini cupcakes)
 
4 oz unsalted butter, softened
4 oz sugar
2 eggs
1 tsp vanilla extract
4 oz self raising flour
 
and for the buttercream -
12oz icing sugar
8oz butter
1 tbsp milk
1 tsp lemon extract
 
Method:
 
1.  Preheat oven to 375°F and line mini cupcake tray with cupcake cases.
2.  Cream together butter and sugar together until light and fluffy.
3.  Beat in eggs one at a time, scraping down the sides as you go.
4.  Add vanilla extract (or other flavour of your choice!).
5.  Sieve flour and mix into wet mixture, without overbeating.
6.  Using a small cookie scoop put one spoonful of the batter in each cupcake case - it should rise up and still leave enough room for piping!
7.  Bake for 10-12 minutes in pre-heated oven.
8.  When baked (springy to the touch but so a skewer/cake tester comes out clean) leave to cool on a rack completely before piping/decorating.
 
for the buttercream -
 
1.  Beat sugar until softened.
2.  Add icing sugar and beat until well whipped.
3.  Add milk and any extract/flavourings (I used lemon extract) and colours of your choice for the buttercream frosting.
 
At this point you could use your piping big and tips, or just spread the buttercream on top before decorating with sprinkles, sugar or tags - the possibilities here are endless!  Feel the creativity ♥
 

Monday, 30 September 2013

Creating and Cake-ing for Choir ♫

Firstly, here's a big oops for only just writing this blog post!  It is Monday afternoon, which means this post definitely didn't go live on either Saturday or Sunday this weekend.  My bad!  Everything went a little crazy and busy and I'm finally getting a chance to write it before I dash out to teach this afternoon.

Today I'm going to tell you about a couple of musical things I have put together recently for my choir.  I'm a piano and music teacher primarily, but I sing with a really great chamber choir - the Cantabile Chamber Singers here in Toronto and we started back at rehearsals a few weeks ago.


I did a quick bake on a Tuesday morning so that we would have some sweet snacks for our first rehearsal break.  Why?... Because chats and catch ups are better over cake of course!  Anddd, well, with the morning off work I could think of nothing more fun than doing a spot of baking :)


I made some mini cupcakes and decorated them with some leftover cola buttercream from the Back to School cupcakes I made earlier in September - click here to see them and to find the recipe!  I used the same amounts as I did for the 12 regular sized cupcakes, and then following the same recipe it also made the 24 mini cupcakes.

To decorate I used this amazing design of rice paper cupcake toppers my little sister bought for me last year for my birthday!  I'm a weirdo and hate using up things, so I save them and save them until I can bear to be apart from them once they're all used up!  Funny story.. I only used 1 package of these, using a second pack of small blue ♫s for the rest (with a little water icing once the buttercream had run out!)... so GOOD NEWS I still have one pack left!

Thanks Livi and Simply Topps for these.  They were the perfect size for these mini cupcakes sat on a buttercream swirl (Wilton piping tip #12).  And the designs were fabulous, especially for this musical occasion.  Check out their website, they have some great cupcake toppers that make those quick baking projects nice and easy :)


Batter made and prepped, scooped out and ready to go in the oven!...


Slightly less time than in this recipe as they're smaller, 10 - 12 minutes will probably do it but do keep an eye on them.


I chose these black and white polka dots to go along with the colour scheme of the music notes toppers.  And here they are, piped and decorated, ready to be eaten at rehearsal :-)


And the second part of this post starts now!  Just a little crafty make I put together this weekend for our annual choir meeting which this year involved the usual business meeting and pot luck but also some super fun lawn bowling, and board games evening!  A lot of fun, and great to spend time with the choir away from rehearsal.

I made a bundt cake for the occasion, but well you'll have to wait another week or so for that post!  But you do get a little sneak preview of what it looks like when I show you the music cake bunting I made for it!  It was a kind of party and get-together after all so why not celebrate :-)


To make this cute little music bunting you need some really basic supplies you might even already have at home!  

Sadly I was on a time crunch and didn't get a chance to take photos as I created this bunting, but here's a run down of the steps and hopefully you can picture it!

To create the pennants I used black cardstock and a sheet of music scrapbook paper (thank you Michaels of course!)... They were 3cm across the top and 4 cm long.  I find it nice and easy to cut these out by marking the 3cm marks along the card, and then the 1.5cm points alternately which means using a paper cutter (or scissors) you can just angle the cutter from a 3cm mark to the opposite 1.5cm mark and then back creating the triangles as you cut!

As I had made a bundt cake I wanted the poles holding up the bunting to stand up quite a bit from the cake.  I used white lollipop sticks I already had from this project for my piano students!

But how to connect the flags to the poles!?  I was thinking about baker's twine, but the colours I had weren't matching enough for me... and then I had some music tape to fold over and attach that way, but I didn't like that either.
So, needle and thread to the rescue I used some black and white embroidery thread and threaded both pieces through a wide needle.  I tied one end to one stick and then threaded through each of the two top corners of the pennants, choosing to thread from the back and across the front so you could see the two-coloured thread against the card flags.  Finishing the 7 flags I tied it off at the other end, loose enough to have a little dip but not so much so it would drag on the cake!  


It really added just a little something to the cake, and everybody knew what contribution to the potluck mine was.  After all, I'm the strange one wanting to add decorations to a bundt cake just because! Hehe ♫

This little bunting was easy to put together, and you can chang up the flag designs SO easily with different patterns of scrapbook paper - and there are endless possibilities.  And, so long as the cake wasn't too messy or sticky inside these are reusable too!  Added bonus :)

I'll for sure be making many more of these now I have tried it so watch this space!  Have a great week everyone!

Saturday, 13 July 2013

Celebrate with Cake!

It's time to celebrate!

And what better way to celebrate than with cake?!


This week I am super excited to be celebrating 6 months of my blogging life :-)  That is 6 months since I started this blog, writing weekly posts, sharing my projects at some amazing link parties, being featured on some incredible sites and really learning a LOT about the blogging world and how to do it better!

There are some things in particular I am really proud of and some projects that have had some really kind and positive feedback on and so I wanted to share my celebrations with some cake!

These are some cakes I have made (and eaten) recently and haven't had the chance to post about, so I thought - why not put them all together and have one big feast of 6 cakes for 6 months!

Today I'll be sharing a few more photos and info about the 6 cakes featured today in my celebration of cakes, and next week it'll be Celebrate with Cakes Part 2 - all about 6 months of blogging.  6 things I'm proud of or have learnt, and 6 aims and ideas I have for the next 6 months!

So here are the 6 cakes in a little more detail:

1.  Summer Cake ~  Lemon sponge cake, with a raspberry jam and butter cream filling, decorated with white fondant and buttercream piped grass, topped with fondant flowers and butterflies.


This was the second time I made a cake for my choir's silent auction.  We were raising funds for the choir to go to Festival 500 in Newfoundland - and they just got back!  Check out their flash mob in Avalon Mall - so fun...I was really sad to miss it!


I was super happy that the winning bid on the cake went to a choir member's Mum whose birthday it was the next day!  Ready made birthday cake :-)  I hope she enjoyed it!!

2.  Mini farm cupcakes ~  A lot of you have seen the Quiet Book I made for a special little 2 year old's birthday this year (click here if you haven't!), and these are the edible gift we took along as well!  She enjoyed a super fun morning at the farm - on a 'Rise and Shine' theme, with breakfast served for the guests in the barn - what an amazing idea!  Sadly I had to miss the party (REALLY SADLY as I LOVE the farm, like really love!) but we did get to spend the afternoon and evening with our friends, celebrating the birthday girl and hanging out in the sunshine!


Seeing as she enjoyed a farm party, I made some mini lemon cupcakes and frosted them with piped 'grass' buttercream.  The cupcake toppers were rolled out fondant which I cut out with my mini animal cookie cutters that I usually use for Easter!  A baby pig, bunny rabbit and chick, as well as some little flowers, and the same butterfly you also see on the Summer cake.


3.  Banana Loaf ~  This is the most recent of all of these cakes, having just been made this week!  A few bananas left over, and me missing baking (it had been at least 2 weeks of no baking!!!!!  VERY unusual) meant it was time to try something different.

Jonathan's family just returned from their 2 week vacation, so we bought them a few groceries and left them with this little homemade treat to welcome them home :-)


Oh yes of course there were a couple of cupcakes baked too, we couldn't give them the whole thing without trying it ourselves!  It was a recipe I hadn't tried before as well so it was good to check it out (hehe)...and confirmed...it was yummy!  Thank you Mary Berry via Queen of Everything for the recipe inspiration!


Something I had thought of when first thinking of making the banana loaf was the banana embellishment!  I sliced up the extra banana I had, and laid it on top of the batter just before putting it in the oven.  I was not sure how this would turn out, and about half way through cooking was worried they were sinking - but the batter rose, and pushed up the banana slices with it and it turned out almost perfectly!  Yey...and phew!

4.  Trio of mini cupcakes ~  Did anybody notice I like lemon?  Again these mini cupcakes were lemon, this time with a vanilla buttercream frosting, piped in a couple of different ways.

But why a trio?!  Well we had a trio of celebrations in June.

First of all we were invited to Jonathan's cousins' church for his little cousin's baptism, and a celebratory bbq at their place afterwards!  He got the blue cupcakes with white fondant stars!


That same Sunday also happened to be Father's Day!  Hence the tie on these ones, with a smart black and white cupcake wrapper.


And the third and final celebration that day was Jonathan's Great-Aunt's birthday!  Pretty spring cupcake wrapper with flowers for her :-)


Whilst the cupcakes were made specifically with those celebrating in mind, we did all get to share and eat them!

5.  Brown Sugar and Coffee Muffins ~ This is another set of mini cupcakes, but with a recipe that I have been meaning to try for a LONG time now!

I baked these cupcakes for a church lunch event, and figured, why not make mini ones, more cakes this way even if they were smaller.  But at these church events - desserts are not sparse!


I found this recipe on Pinterest a long time ago... I loved the sound of the brown sugar muffins, and the coffee/icing sugar glaze on top.  Here's where it originally came from (just click!), and oh how I wish my glaze looked as pretty as hers did!

6.  English Country Garden Cupcakes ~ Well I couldn't make a cake for my choir auction, without baking something for the choir to enjoy after the concert!  We had worked hard after all!?


I gave them a taste of what the silent auction cake was, with a lemon cupcake and the same grass buttercream, with flowers and butterflies to top them off.

We all enjoyed them at our post-concert dinner/pub trip ♫


So here it is, the start of my week of celebrating 6 months of blogging!

I hope you can join me next week and read all about the 6 things I have learnt and enjoyed in 6 months of blogging, as well as the next 6 aims I have for Sew Lah Tea Dough :-)  I'm excited for the next six months and what it will bring!!

Sunday, 21 April 2013

* Small and Sweet * Almond and Orange Mini Cupcakes

Well life is a little crazy right now with a lot of work stuff on the go, a lot of extra-curricular life activities and some big crafty projects half finished so for that reason I am posting a * small and sweet * blog post today, something from earlier this year that hasn't been written up yet... until now!  The other sewing projects and crafts will have to wait until another day, although I am SUPER excited about how they are going and how they will turn out... we'll just have to give it a few more weeks before they can be made public :-)  Watch this space!

So for today, here are my mini almond and orange cupcakes.  They were made for a couple of reasons - it was my snack night at choir, and also my mother-in-law's birthday, so although I wasn't joining them for dinner due to my choir rehearsal I did send a few their way!  Whenever it is snack night at choir I love having the chance to bake and to try something new.

This time I wanted to a) make mini cupcakes, b) try a new flavour and c) make them less from a recipe, more from my own creation/experimenting!

I came up with a basic spongey cupcake, which included almond flour, and flaked almonds in, and then, with a glaze to make it juicier I thought orange would pair well with the almonds.  And there you have my * small and sweet * mini almond and orange cupcakes.

This recipe made 24 mini cupcakes with a little batter left over for a couple of regular sized 'tasters'!!

Ingredients:

115g butter
115g sugar
115g self-raising flour MINUS 2 tablespoons, replace this with 2 tablespoons of almond flour
100g flaked almonds
2 eggs, lightly beaten
1 teaspoon almond extract
Zest from 1 orange

Method:

1.  Preheat the oven to 375°F/ 190°C and line cupcake tray with paper cases.
2.  Cream butter and sugar until light and fluffy.
3.  Gradually beat in eggs, then add almond extract.
4.  Sift in flour and fold into mixture.
5.  Add zest of orange.
6.  Spoon mixture into cupcake cases, and add flaked almonds just before putting in the oven.


7.  Bake in oven for 10 - 15 minutes but check these often until springy to the touch, and until a cake tester comes out clean.  Cooking time will depend on if you make them mini or regular sized!


For the glaze:

Whisk together icing sugar and the juice from one orange until you reach the desired consistency - I used 8 rounded tablespoons!

Pour over the cakes as soon as they come out of the oven.


I was really pleased with how they turned out, and the reason I posted them today is that I have been thinking about making them again soon!  I'm glad I had written the recipe down and now it is on the internet forever!!  I love the almond/orange combination, although in the citrus world my love lies with lemon, and sometimes the orange flavour just isn't tangy enough for me!  Maybe that's another flavour to try another day... 

That's all from me today with this * small and sweet * post!  Time to get back to work... Have a fantastic week everyone :-)

Sunday, 17 March 2013

St. Patrick's Day Mint Chocolate Cupcakes ♧ ♧ ♧ ♧ ♧ ♧ ♧ ♧ ♧ ♧ ♧ ♧ ♧ ♧ ♧ ♧ ♧

Happy St. Patrick's Day everyone!

Ireland, and Dublin in particular is one of my favourite places in the world.  My Grandparents lived there since my Dad was at university and so I have spent all of my childhood visiting, and now whenever I go back to England to visit I make sure I ALWAYS get to Dublin to go back, to see my Granny, to wander around the city and enjoy it!  I've even been lucky enough to spend time there during St. Patrick's weekend, the parade there was incredible :-)

Since moving to Canada, I have discovered that North America LOVES St. Patrick's Day - perhaps more than England does?!  You all go nuts for it!  I have no problem with that, I love it too.  What a fun celebration for the patron saint of Ireland.

Last week I got crafty and made my Lucky Pocket Sneakers and Shamrock bunting, see that post here but this weekend I have been baking!

I'm been on a cupcake roll recently... I have some I still need to post up from last week but for this weekend I went on an Irish/ St. Patrick's Day theme and made some chocolate mini cupcakes with a mint buttercream frosting.  I decorated them with some green decorations, and my favourite part - the fondant shamrocks :-)

Michael's served me well with a new set of mini cupcake cases, the green spotty ones were perfect for this project!


I used a basic cupcake recipe (see below) and substituted some cocoa powder for some flour for the chocolatey taste!  For my mini cupcake tray (makes 24) I used my small cookie scoop, not quite filled, as I didn't want them to be too overflowing when they had risen. 


I was trying to think of adaptations of a mint chocolate chip idea and thought that a chocolate cupcake, with buttercream frosting made to be a mint flavour would do the trick :-)

I used 3 different tips to decorate, a small round one (Wilton # 12) to make a base for the fondant shamrocks, an large inverted star (Wilton # 2D) to create swirls that the green sugar would be sprinkled onto, and a star tip (Wilton # 21) to create a swirl that looked good enough (well on some it looked okay enough!) to leave blank.

My general idea was to create variations on a theme and I'm pretty pleased with how they turned out.

That is to say, I was not too happy at the start of my piping, but once the toppings and decorations were on I was pleased with how they looked!


I am MOST happy with the shamrocks.  Originally I was thinking I would have to cut out the shamrocks free hand out of the green fondant, then sometime this week I had a brain wave.  Earlier this month I picked up a lot of cheap Wilton baking accessories: a star hand punch, various stamps for decorating cakes, a crimper for fondant and also a heart hand punch!  This would be PERFECT!  All I needed was the green fondant rolled out, then I could punch out my little hearts and use three to make the shamrock!  I crimped the rest of the fondant to and ripped apart the strips it made, cut them short and used those for sturdy stems!  And there I had the perfect size shamrocks for these mini cupcakes.


I hope everyone has had a wonderful March Break if you were off school, and a fun filled St. Patrick's Day!  I know the crafts and baking I have seen on blogs and link parties this week have been SO great - can't wait to see more of your creations next week :-)


Chocolate Mini Cupcakes Recipe (makes 48 mini cupcakes plus 3 regular sized cupcakes, just for tasting!)

230g unsalted butter, softened
230g caster sugar (I used superfine granulated)
4 eggs
230g self-raising flour BUT sub out 4 tablespoons floor, and add 4 tablespoons cocoa powder
1 teaspoon vanilla extract

1.  Preheat oven to 375°F/190°C
2.  Cream together butter and sugar until light and fluffy
2.  Add eggs one at a time and vanilla extract
3.  Sift in flour and cocoa powder.  Fold in until just combined.
4.  Scoop into cupcake cases (I did this in two batches as I only have 1 mini cupcake pan) and   bake for 12 minutes or until a cake tester comes out clean/the sponge springs back to your touch.
5.  Leave to cool before decorating.


Mint Buttercream Frosting Recipe (makes enough to cover all of the cupcakes with the style of piping I used)

300g butter
450g icing sugar
2 tbsp milk
Peppermint extract, to taste.  I think in the end I used around 3/4 teaspoons, but do check as you go!

1.  Soften butter in mixer
2.  Add icing sugar
3.  Add milk and peppermint extract to taste.

Pipe, decorate, and then of course ENJOY!  ♧