Showing posts with label cake decorating. Show all posts

Sunday, 9 February 2014

My husband's favourite time of year!

It's not often my husband will, not only wake up before me, but also get up and make coffee before I have even begun to think about getting up... But, Thursday morning - the day before the 2014 Winter Olympics officially starts he was out on the couch, watching TV first thing in the morning.  Not many things get him up and awake... but the Olympics is definitely one of them!! ... And I got my breakfast out of it too, so can't really complain!

Not only is it the start of the Olympics this week, but last Monday it was my amazing husband's birthday!  We kind of celebrated all weekend, with a snowy day out on the Saturday, a family day on Sunday - with the Superbowl of course, and then birthday breakfast, presents (a bit of work/school) and then a delicious dinner out together on Monday night!

So, with both of these exciting events happening for Jonathan all in one week, there was only one way to go with his birthday cake this year...

 
... His very own Winter Olympic cake, in two tiers, with two flavours I just knew he would love.
 
For the bottom flavour, I used my go-to Red Velvet Cake recipe from Joy of Baking.  Since the first time I tried this recipe, it has never failed me and I LOVE the taste of the cake so why change?!  Find the recipe here
 
 
2 9" sandwich pans filled and baked... Next up was the buttercream!  This is the thing I do differently to the original recipe, filling the cake with buttercream (with a hint of vanilla), instead of cream cheese icing.


For the top tier, I was undecided whether to do a vanilla cake, or something a bit different.  The 'something different' was the winner!  I went with an almond cake, filled with plain buttercream.  Jonathan LOVES almond flavour, and most of his family do too, so I'm glad I went with this one, as it was a hit!  I'll definitely be using this one again for something or somebody else!  I'll add the recipe for this at the bottom of the post.

So with a 9 inch red velvet cake... a 6 inch almond cake all ready, just sitting out cooling - it was time to get icing!

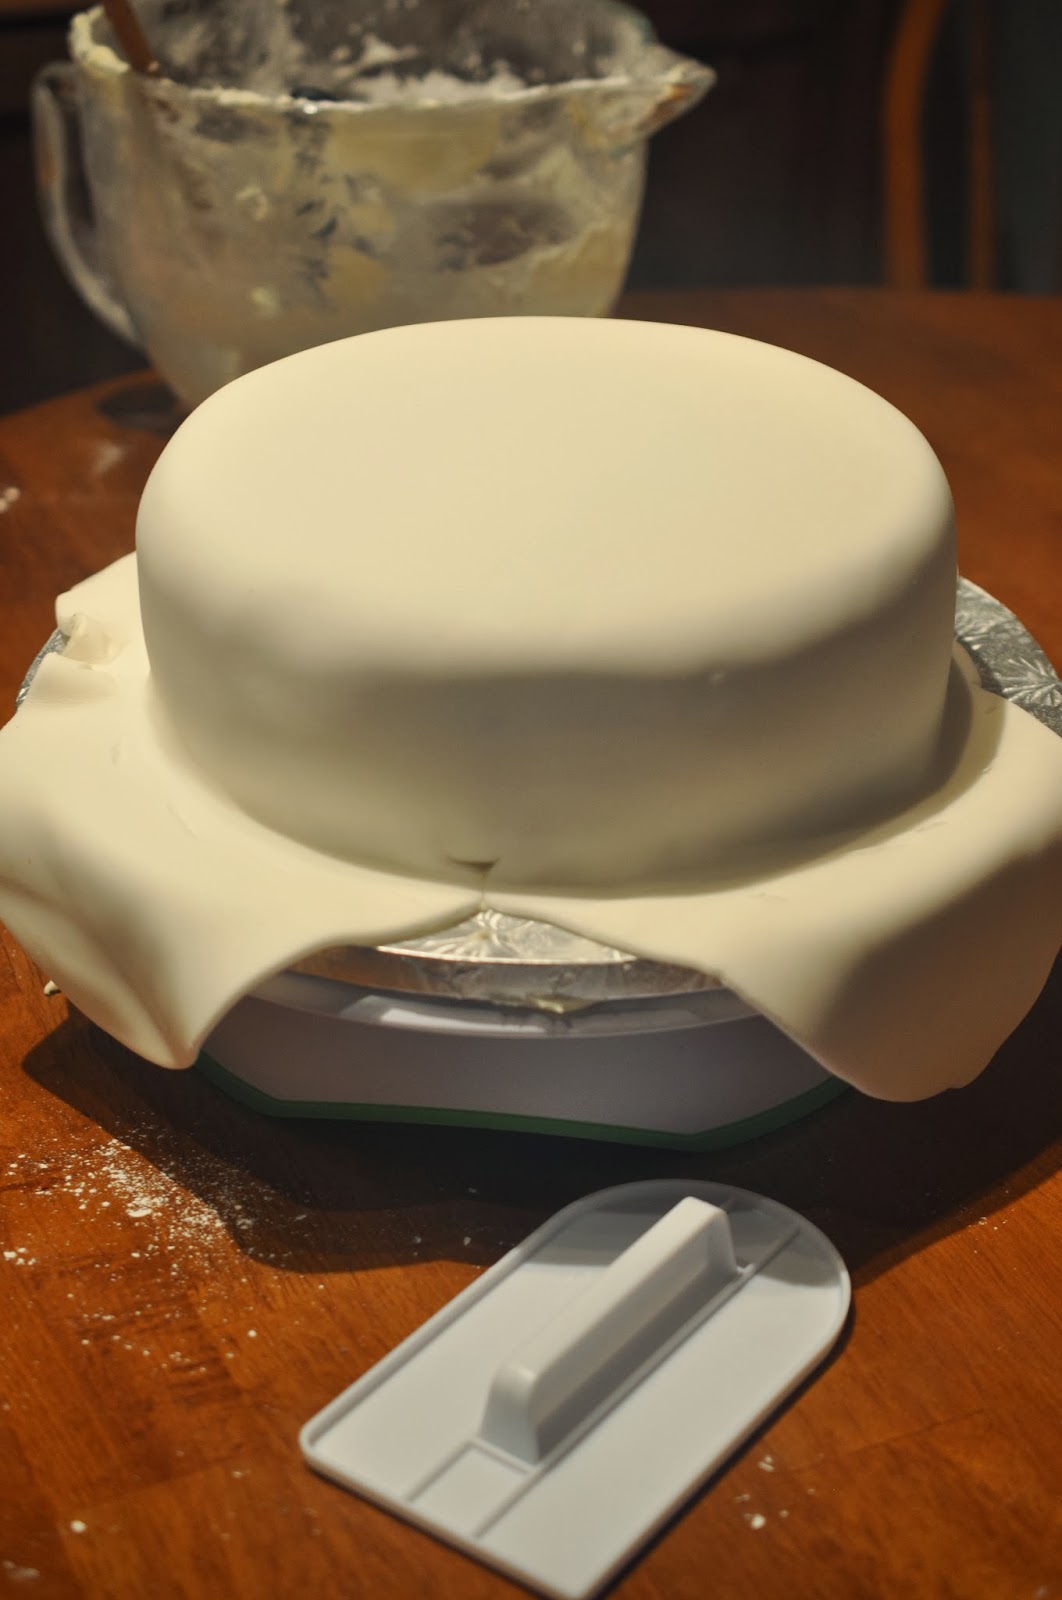
I used Wilton roll out fondant.  The white was perfect, and it's always a nice feeling when you don't have to colour 2lbs of fondant!!  But this time, there was no excuse to do this - snowy white was exactly what I wanted!


A little mistake with the top tier was I think my fondant wasn't thick enough.  The coverage on the bottom layer was definitely better than the top, but oh well... There were decorations to come!

 
... Lots of them!!
 
 
A couple of days earlier I made all of the fondant decorations, not only to save time on cake baking day, but also to let them harden up a little.  This meant the shape, for example on the skis would hold once placed and attached to the cake.  The nice thing about the fondant is it's not too hard to eat!  ... Sugar highs here we all come!

One of my favourite pieces on the cake was the curling stone.  A nice big fat round of grey, and then a Canadian red for the handle!  I wedged a little piece of paper under the handle for the couple of days after making it, to make sure the handle could support itself when the royal icing I attached it with set.


Another feature that just had to make it onto the cake were the skis with 'Go Lenny Go' written on in edible pen.  Jonathan's cousin Lenny is racing for Canada in the cross-country skiing team, so we're all pretty much the MOST excited for him... this was just a little shout out to him as the 2014 games begin!  #TeamLenny :)
 

Aren't the Winter Olympics just great?!  Full of some really great sports... Hockey of course had to make an appearance! 

Here are 2 skates I create with fondant coloured black, grey toe parts to the skate, royal icing laces and a blue fondant star for decoration on the back of each skate.


You can't really see the blade part of the skate, but it is there - they're not just walking boots I promise!
 
 
And where would hockey skates be without a stick and puck?!... This was one of the decorations I was most nervous about.  How to make the hockey stick NOT look like a golf club!?  I went with a retro looking wooden stick, and even taped it up to try and make it definitely hockey.  And a nice and easy round piece for the puck!


The next bit, the Olympic Rings were perhaps the hardest and most frustrating part of the cake.  I coloured the fondant icing into the appropriate colours, and then used my Wilton fondant press, with the circle plate insert inside to create perfect lengths of tubing.  I then connected the blue, black and red ends together to form a circle.  The green and yellow were much harder as I tried to be accurate and realistic with the overlapping/interlocking in the right places.  I had a hard time with the green one (and it was my least favourite part of the cake because I knew the mistake was there!) but royal icing helped me out and it wasn't too noticeably faulty!  Just a bit more icing holding it together than I would have liked, but apart from that - the rings were as they should be.


And let's not forget the compulsory red maple leaf to represent Canada on top of the cake here!  The space on the right hand side of the top cake was intentional - that's where the candles went :-)


And as you've seen by now, I surrounded each bottom of the cake with snowballs.  I had made SO many of these on fondant day, all in different sizes that it made it much easier to finish up the cake on the day, just sticking them to the cake board with royal icing to make sure they stuck down!

 
This cake was SO fun to make, I really love creating decoration pieces out of fondant, and had a great time putting them together.  And it also made cake day less stressful.  After baking and icing the cake, all that was left to do was decide where everything went, and just ... well, do it!  Sticking everything down, and then voila.  It was done! 
 
Finished on Saturday night, and taken to the Superbowl party on Sunday afternoon where Jonathan's family would all be, helping him celebrate his birthday - even if it was a day early... And anyhow, we're still eating cake leftovers right now too... Problem is, I can't decide which my favourite flavour is... Which was yours?!  ... Or perhaps I should say, which would yours be?!


I made a bottom layer of Red Velvet which you can get the recipe for here, but here's the almond cake recipe - I kind of adapted a usual plain sponge recipe as I went along!  This was for a 6" Spring form pan.

Ingredients:

6oz self-raising flour (minus 3 tbsp)
6oz granulated sugar
6oz unsalted butter
3 eggs
3 tbsp ground almonds
1.5 teaspoons almond extract

Method:

1.  Preheat the oven to 350°F and grease and line a 6" Springform pan with parchment paper.
2.  Cream together the butter and sugar until light and fluffy.


3.  Add eggs one at a time, beating well between each addition.

 
4.  Add the almond extract.
5.  Weigh out flour, but then substitute 3 tbsp of the flour for the 3 tbsp ground almond.
6.  Add flour and beat together until combined.


7.  Spoon the batter in the prepared pan and place in the centre of the oven and bake for at least 50 minutes.  Checking on the cake as you go - the top will likely get a golden brown colour, but the most important test is the skewer/toothpick test - the cake is cooked when the skewer comes out clean.

Baking in the deep pan did mean for a REALLY long cooking time, and if it wasn't the top tier, I would have definitely chosen to do it in two sandwich tins instead.  But, it did get cooked all the way through, I just had to keep checking on it!
 
I hope you get to try either the Red Velvet or Almond cake in some of your baking you do soon! 
 
And of course, enjoy the 2014 Winter Olympics!


*** My blog is 1 year old ***
 
Look back at what I wrote 1 year ago today!


Saturday, 1 February 2014

Baking up a Winter Wonderland!

Happy February!!  ... As I sit down after finishing up my husband's birthday cake ready for his birthday celebrations tomorrow and Monday, it is finally time to tell you all about last week's super exciting cake and cupcake project I was so happy to work on.
 
 
Contacted by a friend of a friend on my Facebook page, I was asked if I could make a 60th birthday cake, as well as 2 dozen cupcakes each with different messages on, as their family had a whole lot of celebrations going on at the same time!
 
The order was for an Earl Grey cake with lemon buttercream, just like I made for the bridal shower cupcakes, and nautical themed summer cake, this time with some cute Winter themed decorations, and no fondant icing, just buttercream to coat the cake. 
 
 
Although the request for the covering of the cake was not "too sweet", and no fondant icing - I did ask if I could create the decorations with fondant which was fine by them, so I got to work creating my stars of the show - the fondant penguins that would be sitting on top of the cake, showing off the idea of a winter wonderland!
 
 
Did you see these on my Facebook page, or the sneak peek of the picture below on Instagram?!  I love showing off a picture or two, but in this case couldn't show much more before the cake had been delivered!  To see early previews of my projects, follow me on Facebook/ Instagram now!!!!


The same time as I made the penguins (who I didn't want to give away!!!) I also created a tree made out of 2 colours of green fondant cut out with star cookie cutters, of a few different sizes so it could gradually get smaller towards to the top.

 
The lake was a pale blue cut out of fondant, with blue glitter writing icing piped around the outside of the lake to give a water/icy look to it.

 
A winter scene, with blue buttercream tear drop shaped piping around the bottom, and the Happy Birthday message as requested by the family piped around the cake board.

 
They also wanted 2 dozen chocolate cupcakes with mint buttercream icing, with the tags, similar to my bridal shower cupcakes, and winter mini cupcakes I made last year. 
 
 
I went for a pale green and pale blue colour card stock, with the same Love Letter Typewriter font as I used on my previous tags with a similar design.  

 
I also made some green/blue mini snowflakes out of fondant that I used on each cupcake, either one or two on each cake. 


There were SO many different celebrations happening in the family, I did 24 cupcakes, with 12 different messages... so each person/couple had 2 cupcakes with their personal message on.  I love how the tags make it so easy, but yet so effective to customise to anybody's celebration.  I really enjoy crafting before baking as well, so I'm pleased people keep requesting these on their orders - I love making them!! 


Here they all are, ready to be delivered! 


I took a quick snap of the cake and cupcakes all set out, just as I delivered them.. Here they are, ready to be enjoyed!  Hope the whole family loved them :)  Congratulations to everyone for everything you're celebrating!!

Sunday, 3 February 2013

It's your Birthday and it's the Super Bowl!!

A BIG Happy Birthday today to my husband Jonathan who is lucky enough to have his birthday on Super Bowl Sunday for real this year!

We're celebrating with his family and watching the game later on, but here's a quick post to let you know what cake we'll be eating!

After last year's Game Night birthday cake I was wondering what I could do this year... Cue some crazy ideas way above my station and off I went!  I was drawing ideas for days, planning the flavours of cake and the buttercream fillings... My ideas are definitely TOO crazy sometimes and there are things I should probably realise I cannot get done on a Saturday after work in the morning, with a music birthday party for a 3 year old in the afternoon, but alas - Sunday morning has arrived and I am still alive and did get 6 hours sleep!

Here's how it looks...

Super Bowl/ Birthday cake with Jonathan's favourite
things to top it off!
Popcorn was the only non-cake non-icing thing here!
I couldn't have a Super Bowl cake without
a ball now could I!?
A few shots with my macro lens!


Ravens vs. 49ers colours :-) 

SO pleased with how this turned out!  

A basic run-down on the flavours before I go...

Bottom (pitch....hmm field?) layer - Red velvet Cake with Buttercream filling.

Middle (team colour) layer - Vanilla cake with Vanilla syrup, Buttercream and cherry filling.

Top (Coke!) layer - Chocolate cake with Salted Caramel Buttercream filling.

I promise to write about the recipes I used later on and add in some links, but for now there's a birthday party to get to!!

♥ HAPPY BIRTHDAY JONATHAN ♥

Hi again, some updates on recipes and what was what now the craziness of a birthday filled weekend is over!

For the bottom layer that made up the Super Bowl field I used Red Velvet Cake that came from the Joy of Baking blog here.  I have always used this recipe, many times before and love it.  It is dense, moist and just so good!  Never needed any other recipe.  I thought this would be a great cake for the bottom layer of the cake to make sure it was sturdy enough to hold tiers on top of it.

I filled the cake with regular vanilla buttercream, a ratio of 300g icing sugar and 175g butter but double or triple depending on how much you need, and pure vanilla essence to taste - around a teaspoon for that amount.

For decoration I used Wilton fondant and did a LOT of rolling out!  I coloured most of it light green but then added a dark green touchdown strip, and then white strips, slightly thicker for the 50 yard line and then thinner ones for the other yard lines.  Originally I planned on writing the numbers on the cake as well but once it was done I decided to leave it as it already was quite full of stuff and didn't want to overcrowd the cake!


Tier number two was the Vanilla cake that also had vanilla syrup through it making it also nice and dense and very moist and yummy.  Find that recipe here from BBC's Good Food.  I always prefer using grams to cup recipes and I KNOW I can trust a British recipe for this :-)  I cooked it in a 6-inch springform pan and it required a little less time than it suggested but just keep an eye on it!

I filled this one with more of that vanilla buttercream, but to this one I also added glace cherries - halved and placed on top of the buttercream filling.  Jonathan LOVES cherries so this was all for him!

To cover this one I coloured the fondant icing with red and blue/purple and cut them into strips for the team colours for this year's Super Bowl.  And hey, researching this meant I now knew who was playing!


To top of the cake I made 2 coke cans out of Chocolate Victoria Sponge - which I wouldn't use again not for the recipe, which was yummy but tooooo spongey and soft to work easily with.  

I filled this one with Salted Caramel Buttercream and of course I have lots left over because I just made 2 cans using my empire cookie cutter but it tasted good, nice and sweet!

I covered the taller can with grey tinted icing and the smaller coke can with more of the red fondant icing.  To create the can look I used food writing markers to do the Diet Coke font and then used white writing icing to colour in the swooshy line for the Coca-Cola effect.  

Finishing touches was the popcorn around the top edge (Coke and Popcorn - it's the Super Bowl right?!)... the grass piped green buttercream using my grass tip and piping bag... and some brown all fondant superbowls with white chocolate writing icing pen stitching :-)


A BIG project, maybe my biggest and best fondant cake yet!  Half was eaten up at the party last night, just enough left to enjoy just the two of us this week!!